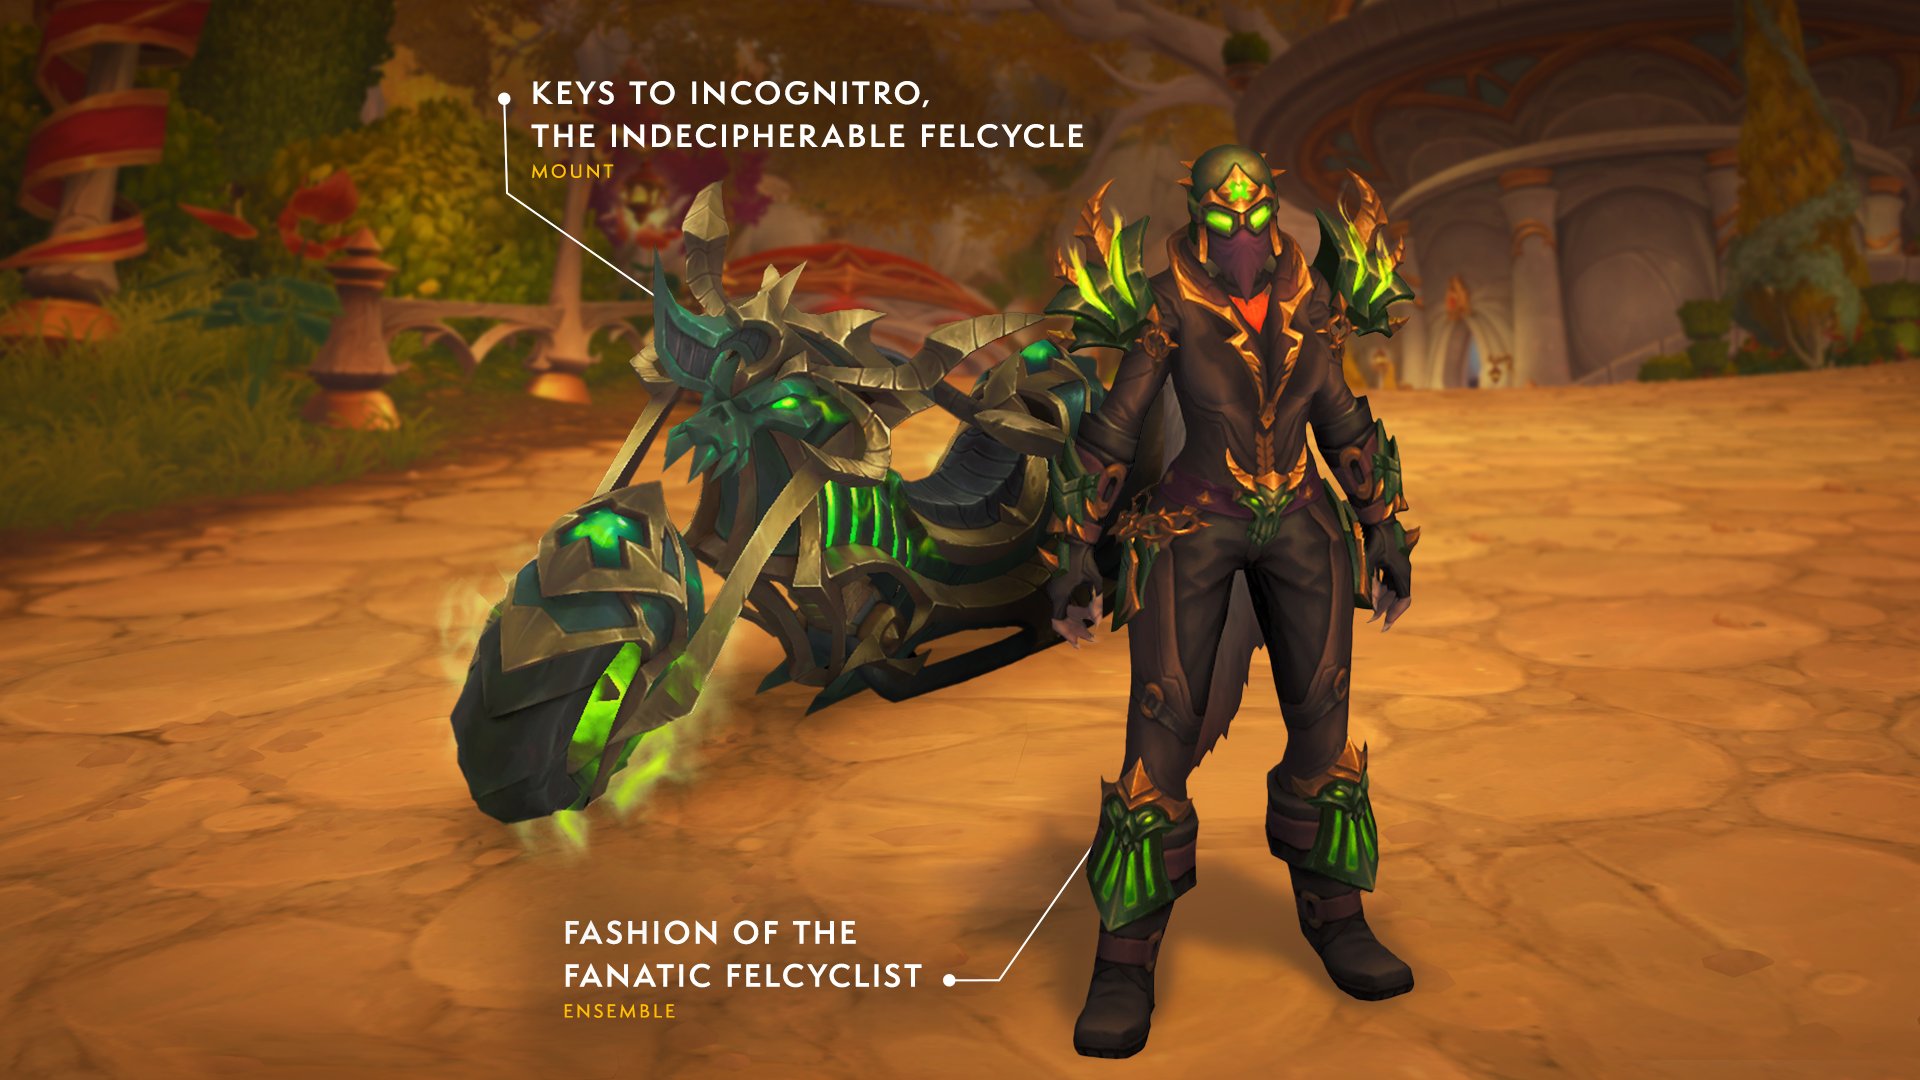
Incognitro, the Indecipherable Felcycle Secret Mount Guide
Incognitro, the Indecipherable Felcycle is one of the secret mounts added in The War Within expansion. In this guide, we'll walk you through the steps to unlock and complete Ratts' Revenge, which rewards Incognitro, the Indecipherable Felcycle.

Prerequisites
The Detective Title
To begin the secret hunt for Incognitro, the Indecipherable Felcycle, you must first complete the achievement Azeroth's Greatest Detective, which requires completing 2 of the 4 achievements listed below.
Note that the Guest Relations storyline and local stories are available only during Warcraft's yearly anniversary celebration, while the Celebration Crates can be found and returned all year round!
- I Saved the Party and All I Got Was This Lousy Hat - Complete the Guest Relations storyline.
- Assistant to the Assistant Guest Relations Manager - Complete all of the hidden Guest Relations local stories.
- Crate Insurance Agent - Find and return 6 Celebration Crates.
- No Crate Left Behind - Find and return all Celebration Crates.

Torch of Pyrreth
Players that are missing the Torch of Pyrreth toy from the Guest Relations Introduction Questline can obtain it by completing the Secrets of Azeroth questline added in Dragonflight.

Ratts' Race
Select the Detective title and speak with the Dalaran Survivor in Dornogal to start the quest Ratts' Race.
/way #2339 55.0 29.0 Dalaran Survivor


The first clue leads to some fungarians located in a cave to the south in Azj-Kahet.
/way #2255 69.3 93.3 Unfinished Note


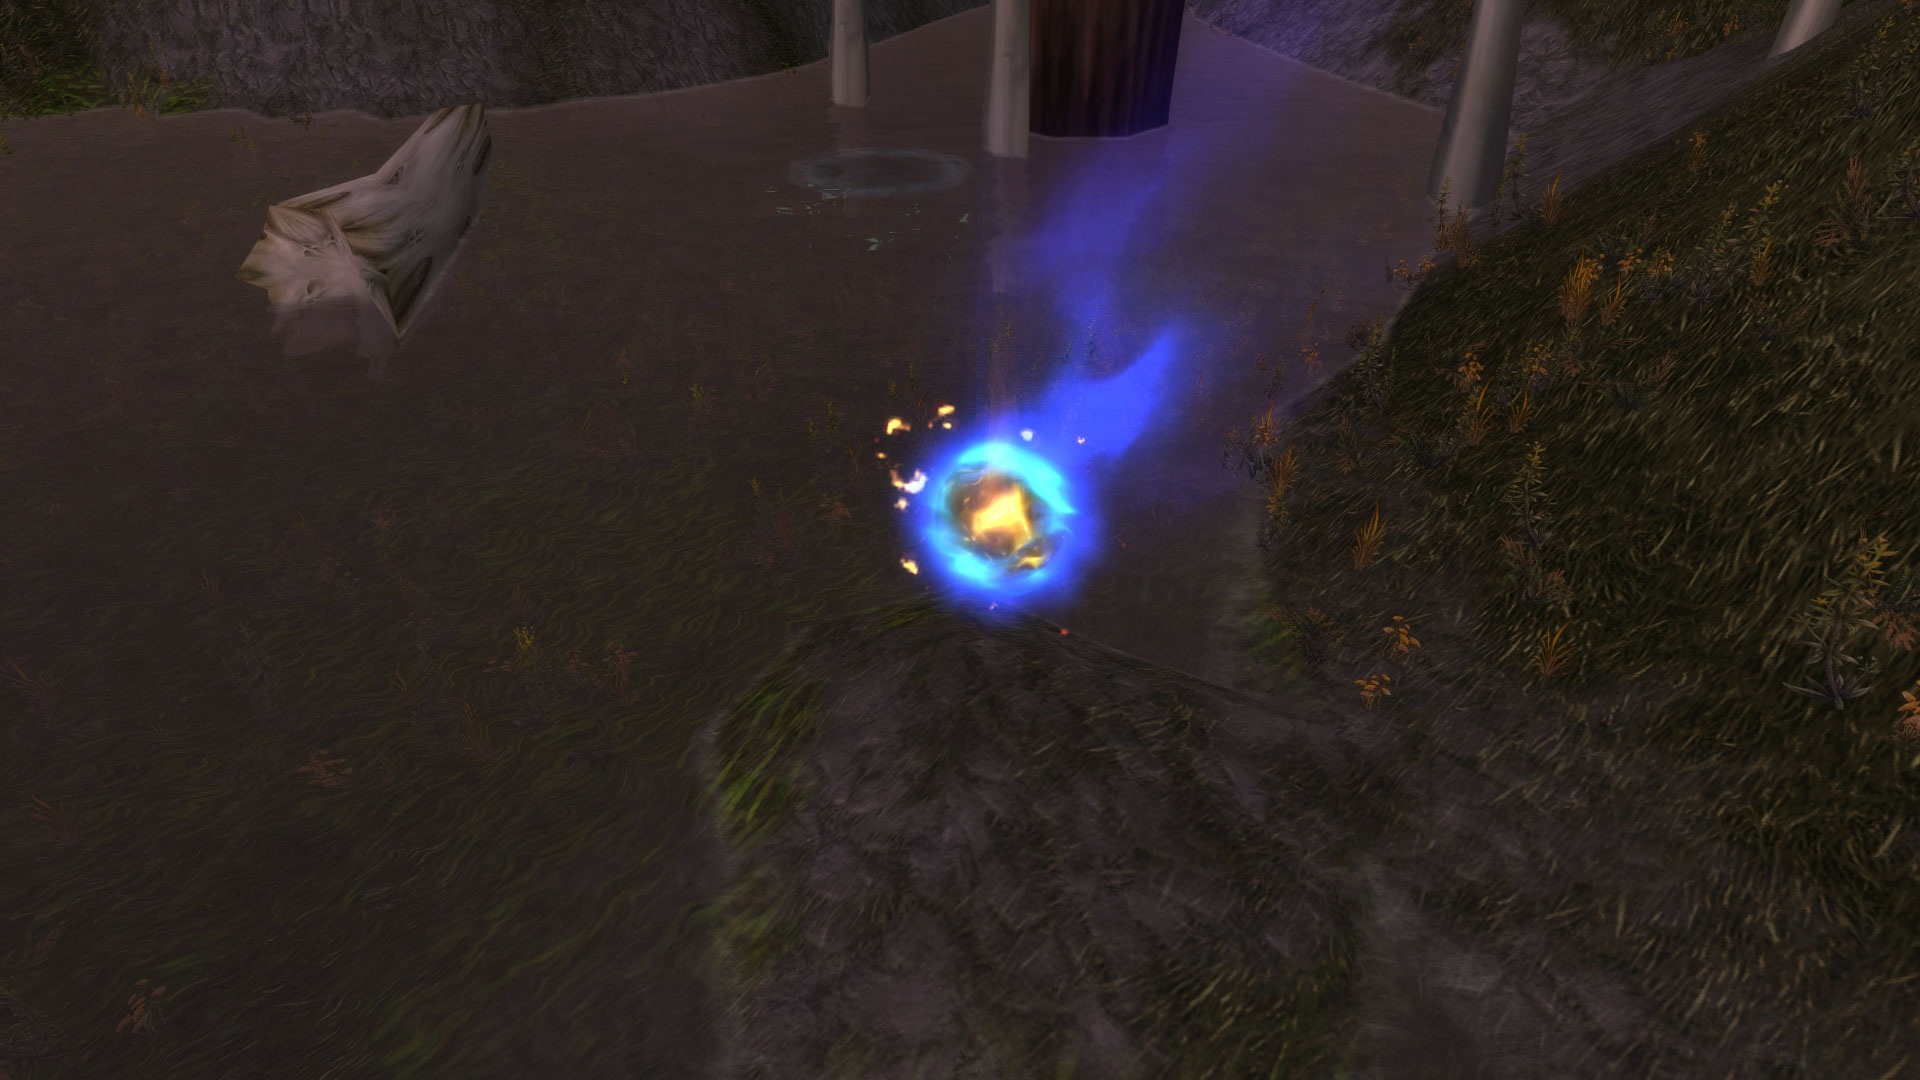
Following the coordinates (-186, 96) with the Tricked-Out Thinking Cap leads us to the Hastily Scrawled Note on a ledge above the City of Threads.
/way #2213 31.4 20.7 Hastily Scrawled Note


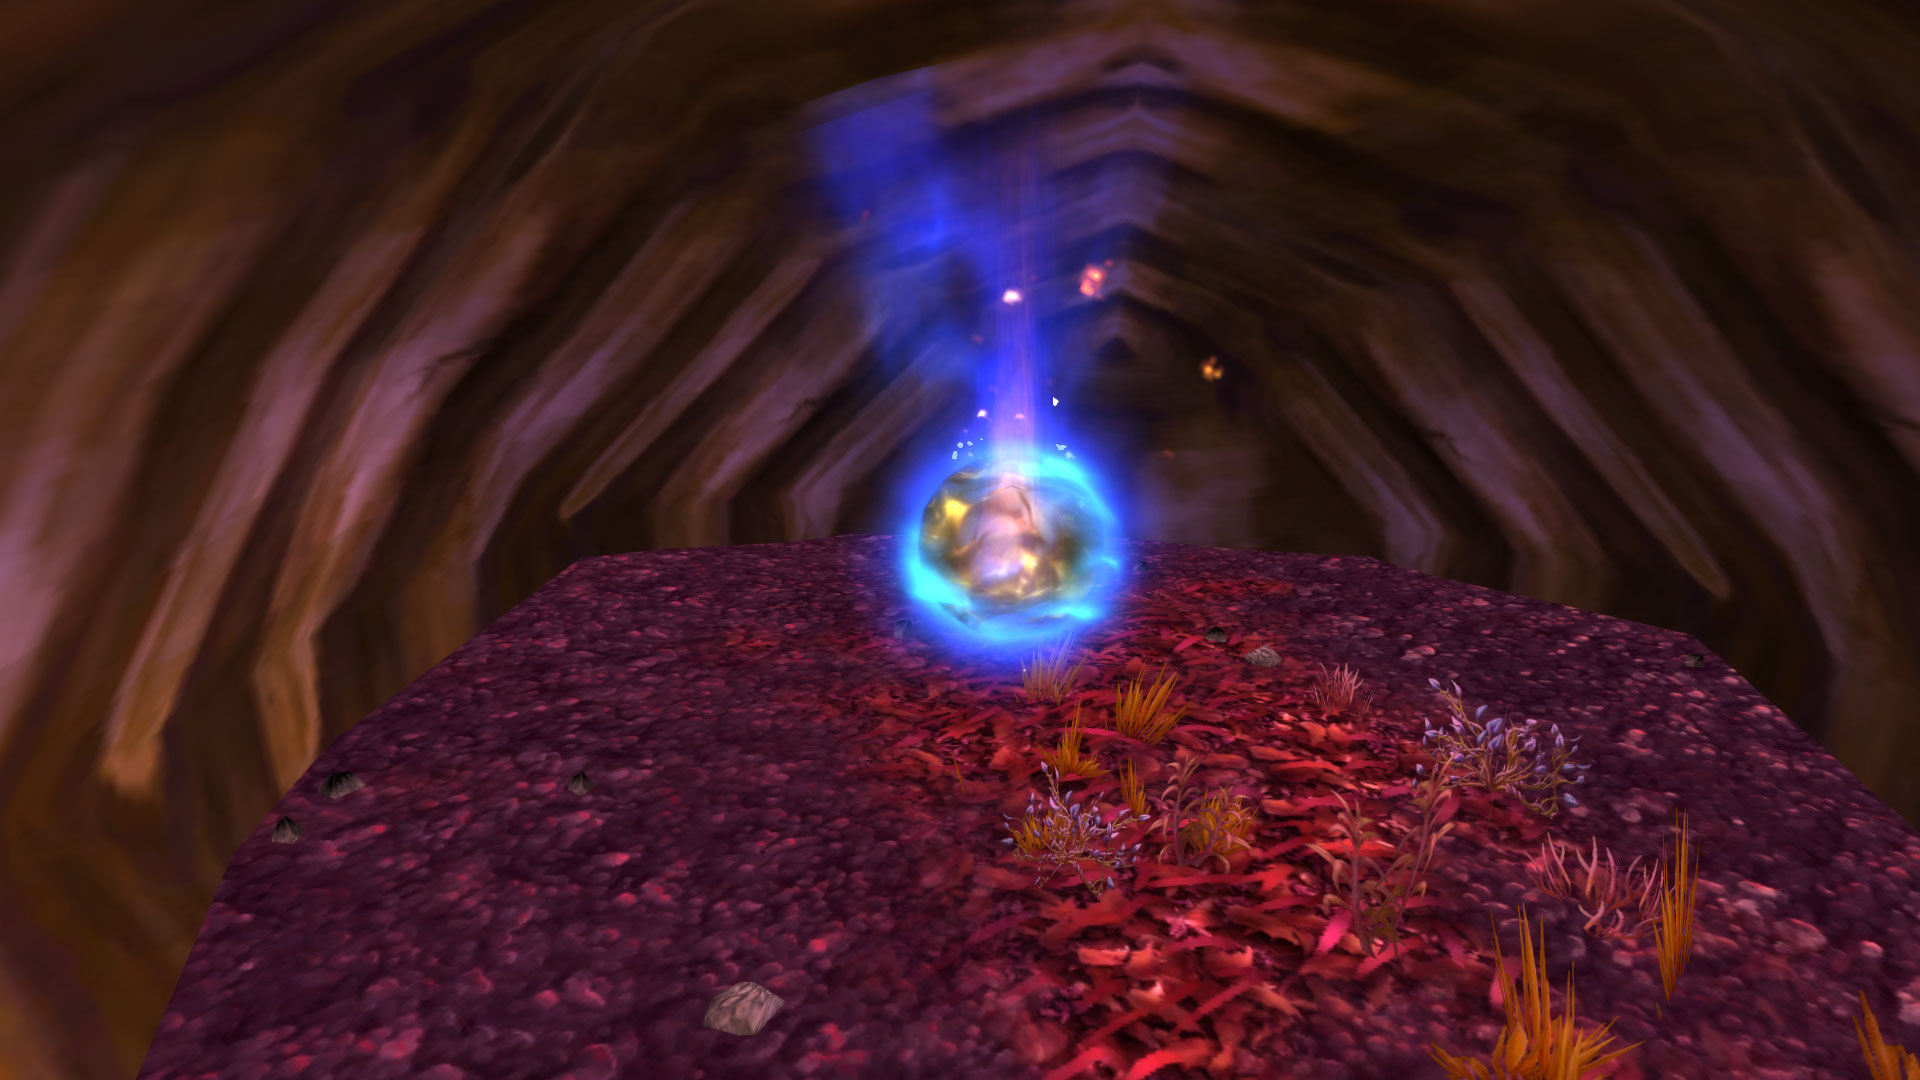
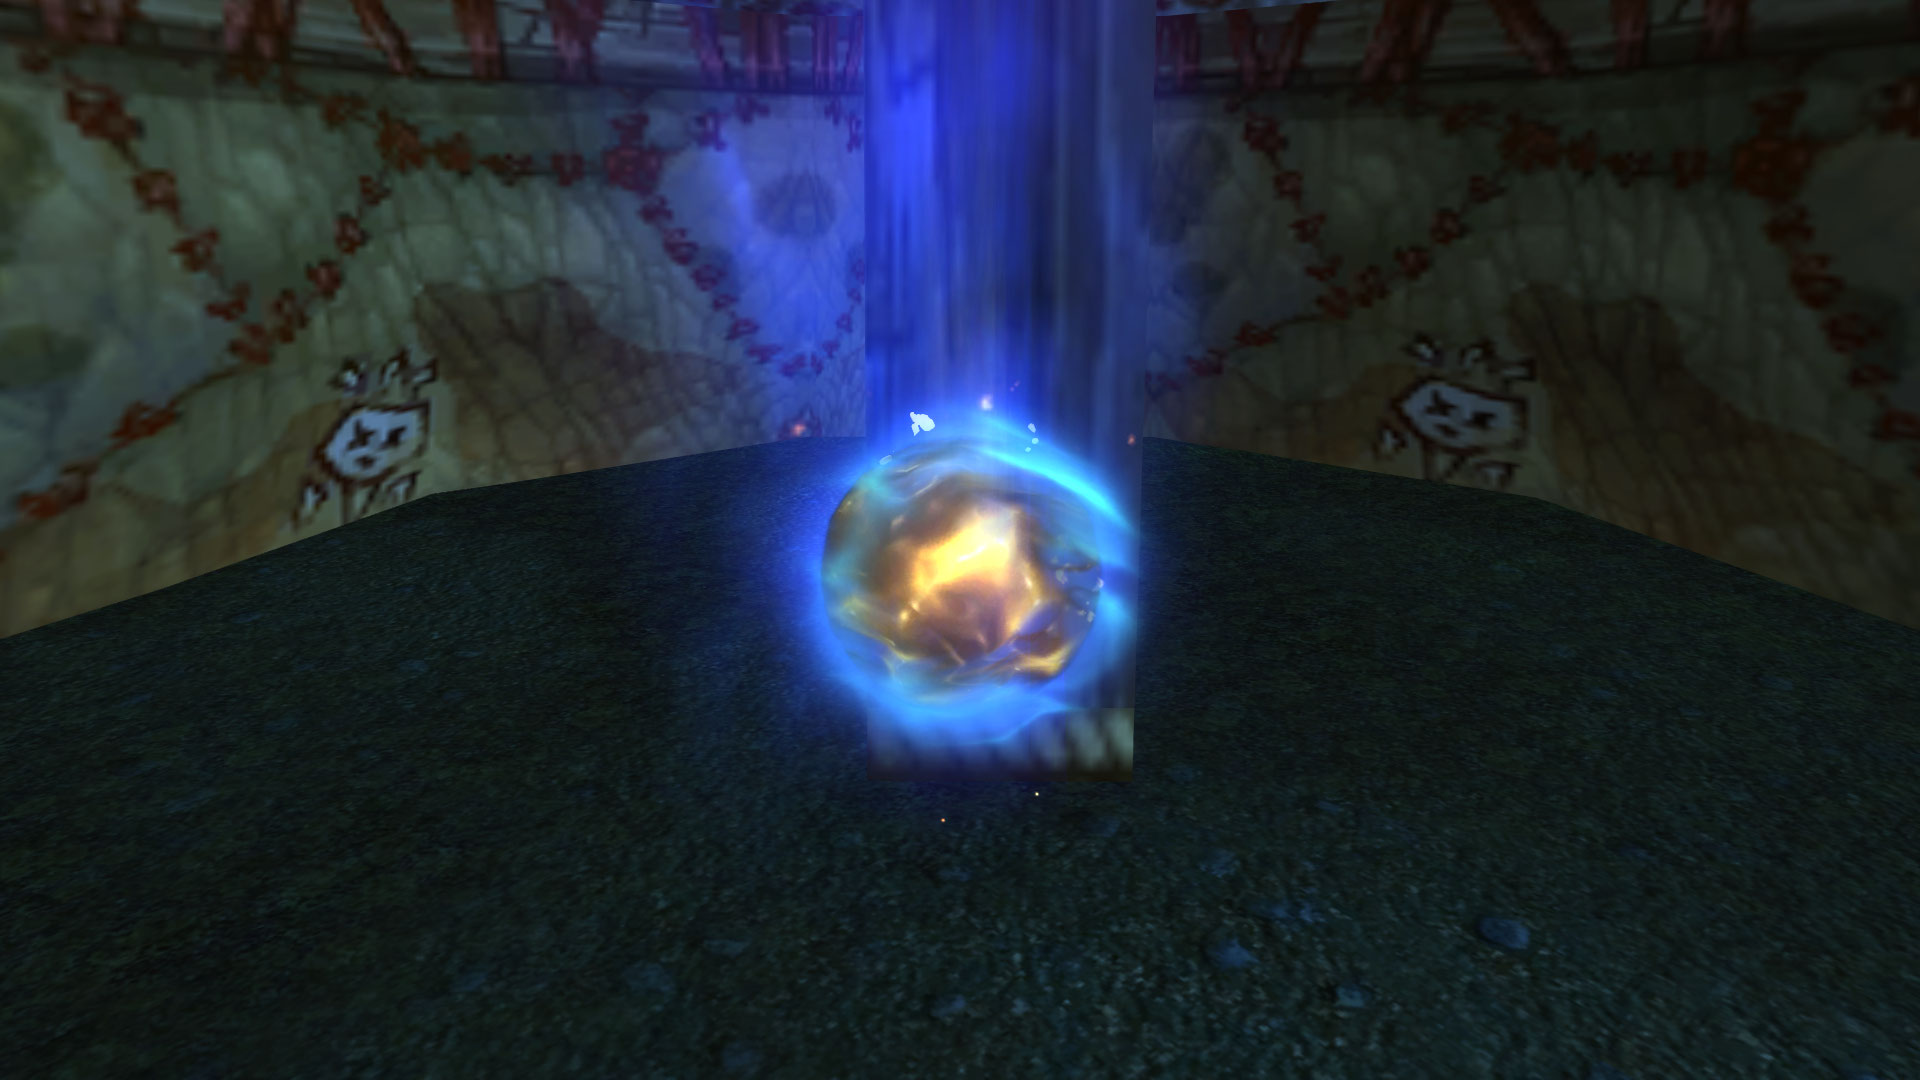
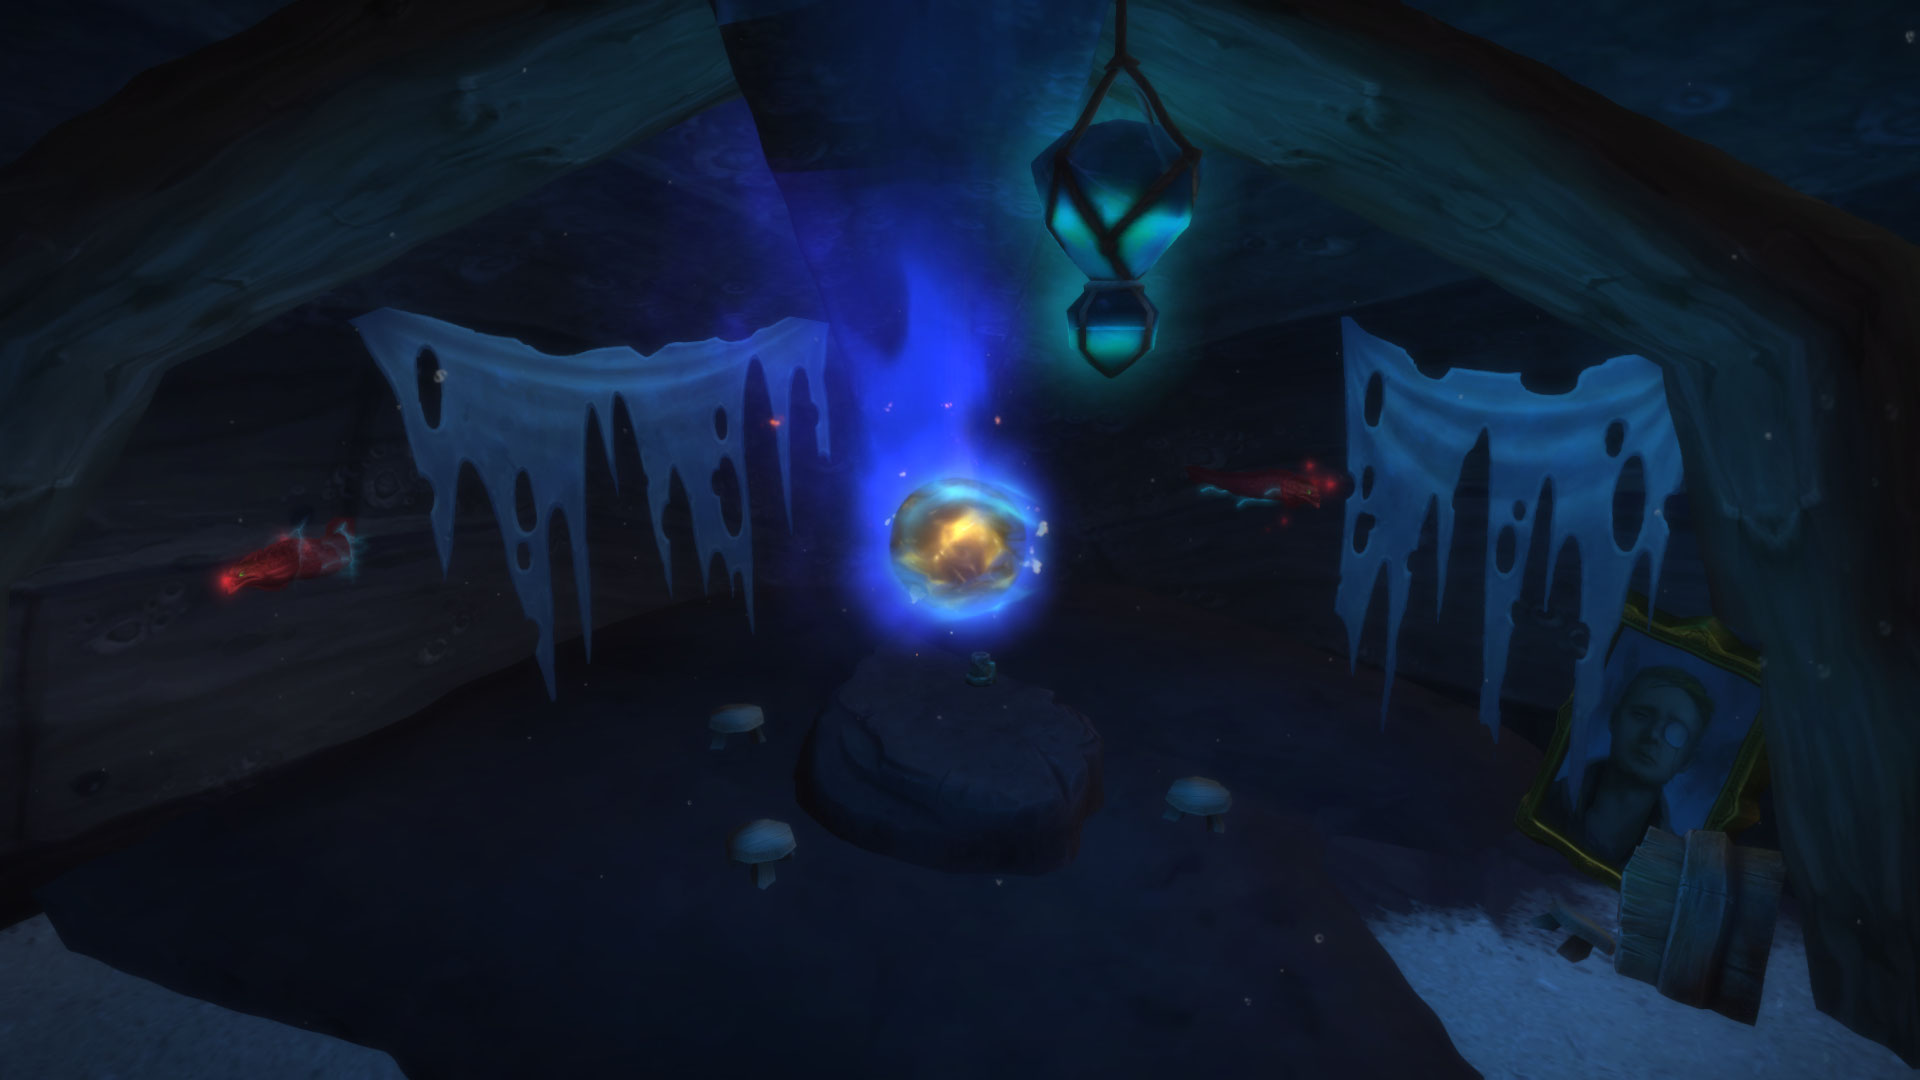
The clue leads to a hidden lake at the border of Azj-Kahet and Hallowfall. Fly above Azj-Kahet's ceiling, enter Hallowfall, and use the following TomTom waypoints to locate the Water-Resistant Note at the bottom of the lake.
/way #2215 49.7 85.7 Cave Entrance

/way #2215 50.7 86.7 Water-Resistant Note


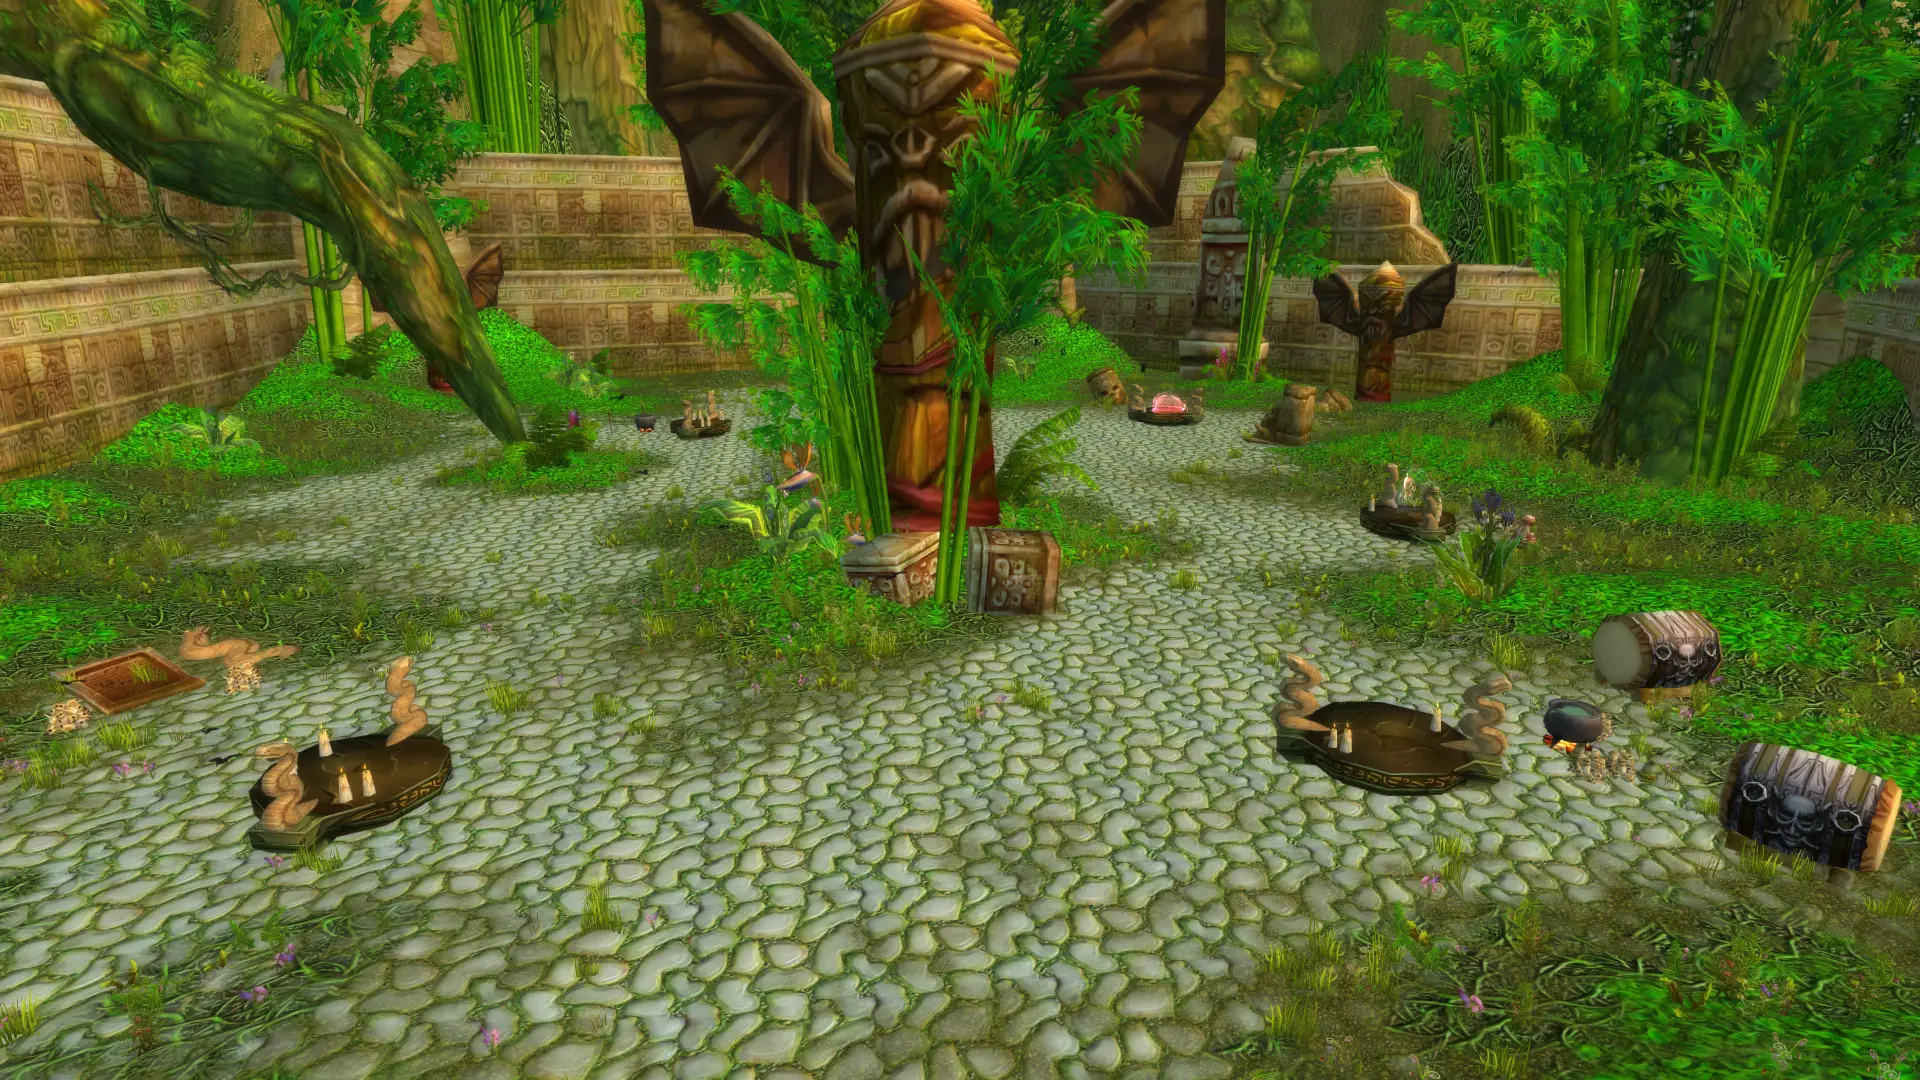
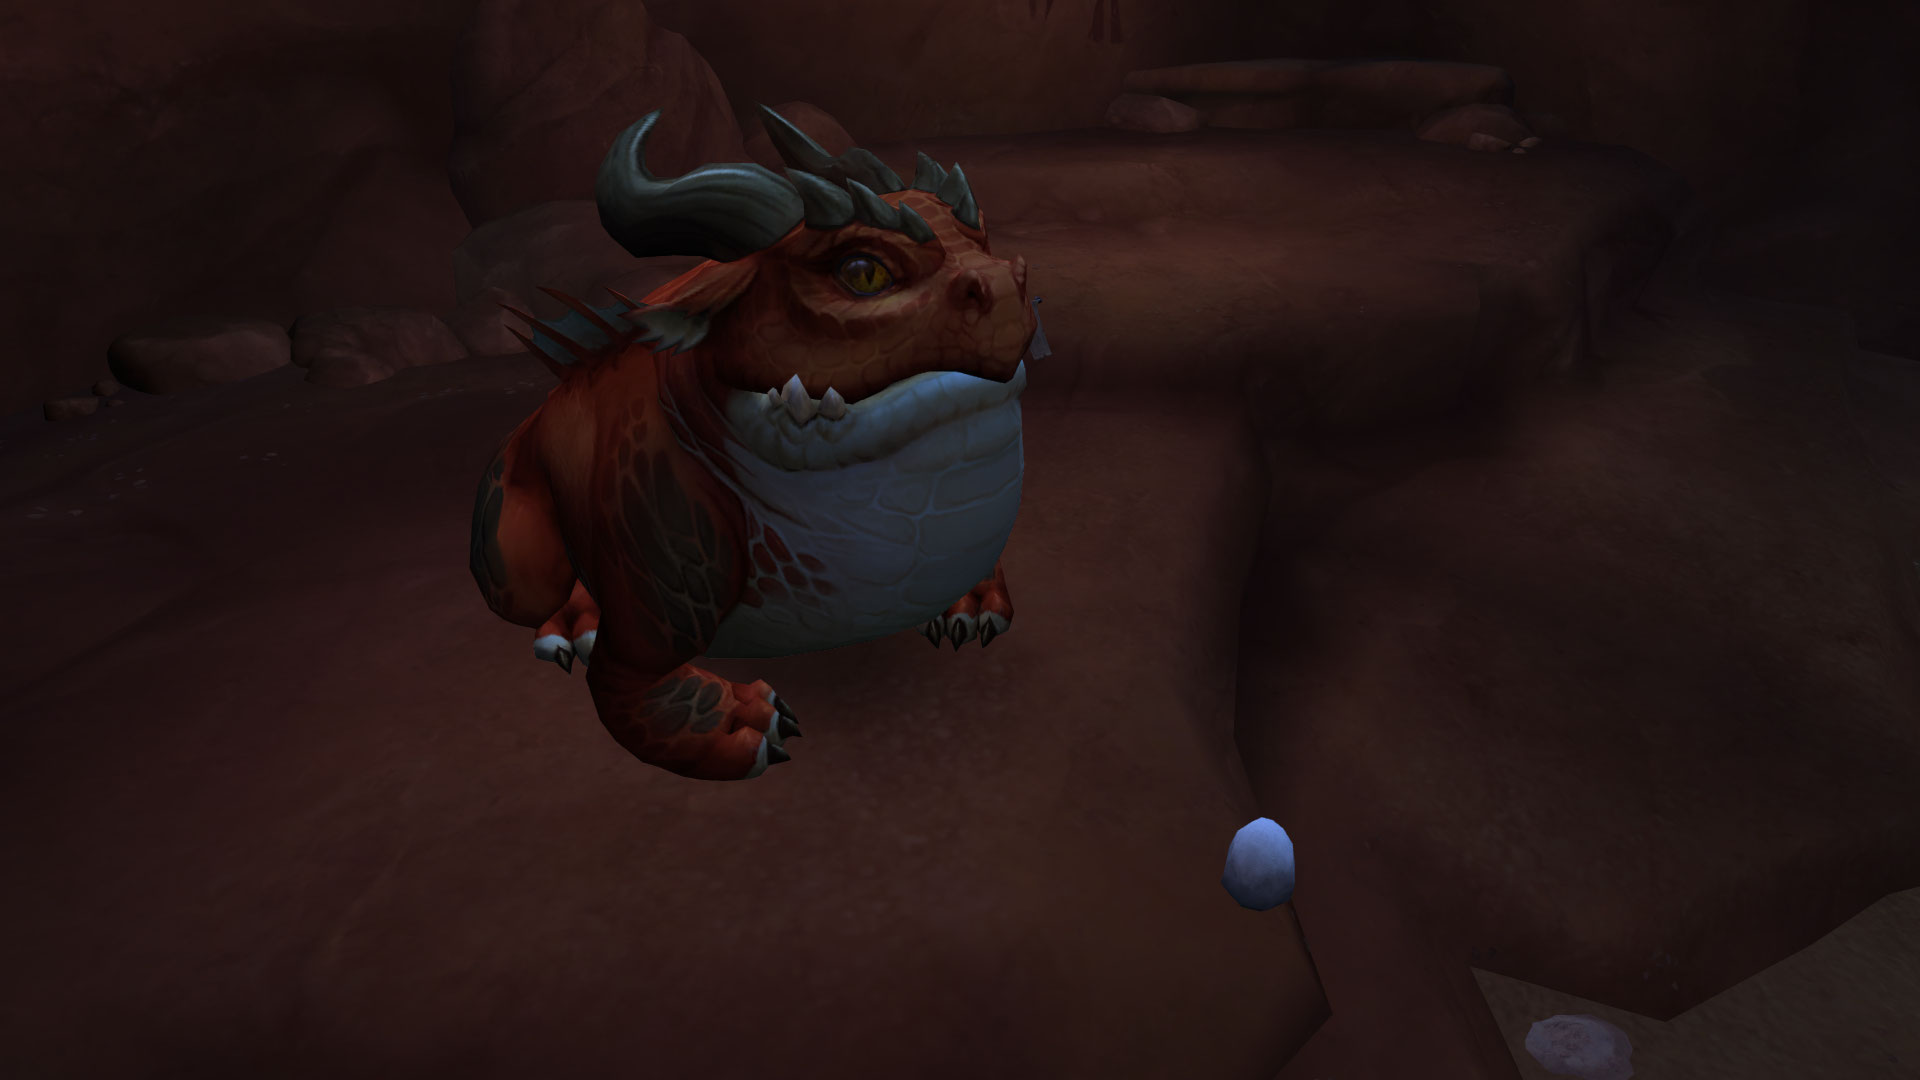
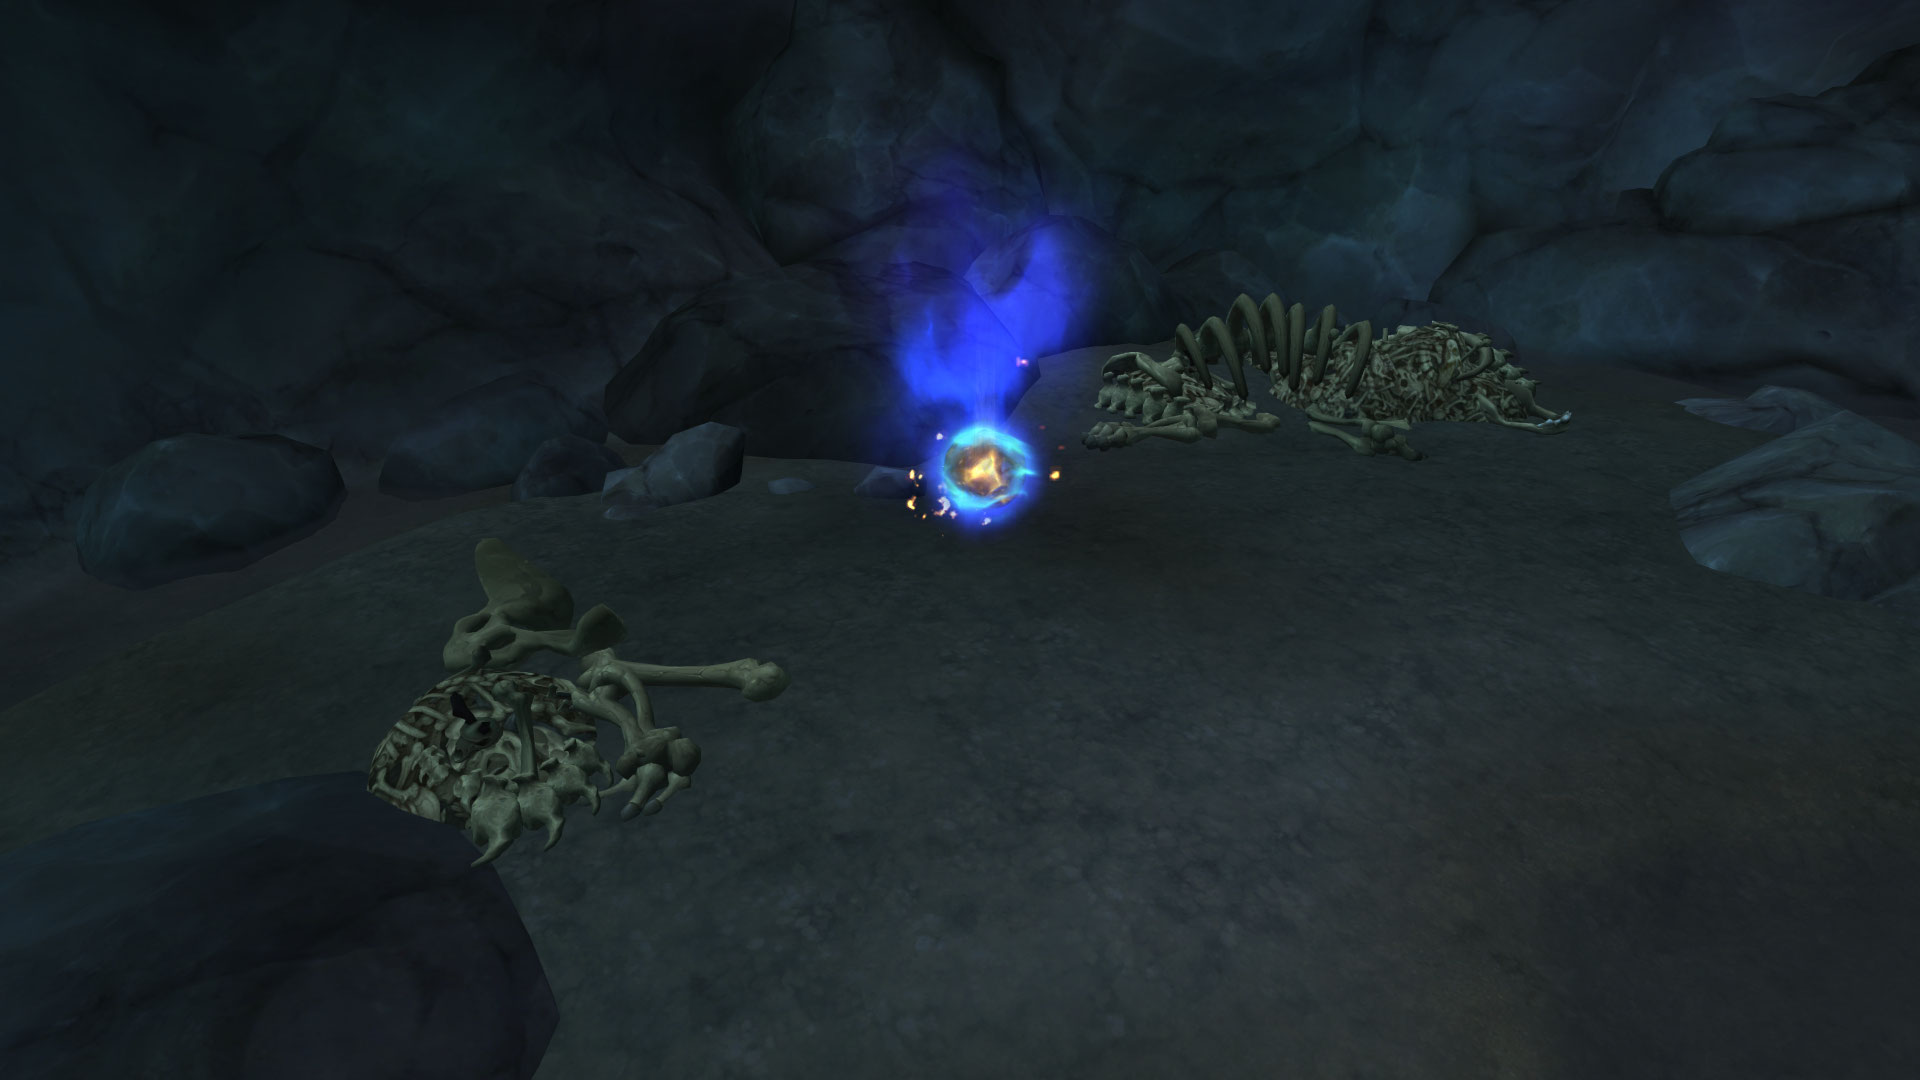
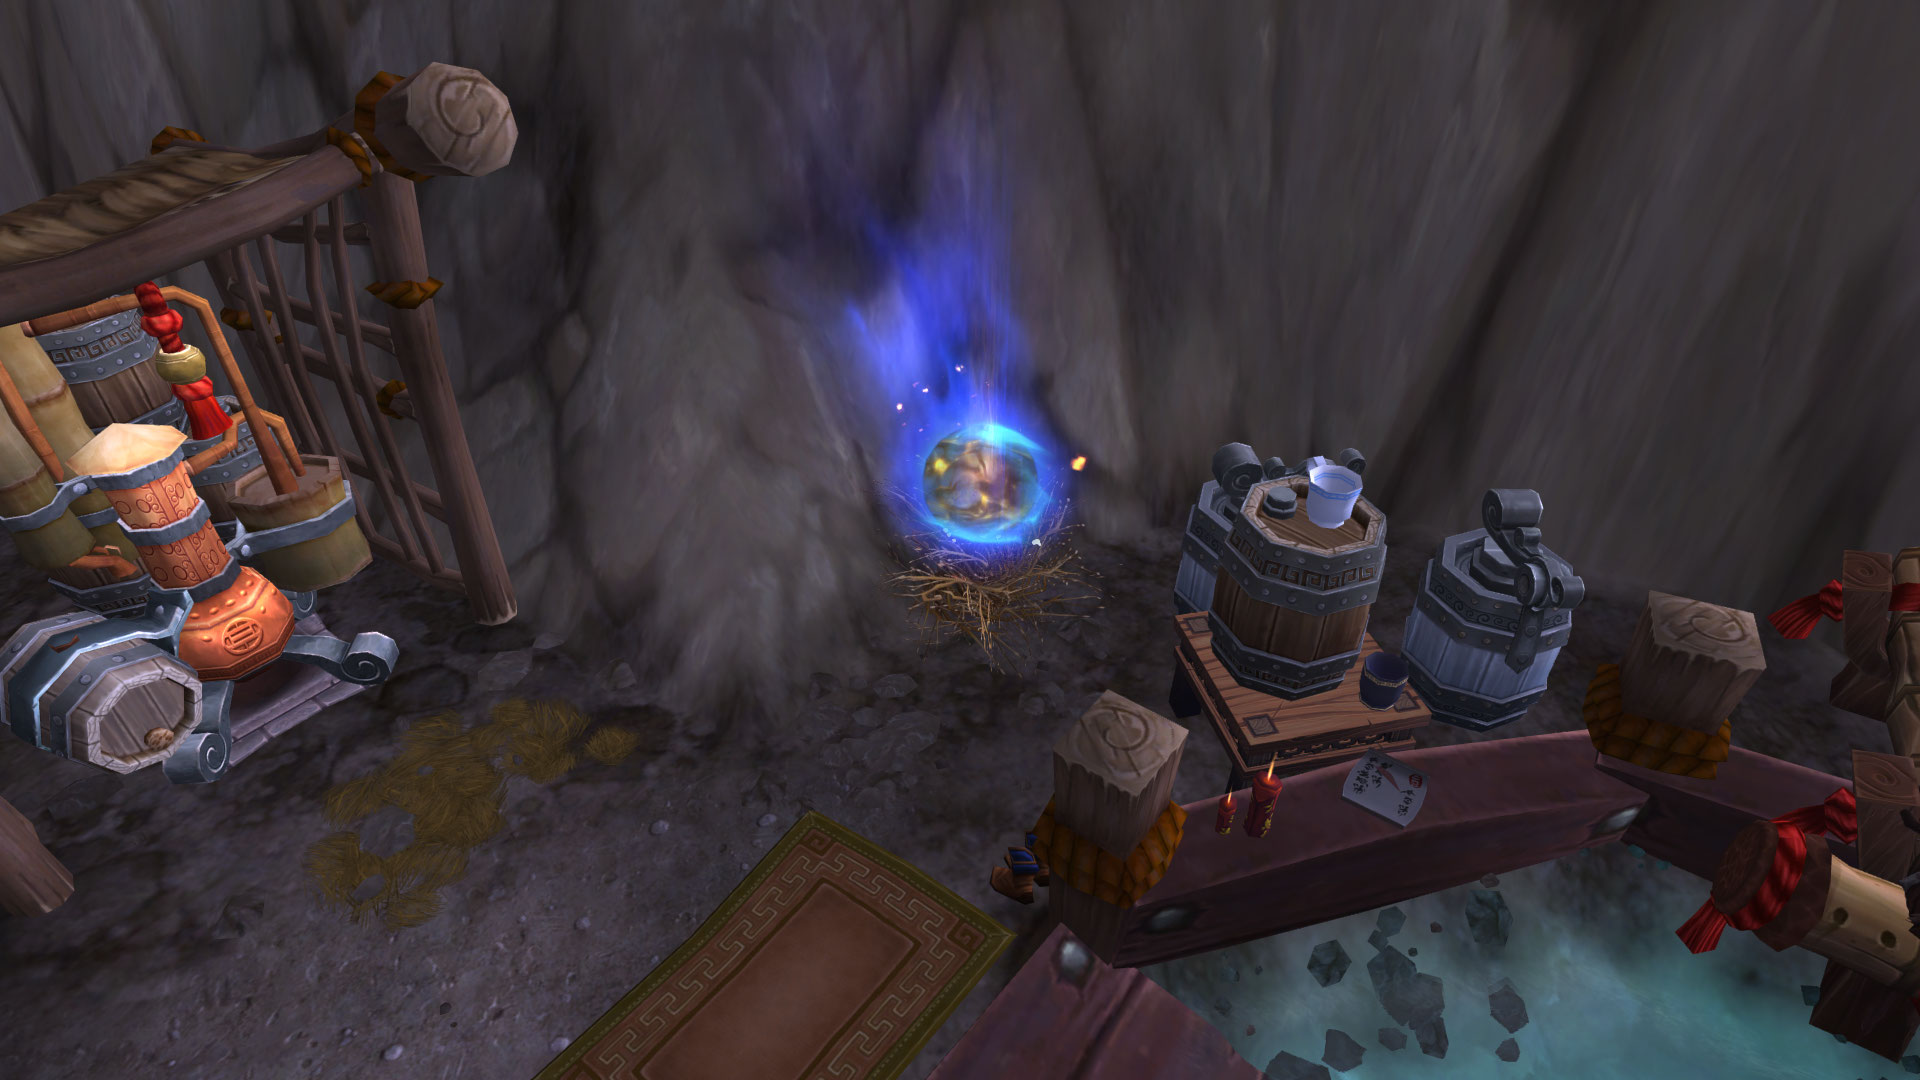
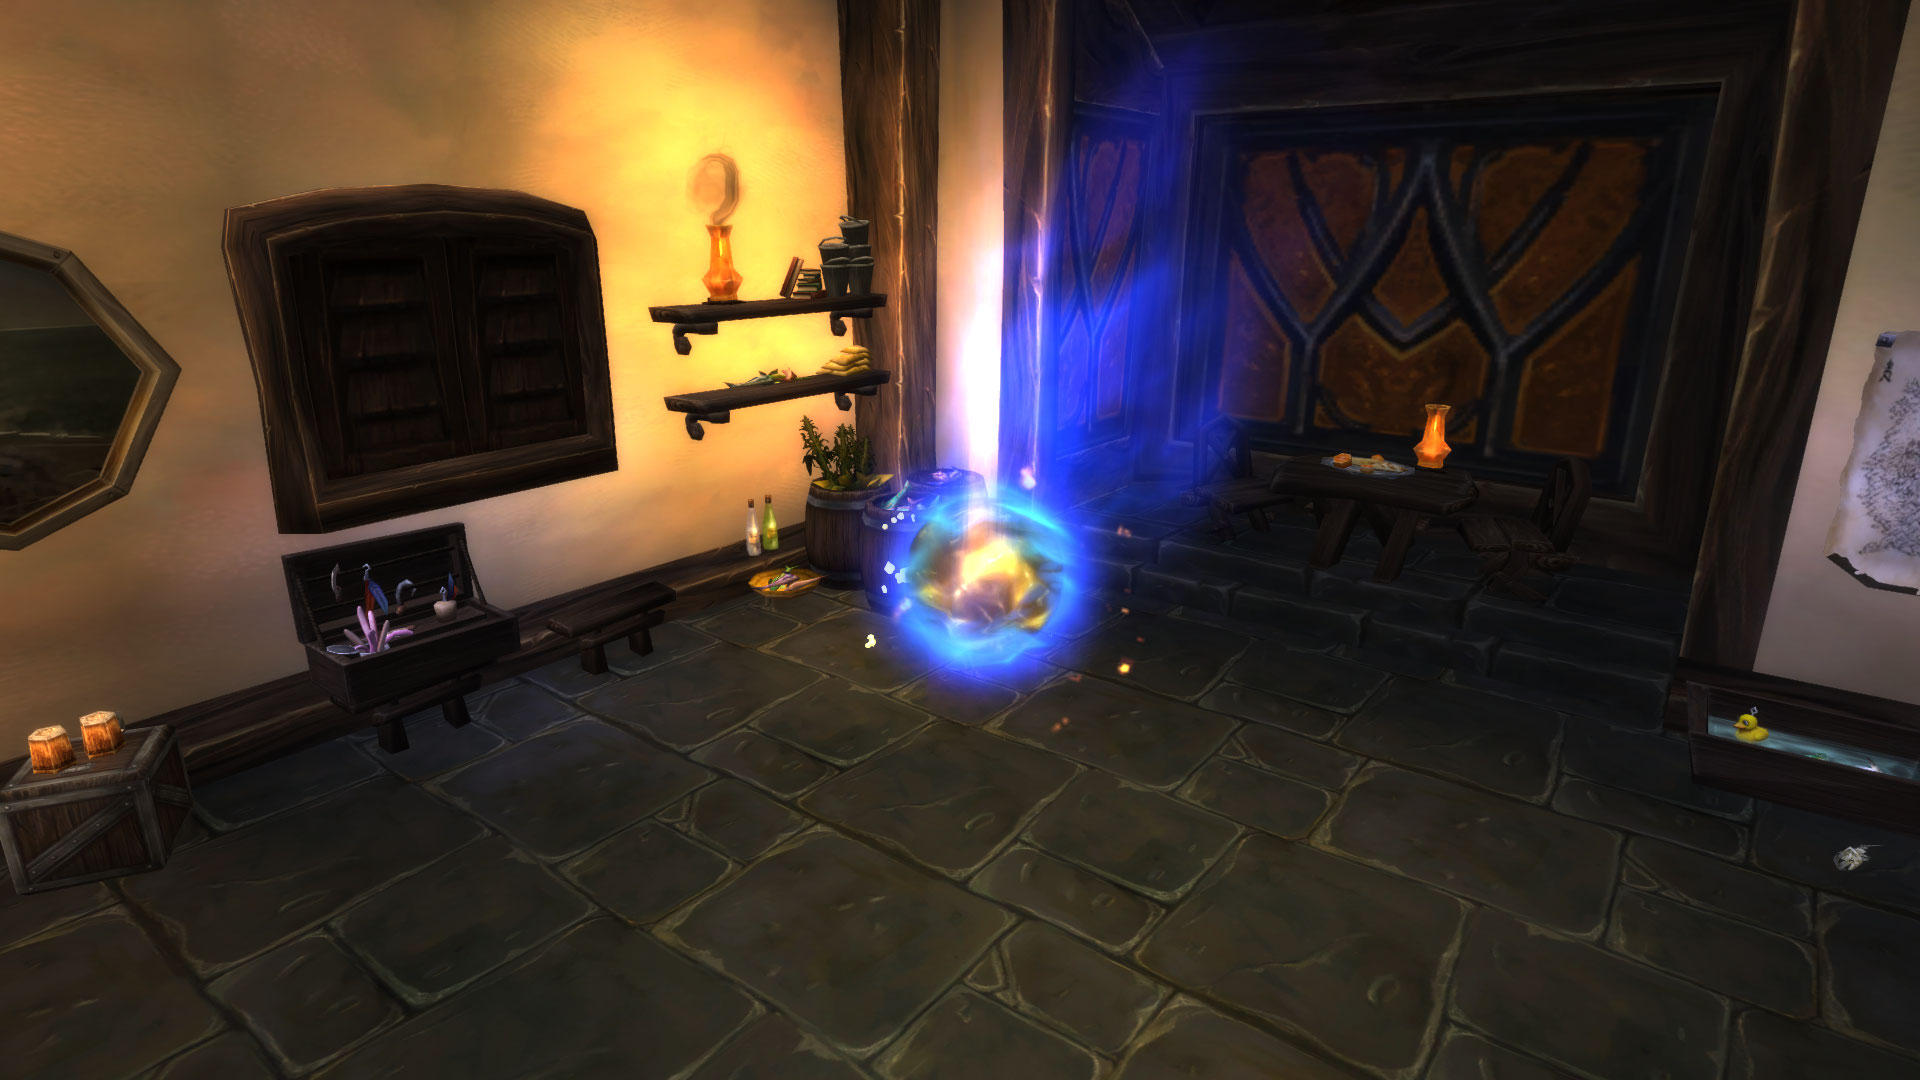
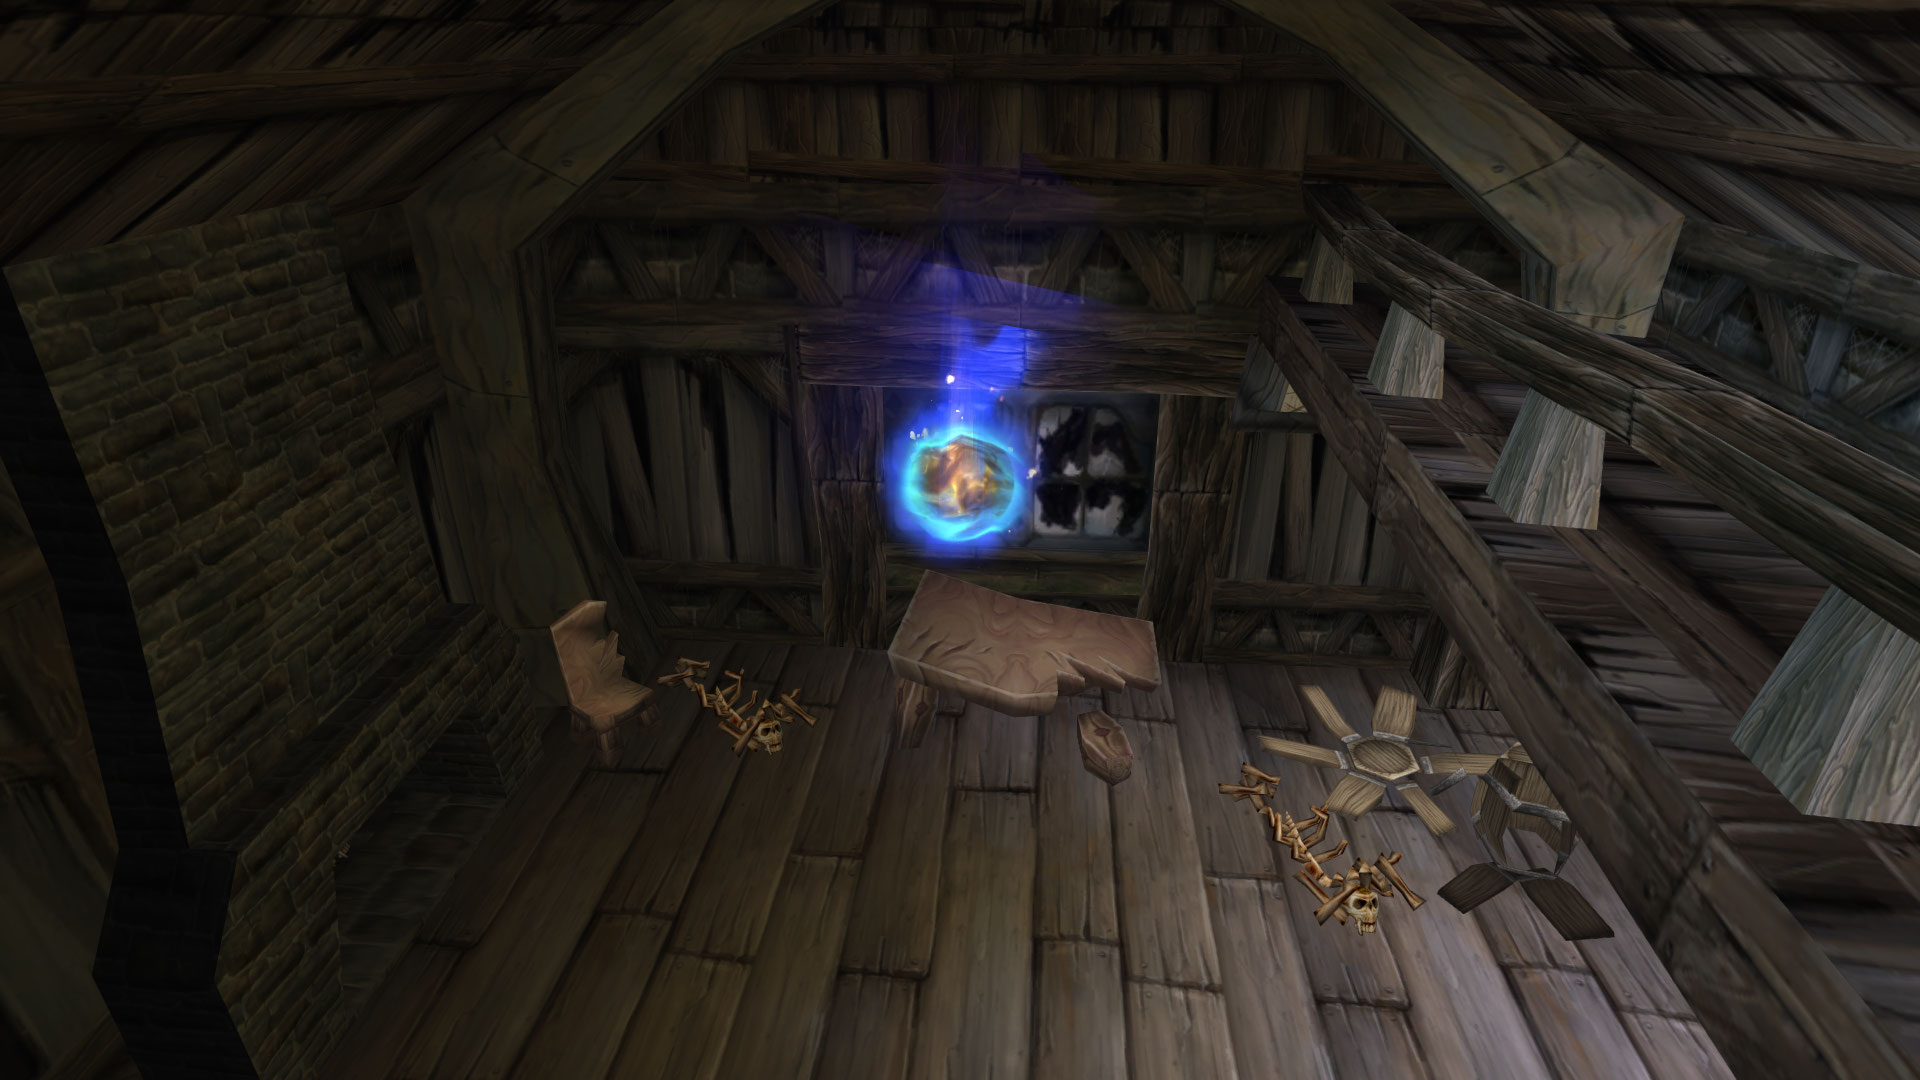
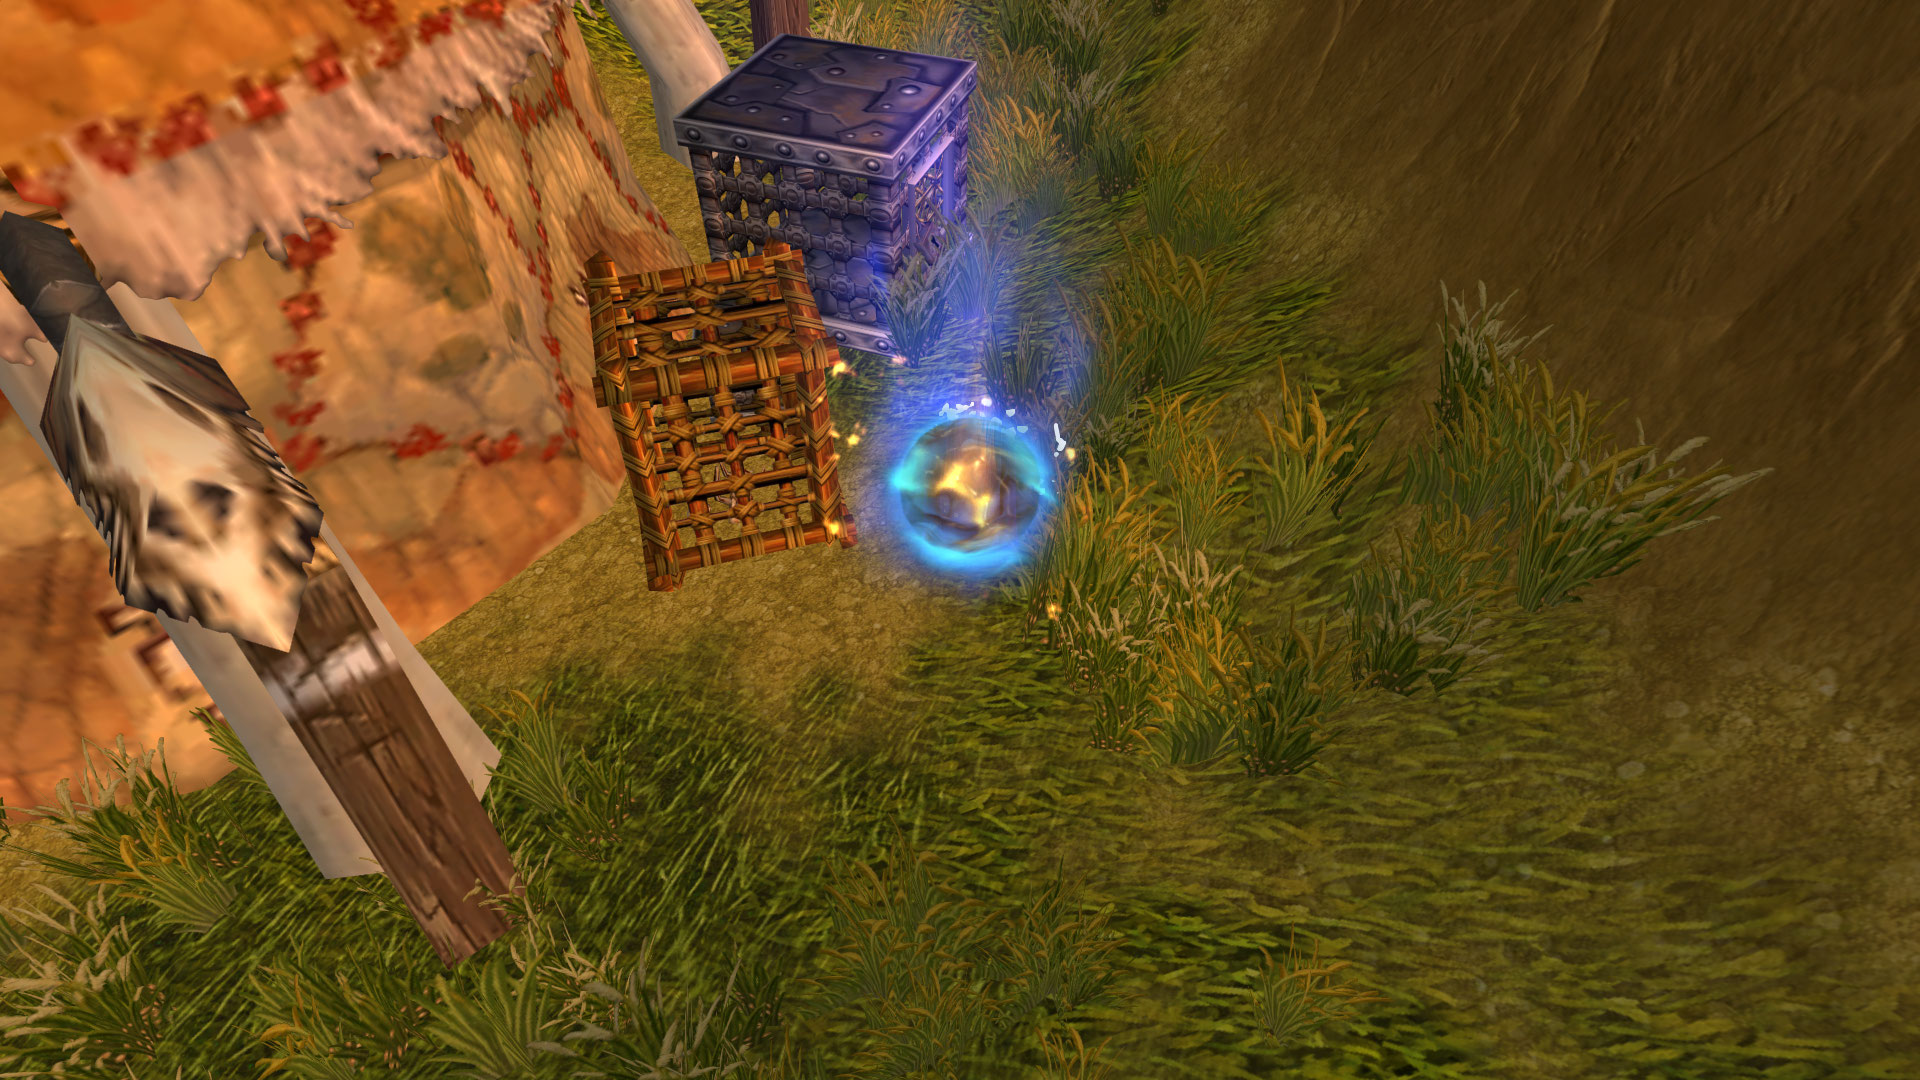
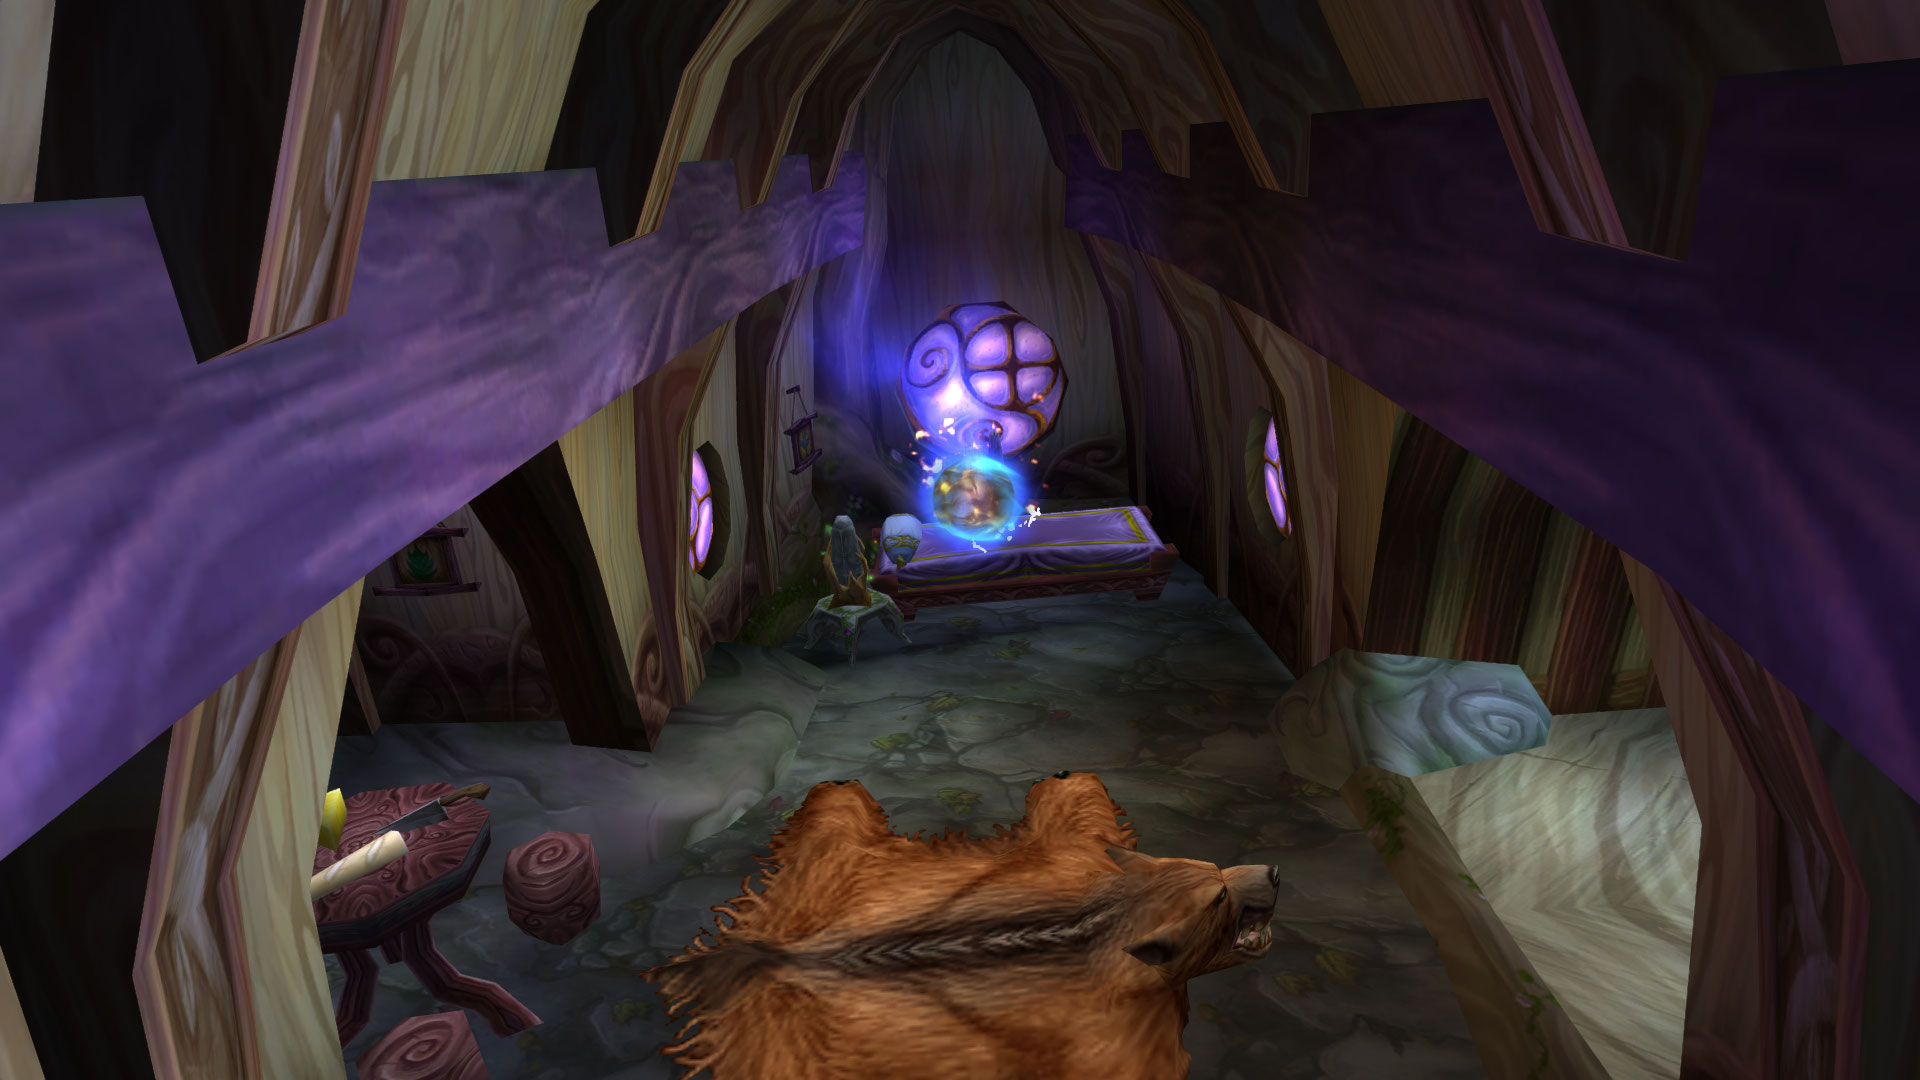
Enter the cave at Faerin's Advance in Azj-Kahet and head to the wall shown in the screenshot below. Climb up to the hole at the top (indicated by the arrow) and go through it. Once inside, approach Ratts to confront her and loot the Peculiar Gem.
/way #2255 55.2 19.2 Pillar-nest Vosh Cave Entrance

/way #2255 56.35 17.25 Jumping Puzzle Start

/way #2255 56.35 17.45 Jumping Puzzle Hole


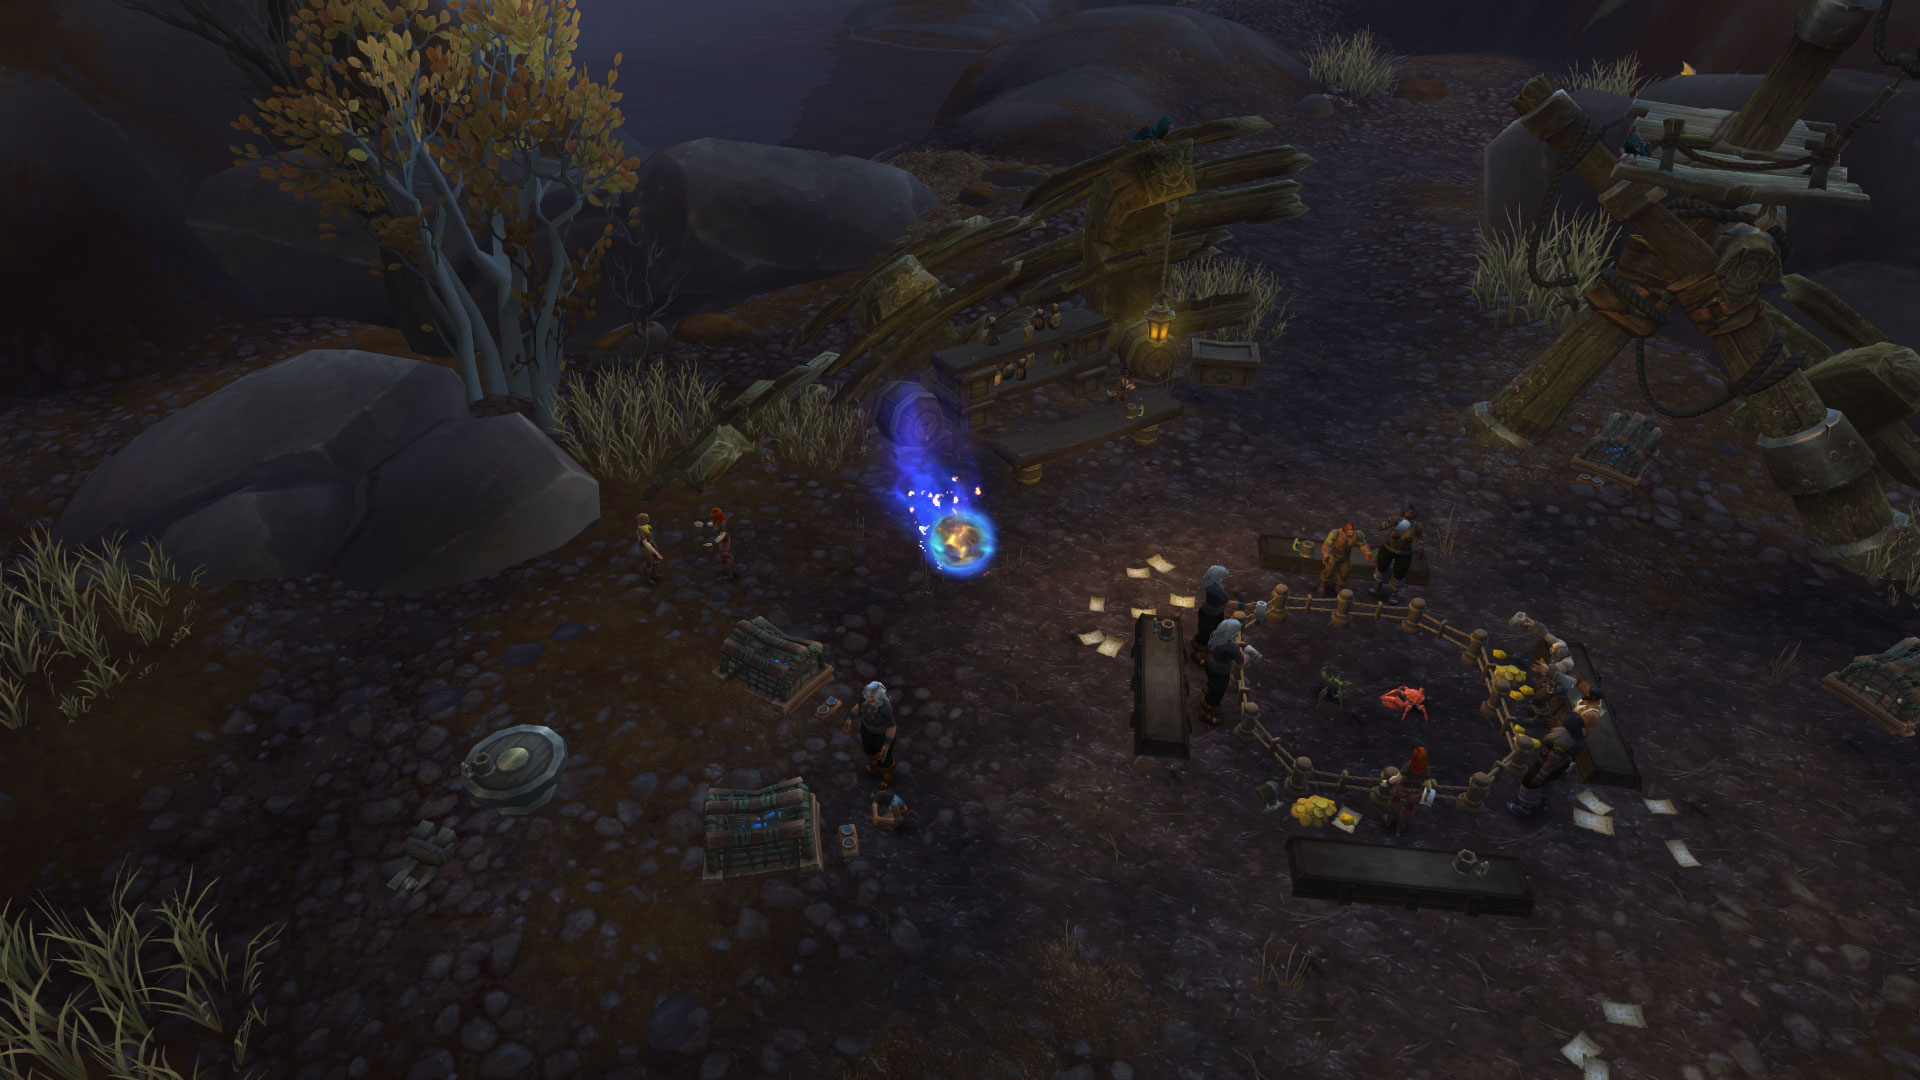
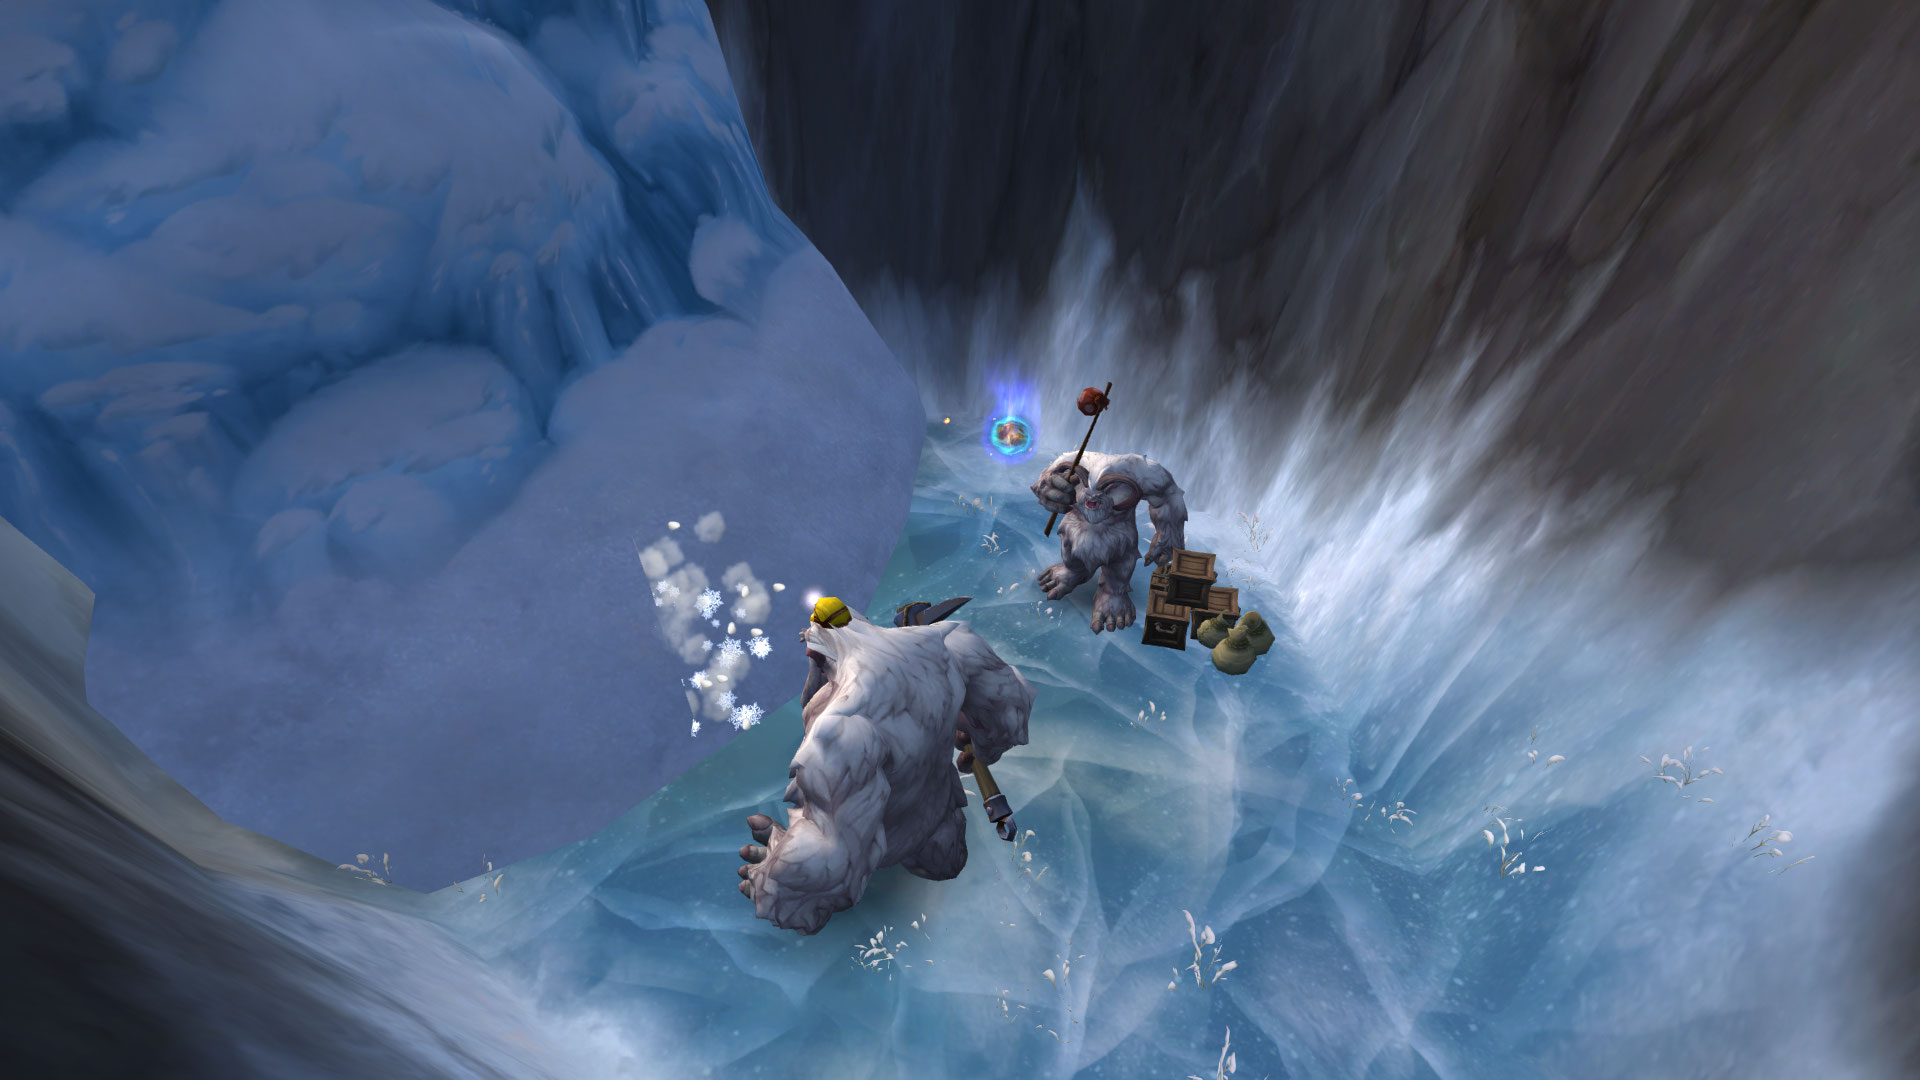
Head to Linken's Tree Trunk in Un'Goro Crater and use the Torch of Pyrreth to reveal the Inert Peculiar Key.
/way #78 44.6 8.0 Inert Peculiar Key - inside the tree trunk


Peculiar Key
Combine the Inert Peculiar Key with the Peculiar Gem to create Peculiar Key, and then make your way to the Karazhan Catacombs in Deadwind Pass.
If you have accidentally deleted the key, you can reobtain the components to recreate it. You will first need to loot the Inert Peculiar Key in Un'Goro Crater, after which the Peculiar Gem will become lootable in Azj-Kahet.
Karazhan Catacombs
Use the Torch of Pyrreth toy while the Peculiar Key is in your bags to reveal the portal into Karazhan Catacombs and begin the Ratts' Revenge scenario.
/way #42 46.7 69.1 Karazhan Catacombs

Ratts' Revenge
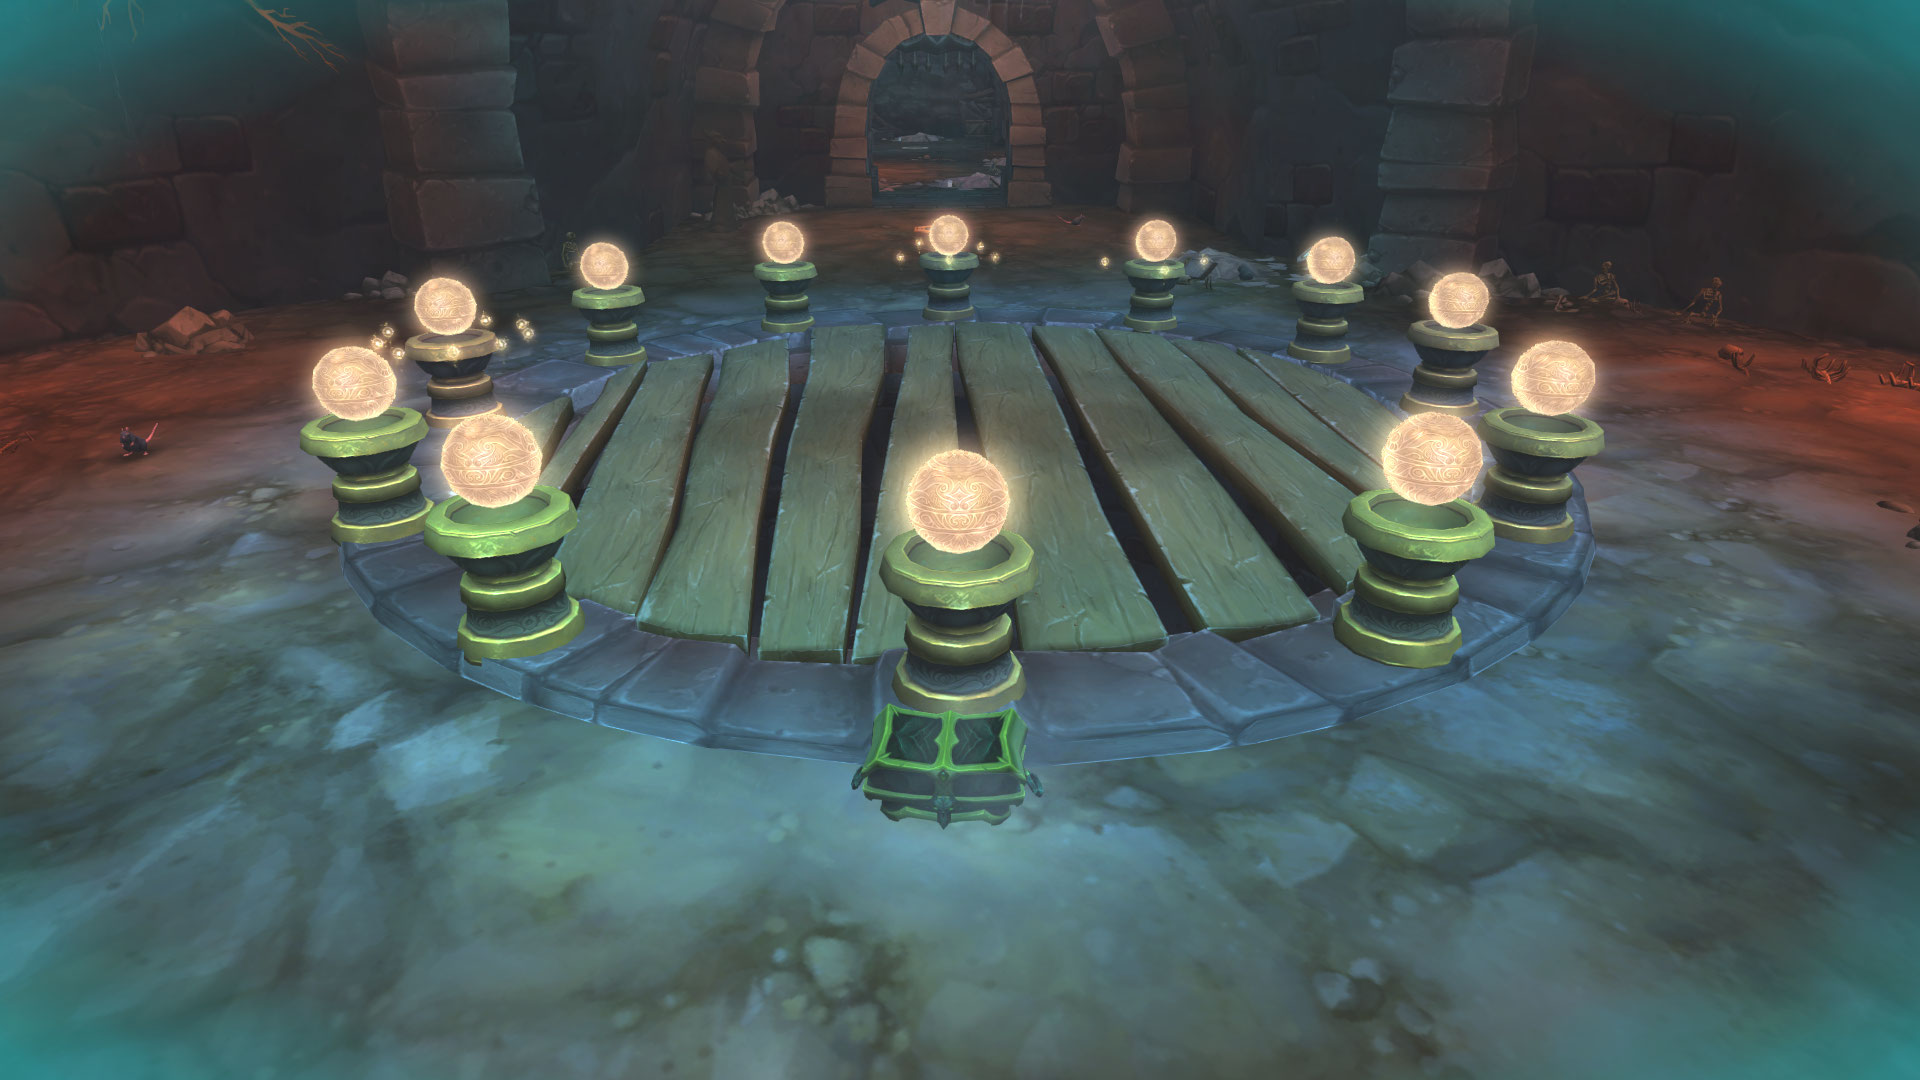
Ratts' Lair is packed with interactable objects and hidden secrets. The Felcycle stands as the prize at the heart of the lair, surrounded by 12 unlit pillars. To unlock this mount, you'll need to solve riddles that gradually light 9 pillars, with some challenges hidden within the lair and others waiting to be uncovered across the world.

Puzzle 1: Anagram
Activate the Torch of Pyrreth and visit three locations related to Mankrik and Olgra. Each location grants one stack of The Light of Their Love. Once you have 3 stacks of the buff, the 1 O'Clock pillar will light up.
Important: There is a small issue that can delay the buff from appearing. If this happens, try waiting a moment or relogging to resolve the issue.
Note: Olgra's location in Nagrand (Draenor) varies depending on your quest progression.
/way #10 55.0 40.2 Humble Monument (Northern Barrens)

/way #1536 27.0 61.2 Decimator Olgra (Maldraxxus)

/way #550 74.2 37.5 Olgra (Nagrand Draenor)

/way #550 49.3 48.0 Mankrik and Olgra (Nagrand Draenor)


Puzzle 2: Old Gods
Equip your Perky Pug with an Old God costume, obtain the Gift of N'Zoth buff by using Twitching Eyeball or All-Seeing Eyes, and then /pray to the Ny'alotha Obelisk in Vale of Eternal Blossoms (Battle for Azeroth Phase).
If you don't meet all of these requirements (or prefer not to spend 25k gold on the dog costume), wait near the obelisk until another player fulfills them, as everyone within 10 yards of the obelisk will receive the Key of Shadows.
- Purchase "Dogg-Saron" Costume from Vashti or obtain "Yipp-Saron" Costume from Hallow's End.
- Head to the Vale of Eternal Blossoms and locate the Ny'alotha Obelisk at the top of Mogu'shan Palace.
- Make sure you are in the Battle for Azeroth version of Vale of Eternal Blossoms (present timeline).
- Use Twitching Eyeball or All-Seeing Eyes to receive the Gift of N'Zoth buff.
- Summon your Perky Pug pet and equip it with the costume.
- /pray to the Ny'alotha Obelisk to receive the Key of Shadows.
Note: There can be a small delay (up to 15 minutes) until you receive the Key of Shadows. If you're helping a friend get the key, you may have to delete your Key of Shadows in order to receive new keys.
/way #390 83.7 27.6 Ny'alotha Obelisk

Puzzle 3: Decryption Consoles
- Return to Ratts' lair and use the Key of Shadows to unlock the Chamber Door.
- Enter the room and fish from the Astral Soup bowl until you obtain an Astral Key.
- Use the Astral Key to open the nearby Astral Chest and obtain the Starry-Eyed Goggles.
- Equip the goggles to see and interact with Decryption Consoles.
/way #46 49.4 71.1 Chamber Door


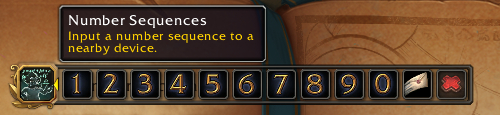
For this puzzle, you have to input and submit specific codes to the 9 Decryption Consoles scattered throughout Ratts' lair. Interact with each console, enter the code from the table below, then press Submit to validate the solution.
After decrypting each console, loot the nearby chest to obtain 1 Piece of Hate. Make sure you save all 9 Pieces of Hate, as they will be required for a later puzzle.
Progress Script
/run local s,t={"Ko'nani","Puzzle Box","Here #1","Here #2","No Violence","Rubenstein","Handwritten Note","Hear","Slots"},{57,58,68,69,71,66,72,70,86} for i,v in ipairs(t) do print(s[i],":",C_QuestLog.IsQuestFlaggedCompleted(84700+v)) end
"Property of Elder Ko'nani"Code: 88224646
|
|
Encrypted Puzzle BoxCode: 17112317 - Submit the code, then loot the Puzzle Box on the table
|
|
"Here" Note #1Code: 1533, 3457, 8265 or 10638 Important: Use the Starry-Eyed Goggles to see the console
|
|
"Here" Note #2Code: 5661
|
|
"No Violence, Please"Code: 19019
|
|
Rubenstein's SafeCode: 52233
|
|
Handwritten NoteCode: 51567
|
|
"Hear" NoteCode: 115
|
|
"Feeling Lucky?" Slot MachinesCode: 777, 888 or 168 - read the notes below
|
|


The "Feeling Lucky?" Slot Machines require the character to be "lucky" when submitting the code. This is achieved by having any five unique lucky items or buffs:
- Lucky Charm, Lucky Rat's Tooth & Lucky Shirt - Purchased from Lenny "Fingers" McCoy in Stormwind.
- Lucky Dragon's Claw & Lucky Tortollan Charm - Purchased from Griftah in Dornogal.
- Lucky Horseshoe - Purchased from Farrier Roscha in Ohn'ahran Plains. The item binds when picked up.
- Lucky Duck - Reward from the quest Friend on the Mend. The buff Escorting Lucky Duck has a 10 minute duration.
After you've obtained the items, input any of the lucky numbers: 777, 888 or 168. Once the correct code is submitted, the slot machines will disappear, and you'll receive the last Piece of Hate in your bags.
Puzzle 4: Doom
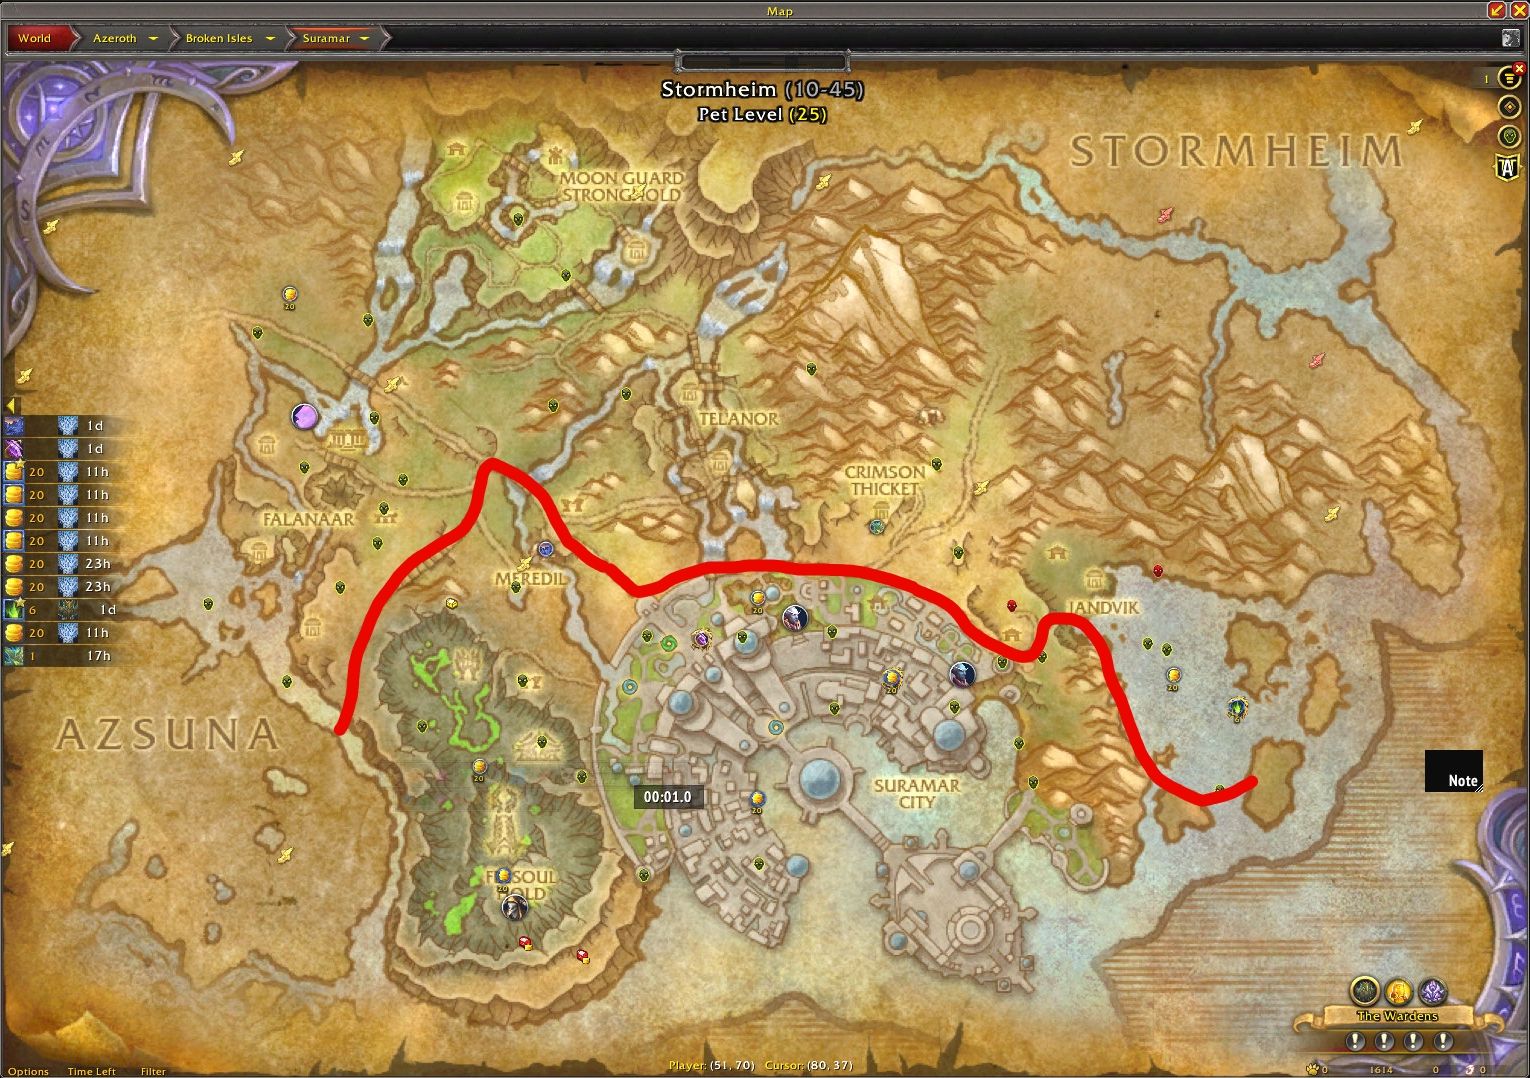
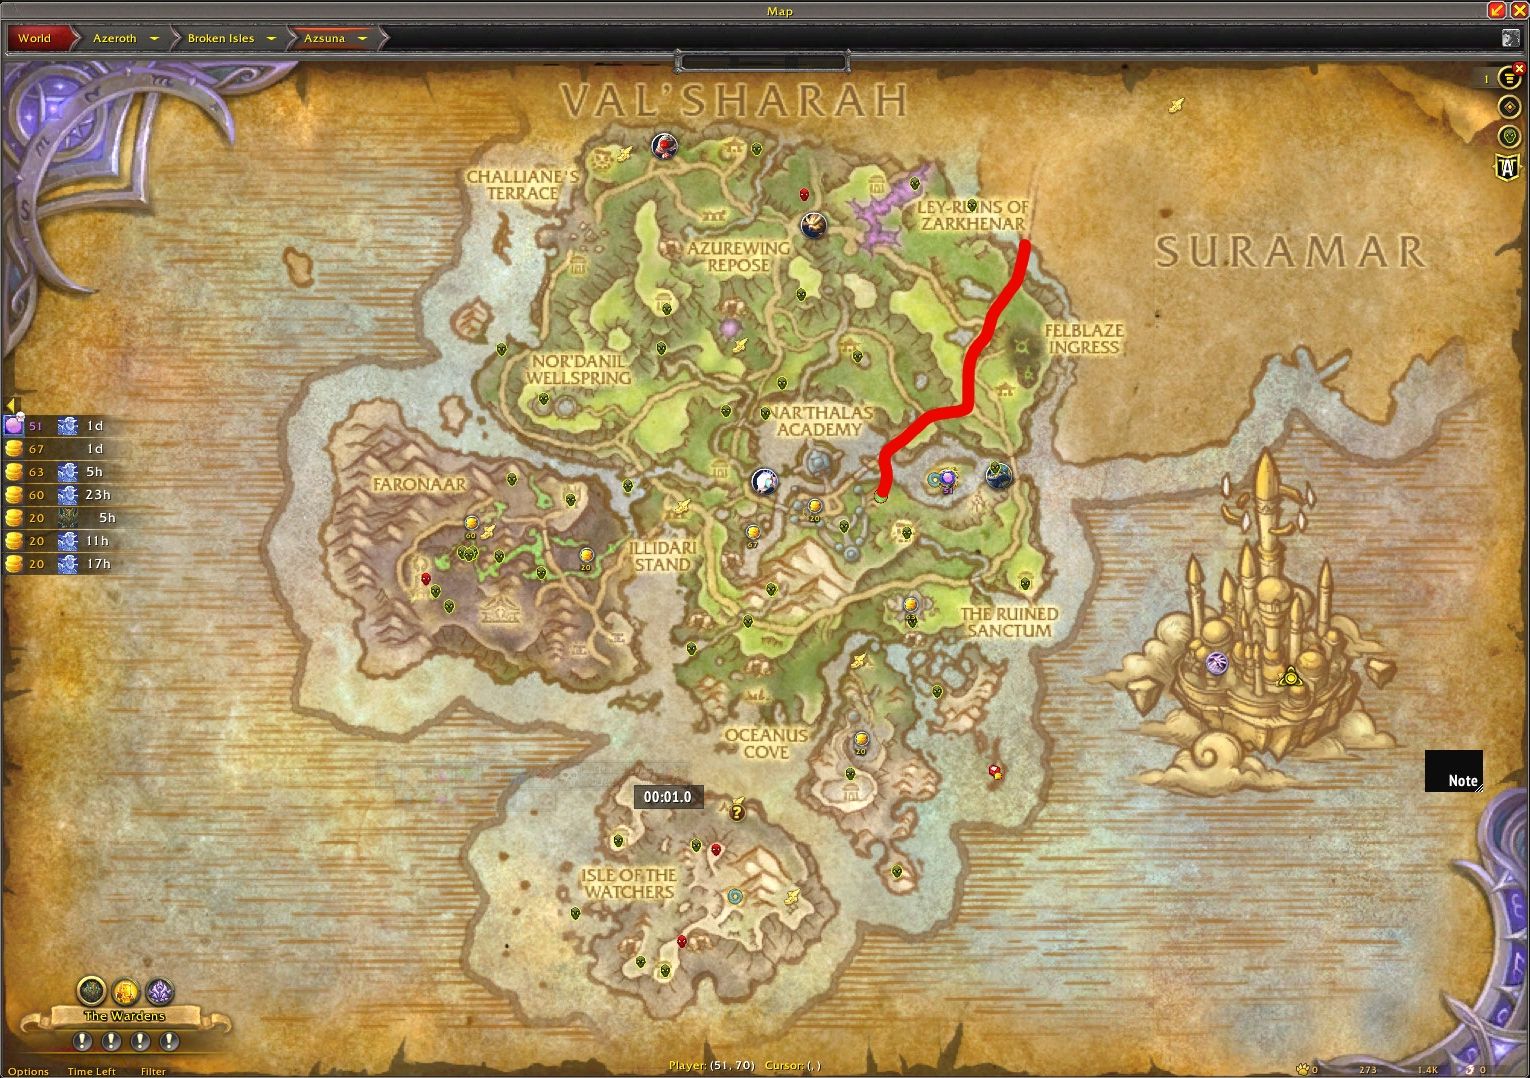
Purchase the Scroll of Fel Binding from Vashti the Wandering Merchant, who patrols the eastern part of Azsuna, moving between the Ley-Ruins of Zarkhenar and The Ruined Sanctum.
/way #630 66.0 22.2 Vashti the Wandering Merchant

/way #630 63.6 27.8 Vashti the Wandering Merchant

/way #630 65.2 36.4 Vashti the Wandering Merchant

/way #630 66.6 43.0 Vashti the Wandering Merchant

/way #630 65.8 48.2 Vashti the Wandering Merchant

Head to Uther's Tomb in Western Plaguelands and use the scroll to summon a Doomguard. This will cause 4 Hidden Graffiti to appear on the ground inside the tomb.
/way #22 52.0 83.0 Uther's Tomb

Interact with the Hidden Graffiti to complete the 4 o'clock puzzle. Other players nearby can also trigger this completion, so check your progress with the following script:
/run print(C_QuestLog.IsQuestFlaggedCompleted(84780))
Puzzle 5: Golden Muffin
For this puzzle, you need to defeat Jeremy Feasel on the Timeless Isle using three secret pets that are level 25.
Coincidentally, we already have guides on the website for obtaining most of the secret pets eligible for the pet battle: Nelthara, Glimr, Gurgl, Baa'l, Bumbles, Filthy Slime, Taptaf, Wicker Pup, Sun Darter Hatchling, Terky, Phoenix Wishwing, Spyragos, Snowclaw Cub, Jenafur, Francois, Gizmo the Pure, Hungering Claw, Lil' Abom, Renny, and Tobias.
- Complete pet battle world quests to obtain 105 Polished Pet Charms (35 charms are required to level one pet).
- Trade Polished Pet Charms for Ultimate Battle-Training Stone at any pet battle vendor.
- Obtain Marked Flawless Battle-Stone from world quests or Flawless Battle-Stone from the Auction House.
- Use the stones to level your pets to 25 and increase their quality to rare.
- First Pet: Baa'l 1/2/2 or Nelthara 1/1/1 or Spyragos 1/2/2
- Second Pet: Snowclaw Cub 1/2/1
- Third Pet: Taptaf 1/1/1 or Wicker Pup 1/1/1
You can find alternative pet teams over at Xu-Fu's Pet Battle Strategies.
Jeremy Feasel
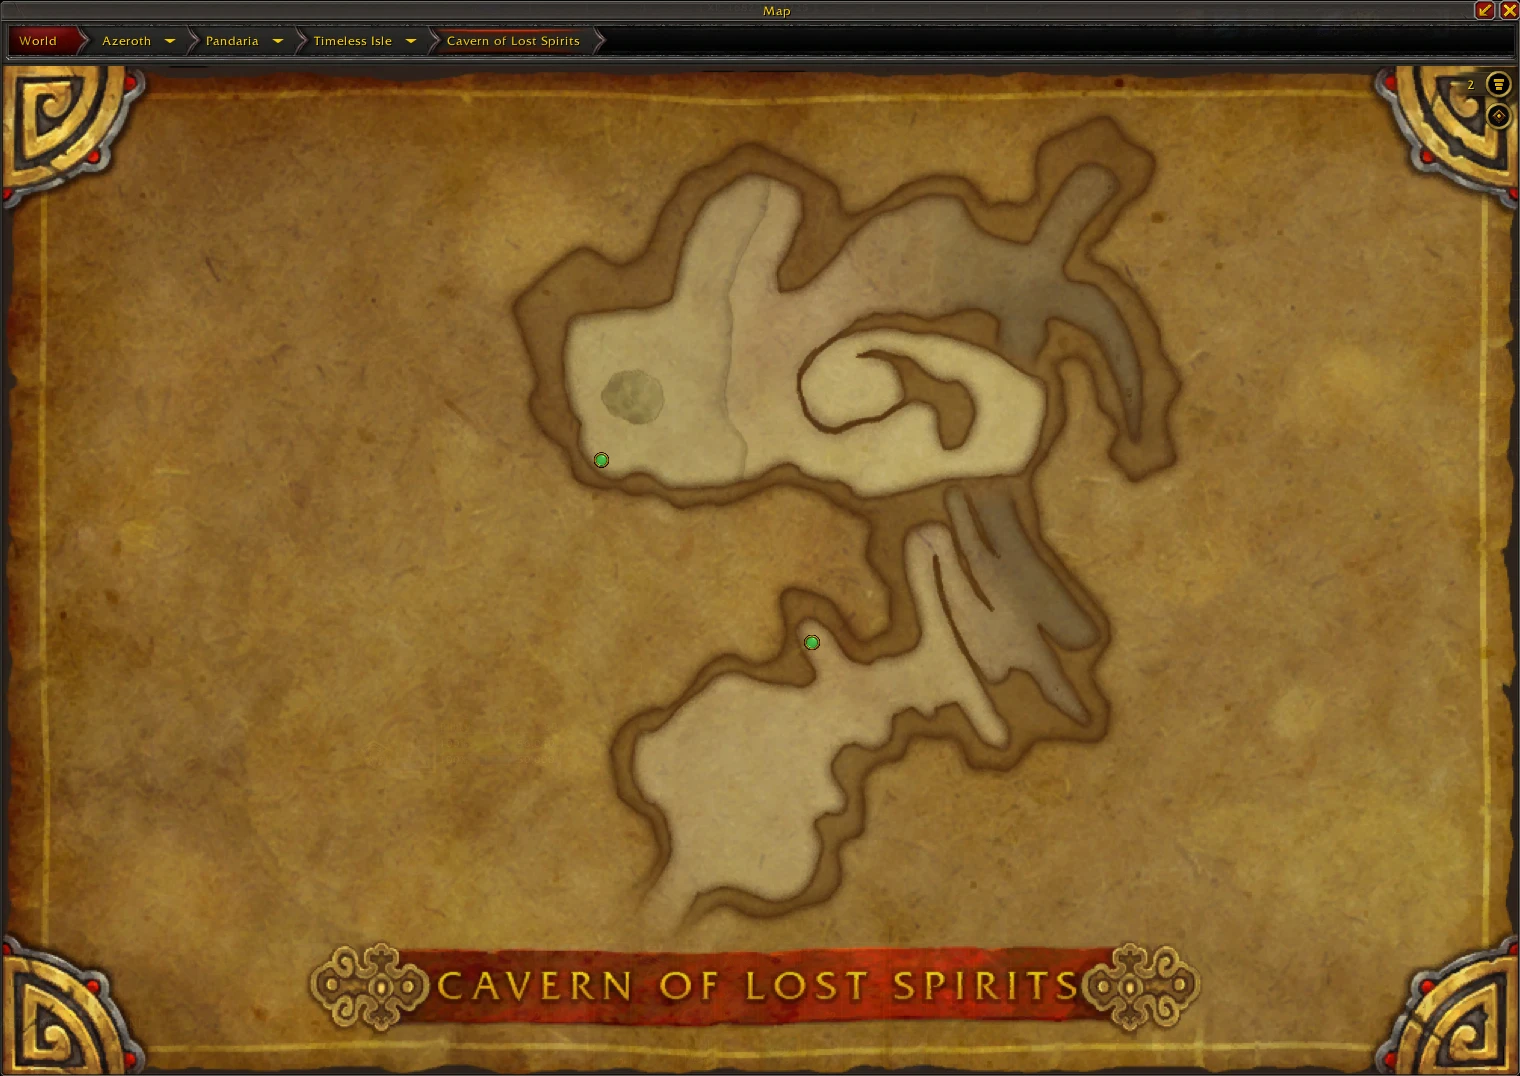
- Purchase Goblin Glider Kit from the Auction House, then head to the Timeless Isle in Pandaria.
- Locate Zarhym inside the Cavern of Lost Spirits and speak with him to enter the spirit world.
- Make your way to Jeremy Feasel in the northwest part of the cave while avoiding the Timeless Spirits.
- One Timeless Spirit might block your way; use a Goblin Glider Kit from the nearby ramp to get past it.
- Avoid looting any Spirit Chests on the way; otherwise, you will have to reset your Zarhym daily lockout.
/way #555 53.4 57.1 Zarhym

/way #555 39.5 39.0 Jeremy Feasel


Zarhym Daily Lockout
In case you get kicked out of the spirit world, you can interact with the Ghostly Brazier in Ratts' lair to reset your Zarhym daily lockout.
/way #46 69.5 87.4 Ghostly Brazier

Golden Muffin
After defeating Jeremy Feasel in a pet battle, speak with him to complete the quest Master of Secrets and receive the Golden Muffin!
Relic of Crystal Connections
Locate the Pointless Treasure Salesman at Janeiro's Point in Booty Bay, then trade the 9 Pieces of Hate and the Golden Muffin for a Relic of Crystal Connections.
/way #210 35.5 63.5 Pointless Treasure Salesman


Optional: Return to Ratts' lair and use the Relic of Crystal Connections on the Humming Crystals to learn how to get in and out of the locked room.
/way #46 70.2 45.7 Humming Crystal #1 - Green

/way #46 74.1 49.0 Humming Crystal #2 - Purple

Puzzle 6: Altars of Acquisition
Travel to Zul'Gurub in Northern Stranglethorn and locate the Altars of Acquisition in the open world.
/way #50 78.2 44.0 Sin Altar

/way #50 77.5 43.9 Corrupt Altar

/way #50 77.1 44.9 Lust Altar

/way #50 77.1 46.3 Blood Altar

/way #50 78.1 46.3 Void Altar
Activate the Torch of Pyrreth and use themed mounts, pets, toys and transmog at each altar to progress through the puzzle. Other nearby players can contribute by fulfilling the requirements as well.
- Mount: Corrupted Fire Hawk, Ny'alotha Allseer, Black Serpent of N'Zoth, Corrupted Dreadwing, Corrupted Gladiator's Proto-Drake, Corrupted Hippogryph or Underlight Corrupted Behemoth
- Pet: Eye of Corruption, Corrupted Blood or Corrupted Tentacle
- Toy: Ring of Broken Promises or Accursed Tome of the Sargerei
- Transmog: Cloak of Overwhelming Corruption, Red Sky Cloudcloak or Cloak of Infinite Potential
- Pet: Sister of Temptation or Heartseeker Moth
- Toy: Use the Steamy Romance Novel Kit to create a permanent Steamy Romance Novel (A Steamy Romance Novel: Of Elven Bondage, A Steamy Romance Novel: Nightborne of the Living Dead or A Steamy Romance Novel: Waves of Desire). You can also purchase these from Zophar in K'aresh or from the Auction House. Please note that the 20-minute conjured items do not fulfill the requirement.
- Transmog: Use the toy Moroes' Famous Polish or hide transmog in all item slots (including shirt and tabard)
- Pet: Lesser Voidcaller, Voidling Ooze, Shadow, Void Shardling, Voidwiggler, Sir Shady Mrrgglton Junior, Umbral Amalgam or Mind Slurp
- Toy: Shadowy Disguise, Bottled Shade Heart, Shadescale or Void Totem
- Transmog: Cloak of the Black Void or other cloaks with the same appearance
If all the requirements are met, all nearby players will receive credit and the following emote will appear in chat:
The spirit departs, satisfied with your acquisitions.
You can check your progress by using the following script:
/run local s={"Sin","Corrupt","Lust","Blood","Void","Chest of Acquisitions"} for i,v in ipairs(s) do print(v..":",C_QuestLog.IsQuestFlaggedCompleted(84805+i)) end
After fulfilling the requirements, the following emote will appear in chat:
A haunted drum echoes. The spirits have left you a gift.
Locate the Chest of Acquisitions nearby and open it to receive the Ancient Shaman Blood.

Puzzle 7: Owl of the Watchers
On the Isle of the Watchers in Aszuna there are a total of 9 owl statues, 3 of which can be activated at any given moment.
/way #630 44.2 72.4

/way #630 40.6 73.1

/way #630 40.5 75.2

/way #630 37.1 82.2

/way #630 43.2 85.3

/way #630 43.6 87.5

/way #630 46.0 84.1

/way #630 47.5 84.7

/way #630 50.4 91.7

Owl of the Watchers Puzzle
1. Summon your Fledgling Warden Owl battle pet. You can purchase this pet from Marin Bladewing (The Wardens Emissary) or the Auction House.
2. Interact with the owl statues until one of them activates, which will be indicated by a colored aura around it (red, green, blue and purple).
Note: You'll need to interact with multiple statues, as the ones that can be activated rotate. If a statue can't be activated, then move on to another one.


3. Stand close to an active statue and wait until your Fledgling Warden Owl flies in a circle, lights up with the statue's aura color, and triggers the magnifying glass. If that doesn't happen, resummon your pet or wait a little longer.
Repeat this process until you've triggered all four colors: red, green, blue and purple.
Once all four colors have been triggered, your Fledgling Warden Owl will gain a light orb, indicating that this step of the puzzle is complete.

Vault of the Wardens Puzzle
- Head into the Vault of the Wardens and clear the dungeon on any difficulty.
- Take Elune's Light from the Glowing Sentry on Cordana Felsong's platform.
- If the light disappears, you can retake it from the Glowing Sentry near the elevator.
- Head back to the start of the dungeon and enter the secret room before Tirathon Saltheril.
- Summon your Fledgling Warden Owl and loot the Sentry Statue.


Place the Sentry Statue on the platform in the Vault of Mirrors (Glazer's room) and interact with it to start the final puzzle.

Vault of Mirrors Puzzle
Interacting with a statue makes it disappear (lowering it down) and flips four other statues (raising or lowering them in the room). The goal of this puzzle is to make all the statues disappear. Use the Puzzle Solver to map out the statue interactions and find a solution.
Note: If the world quest Vault of the Wardens: Startup Sequence is active, it replaces the intended puzzle and functions differently. Use this solution to complete it.

Once the puzzle is complete, loot Warden's Mirror from the Treasure of the Wardens. If the chest is not visible, activate your Torch of Pyrreth and resummon your Fledgling Warden Owl.

Puzzle 8: Enigma Machine
Insert the Ancient Shaman Blood and Warden's Mirror into the Enigma Machine, then click "BEGIN" to activate the Plates and "SUBMIT" to summon Rats. To complete this puzzle, you have to release three locked mechanisms by moving statues on specific plates.
/way #46 60.0 43.0 Enigma Machine
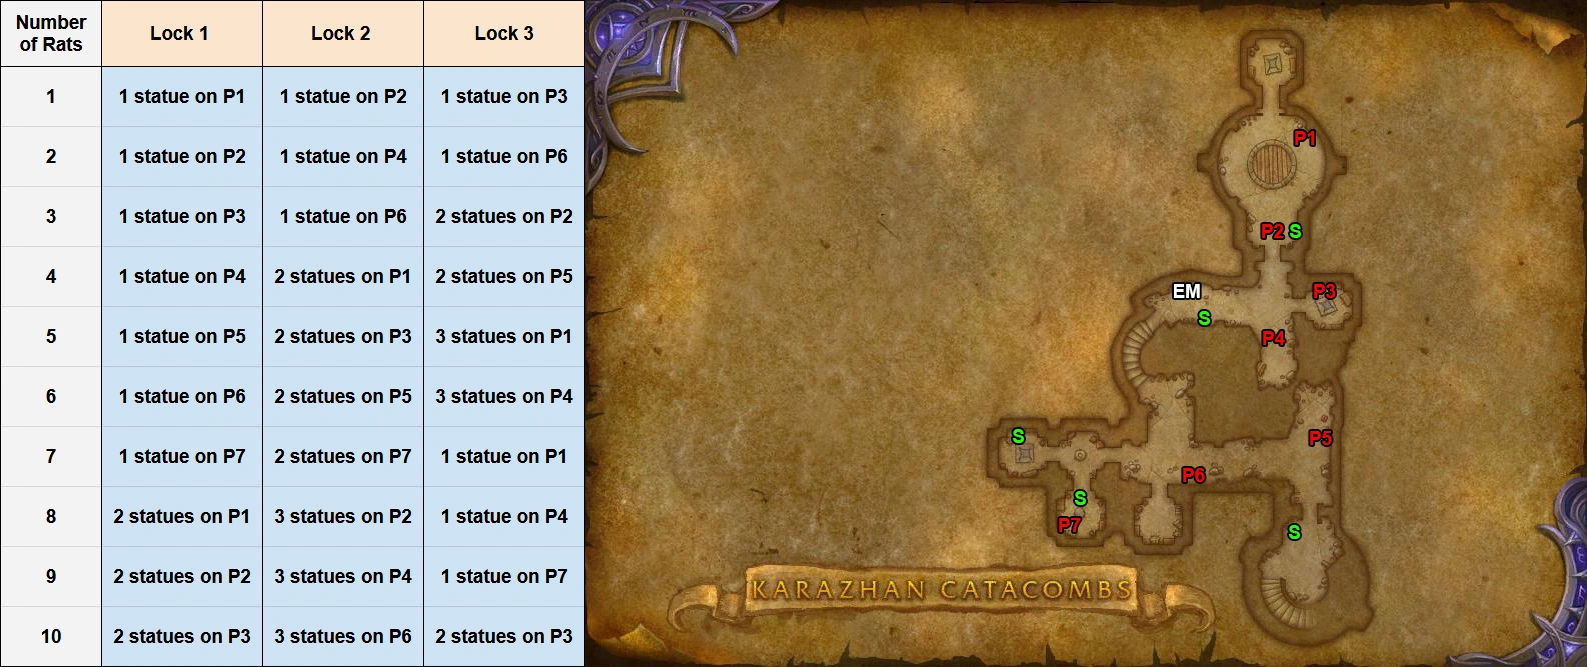
Step 1: Locate and kill all Rats through the instance, counting them manually with the Rat Kill Tracker WeakAura.
Make sure to check the entire area, from the entrance of the catacombs to the felcycle room. Use the following macro to locate Rats easily:
/target Rat

/run SetRaidTarget("target", 8)

/cleartarget [help]

/stopmacro [noexists][dead]

/ping [@target]
Make sure to kill any Catacombs Rats you find along the way since they can interfere by stepping on plates.
Important: Catacombs Rats do not count for this puzzle!
Step 2: Move the correct number of statues onto the indicated plates.
Based on the number of Rats killed and the current Lock, move the correct number of statues onto the indicated plate, as shown in the table above.
Example: If you counted 8 Rats for Lock 1, then you would have to move 2 Statues on Plate 1.
Step 3: Return to the Enigma Machine and click SUBMIT to validate your solution.
If the solution is correct, the message "You hear a mechanism unlock." will appear in chat and you can proceed to Step 4.
If the solution is incorrect, you'll have to clear all Rats and then restart the puzzle by pressing "SUBMIT".
Explanation: Since Rats don't despawn after pressing "SUBMIT", any miscount could leave extra Rats alive. In case your solution was incorrect, make sure all Rats are cleared before restarting the puzzle!
Step 4: Remove the statues from the current Plate and proceed to the next Lock.
You will have to head back to Step 1 and repeat the process for the remaining Locks.
Once all three mechanisms are unlocked, the message "A great lock has been released." will appear in chat, indicating that the puzzle has been solved.


Puzzle 9: Cryptic Plaque
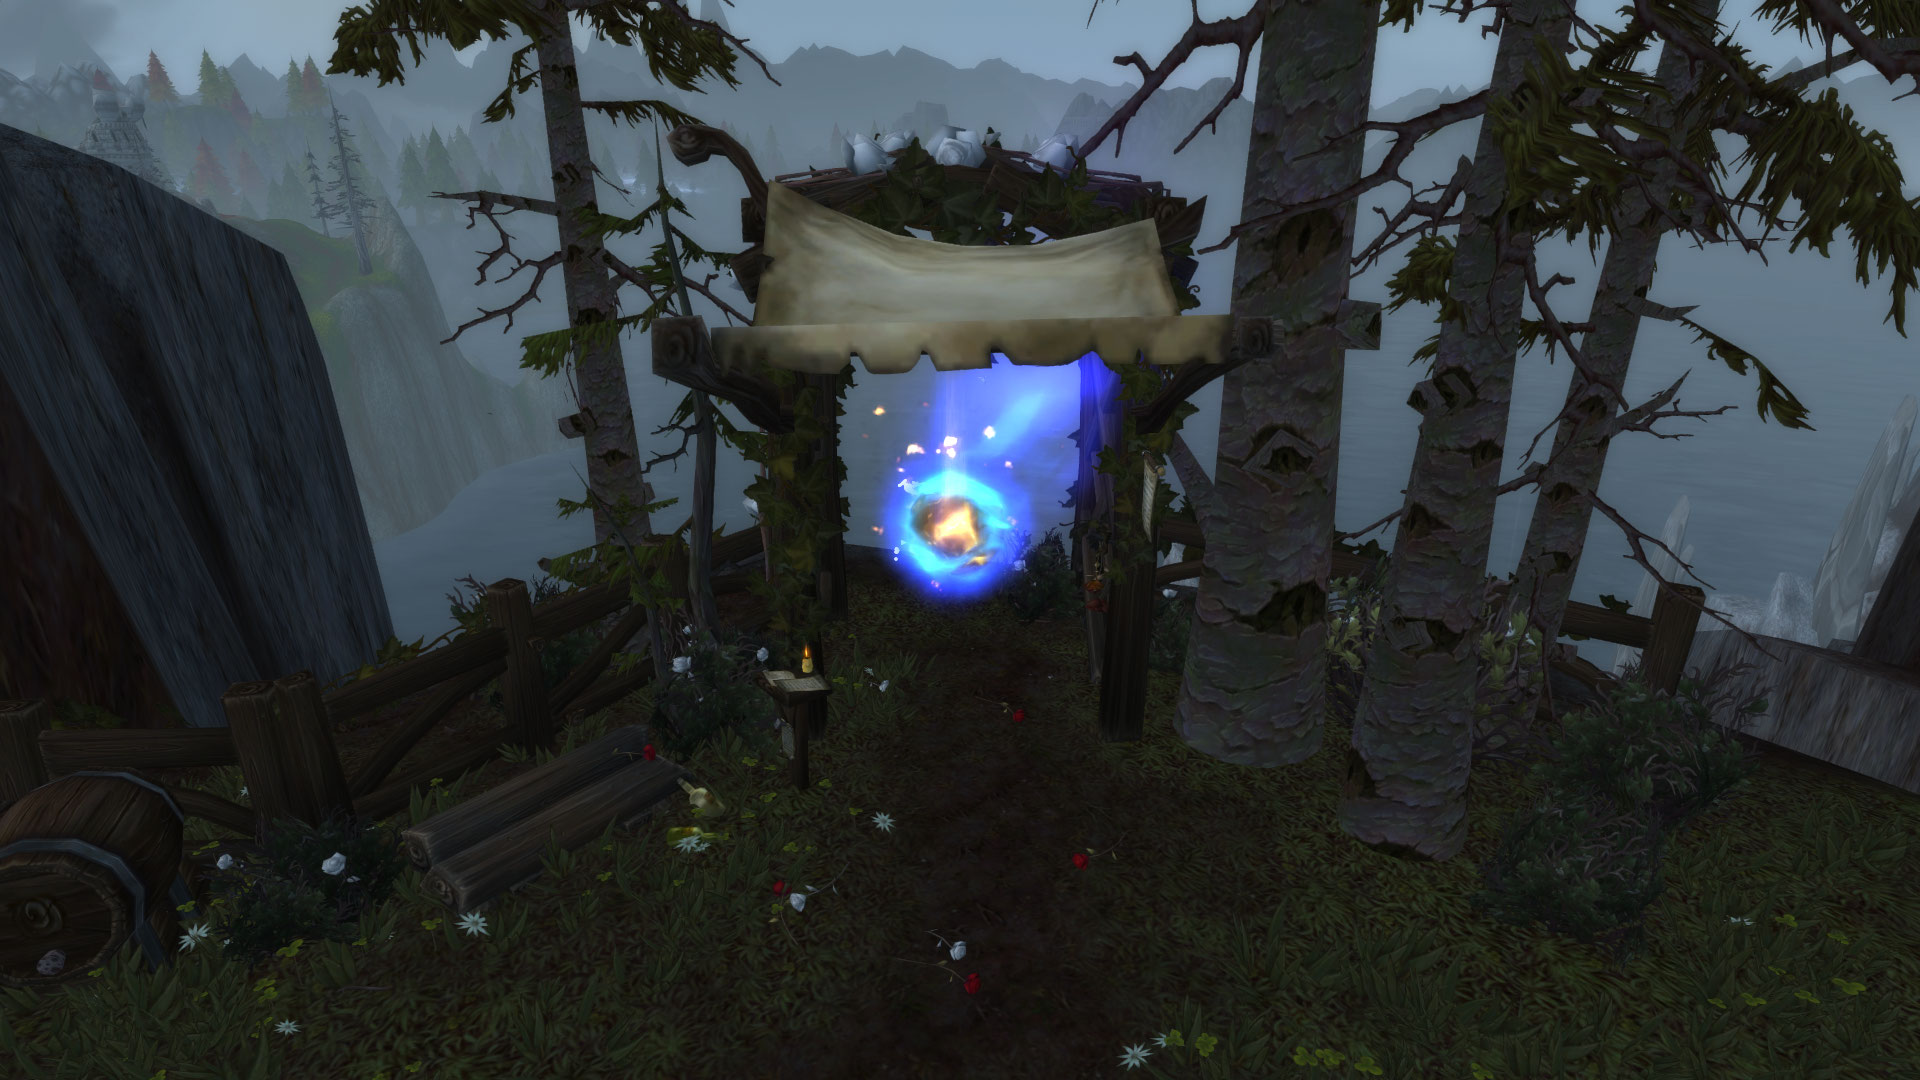
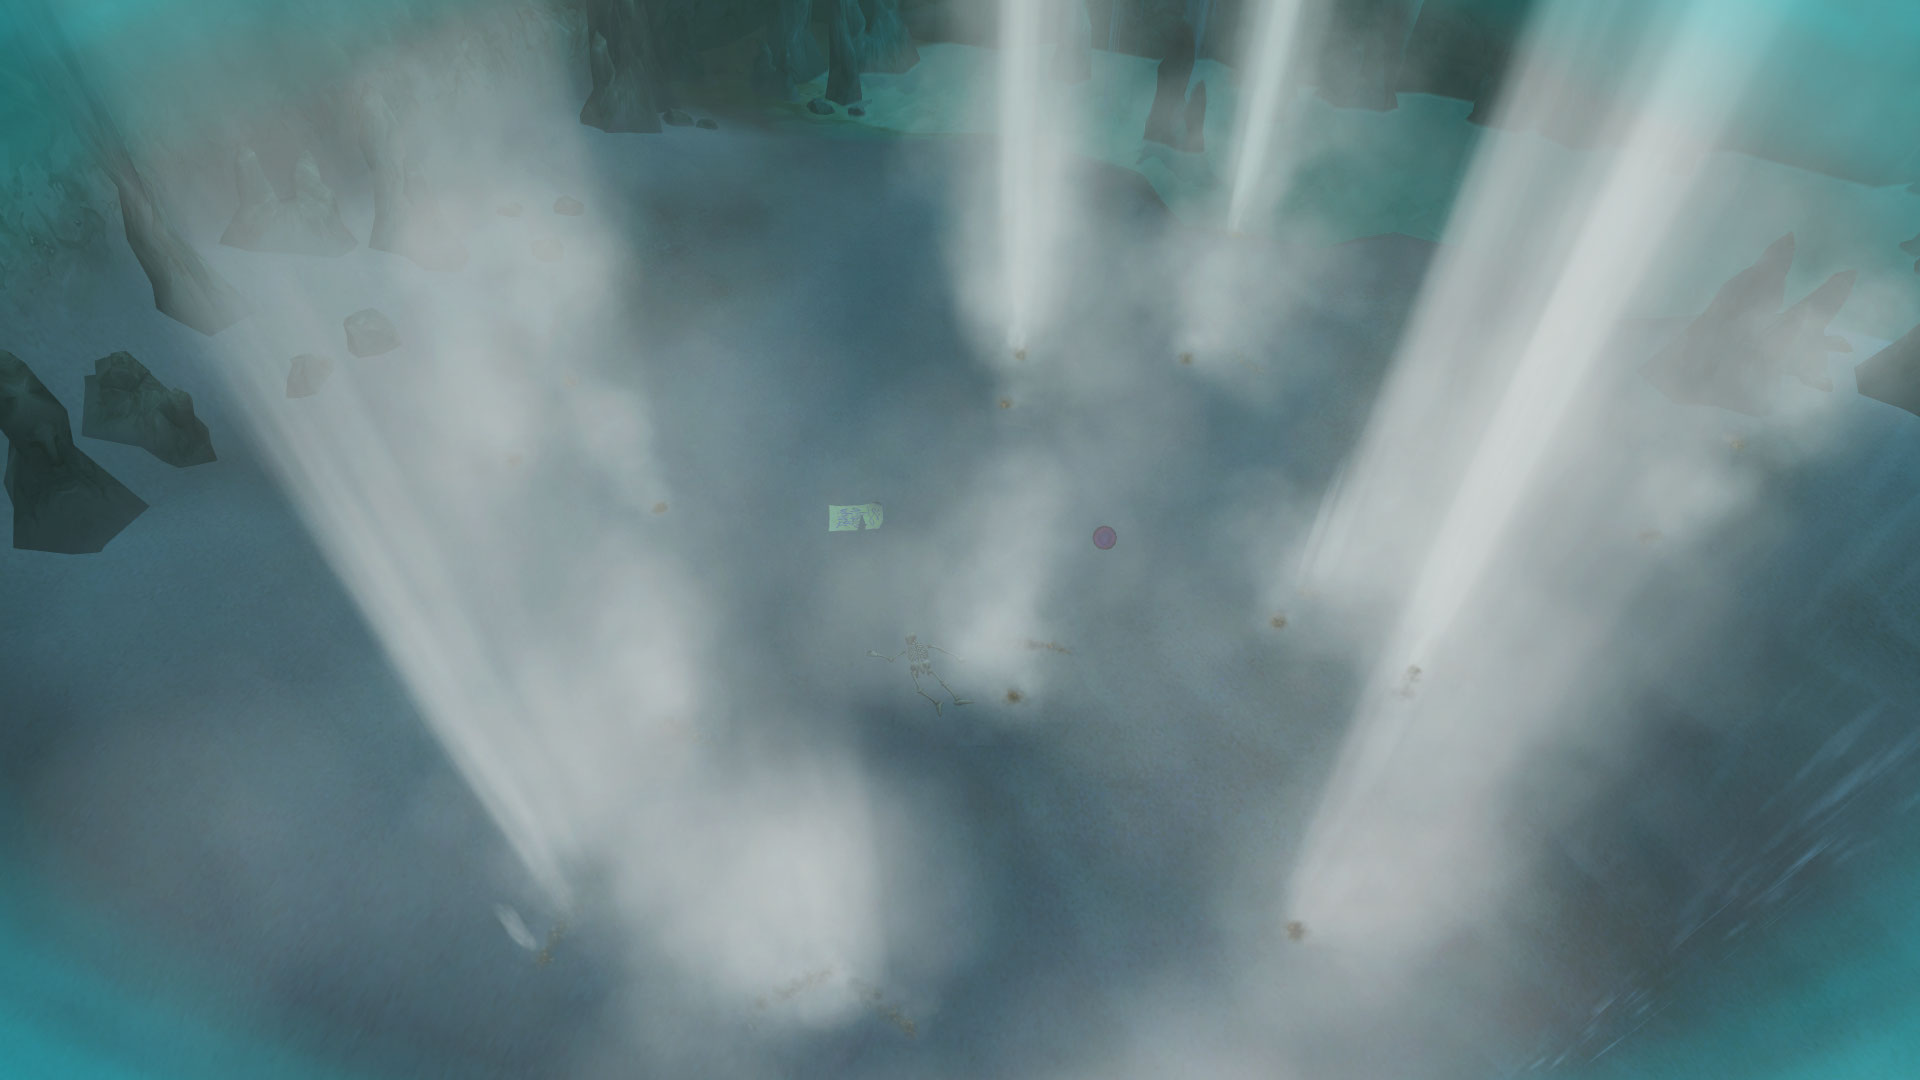
Enter the cave at Faerin's Advance in Azj-Kahet and head to the wall shown in the screenshot below. Climb up to the hole at the top (indicated by the arrow) and go through it.
/way #2255 55.2 19.2 Pillar-nest Vosh Cave Entrance

/way #2255 56.35 17.25 Jumping Puzzle Start

/way #2255 56.35 17.45 Jumping Puzzle Hole
Equip the Starry-Eyed Goggles to reveal the astral platform, then use the Relic of Crystal Connections on the Humming Crystal to teleport to the platform.

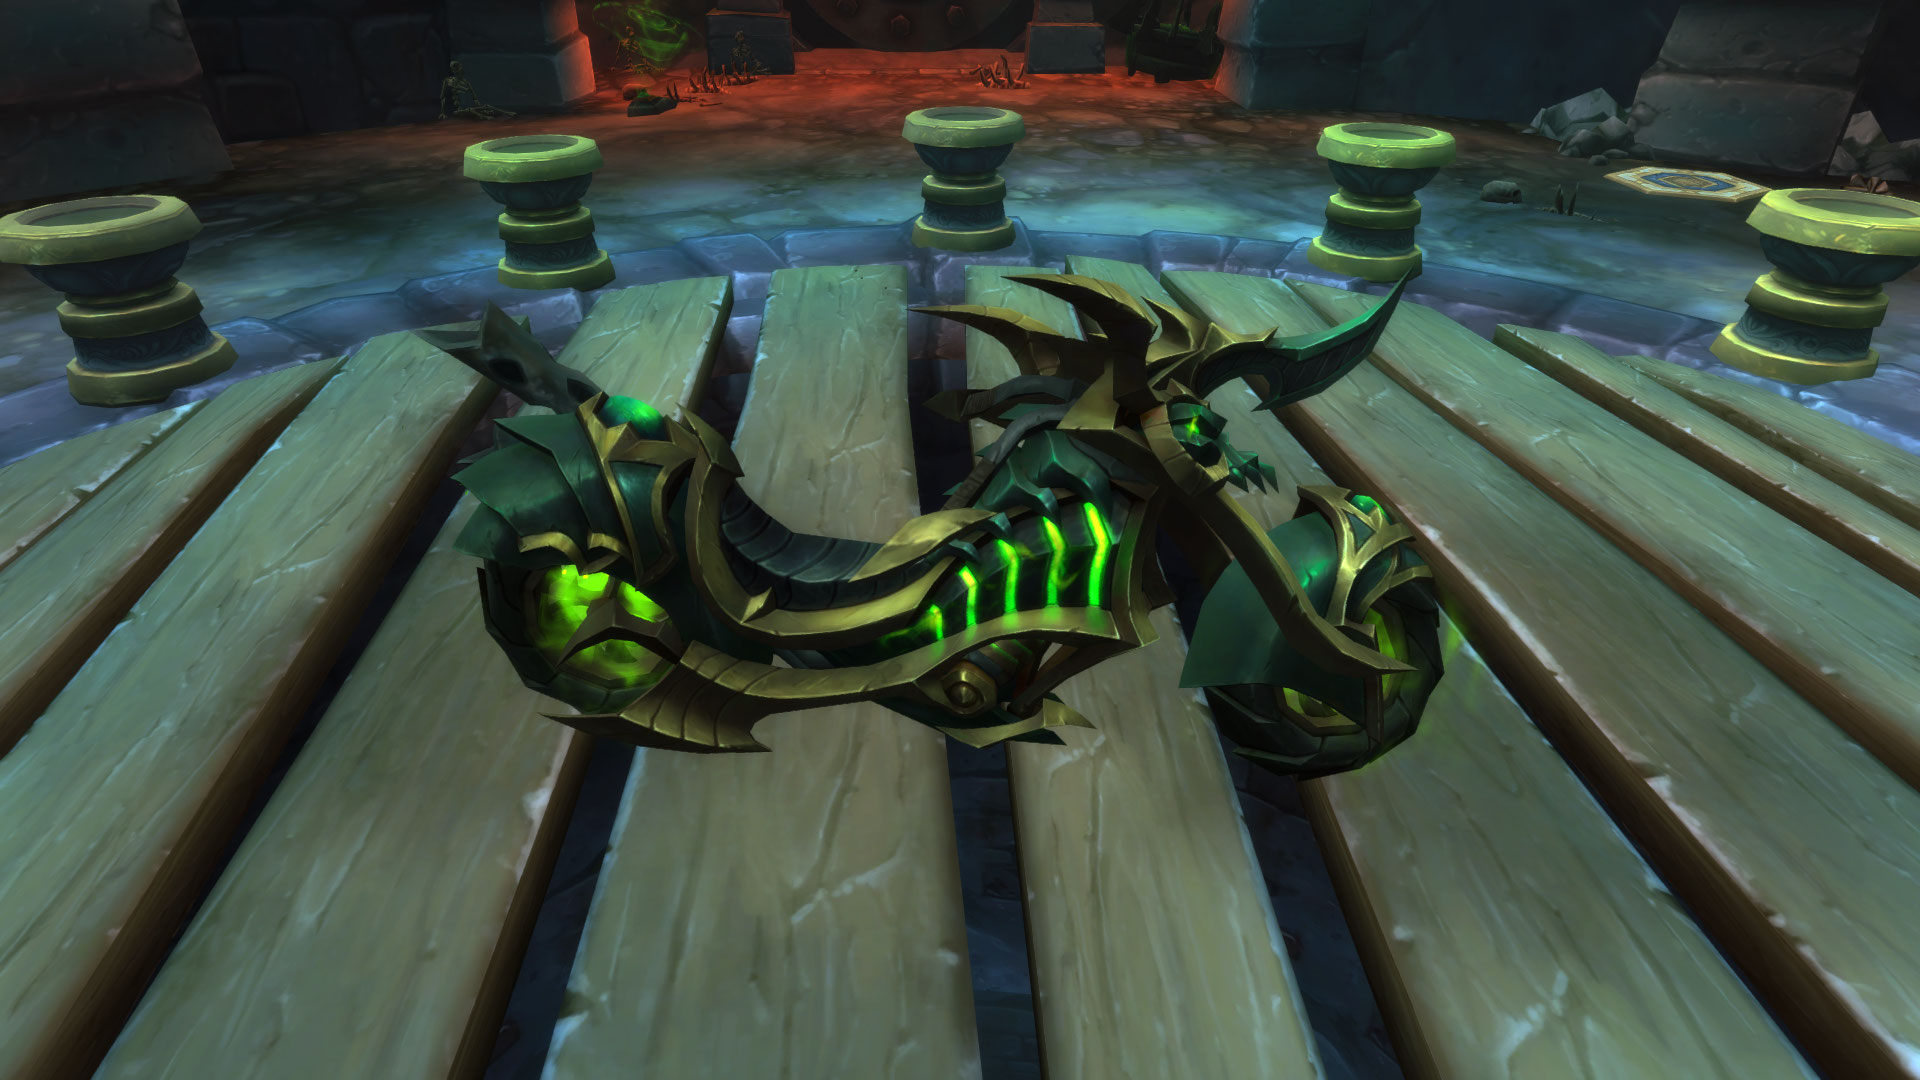
Interact with the console, enter the code 84847078 and press Submit to validate the solution, then loot the nearby chest to receive Incognitro, the Indecipherable Felcycle!

Override Sequence
After unlocking Incognitro and mounting the felcycle, players gain access to the ability Override Sequence, which allows numeric inputs to trigger hidden effects within the bike.
Working codes include:
- 17 - Triggers a random visual effect (sparks, smoke or lightning)
- 317 - Displays three question marks and a magnifying glass
- 418 - Creates a Brightly Colored Egg which contains a Weird Egg
- 2104059 - Triggers an emote: The felcycle's engine sputters with a demonic whisper that you can barely comprehend. "Free her from the prison umbral."
The 2104059 code trigger was introduced in Patch 11.2.7 and it's the same code as the one on the first Inconspicuous Note from the Lucid Nightmare secret riddle.
Puzzle 10: Oddsight Focus
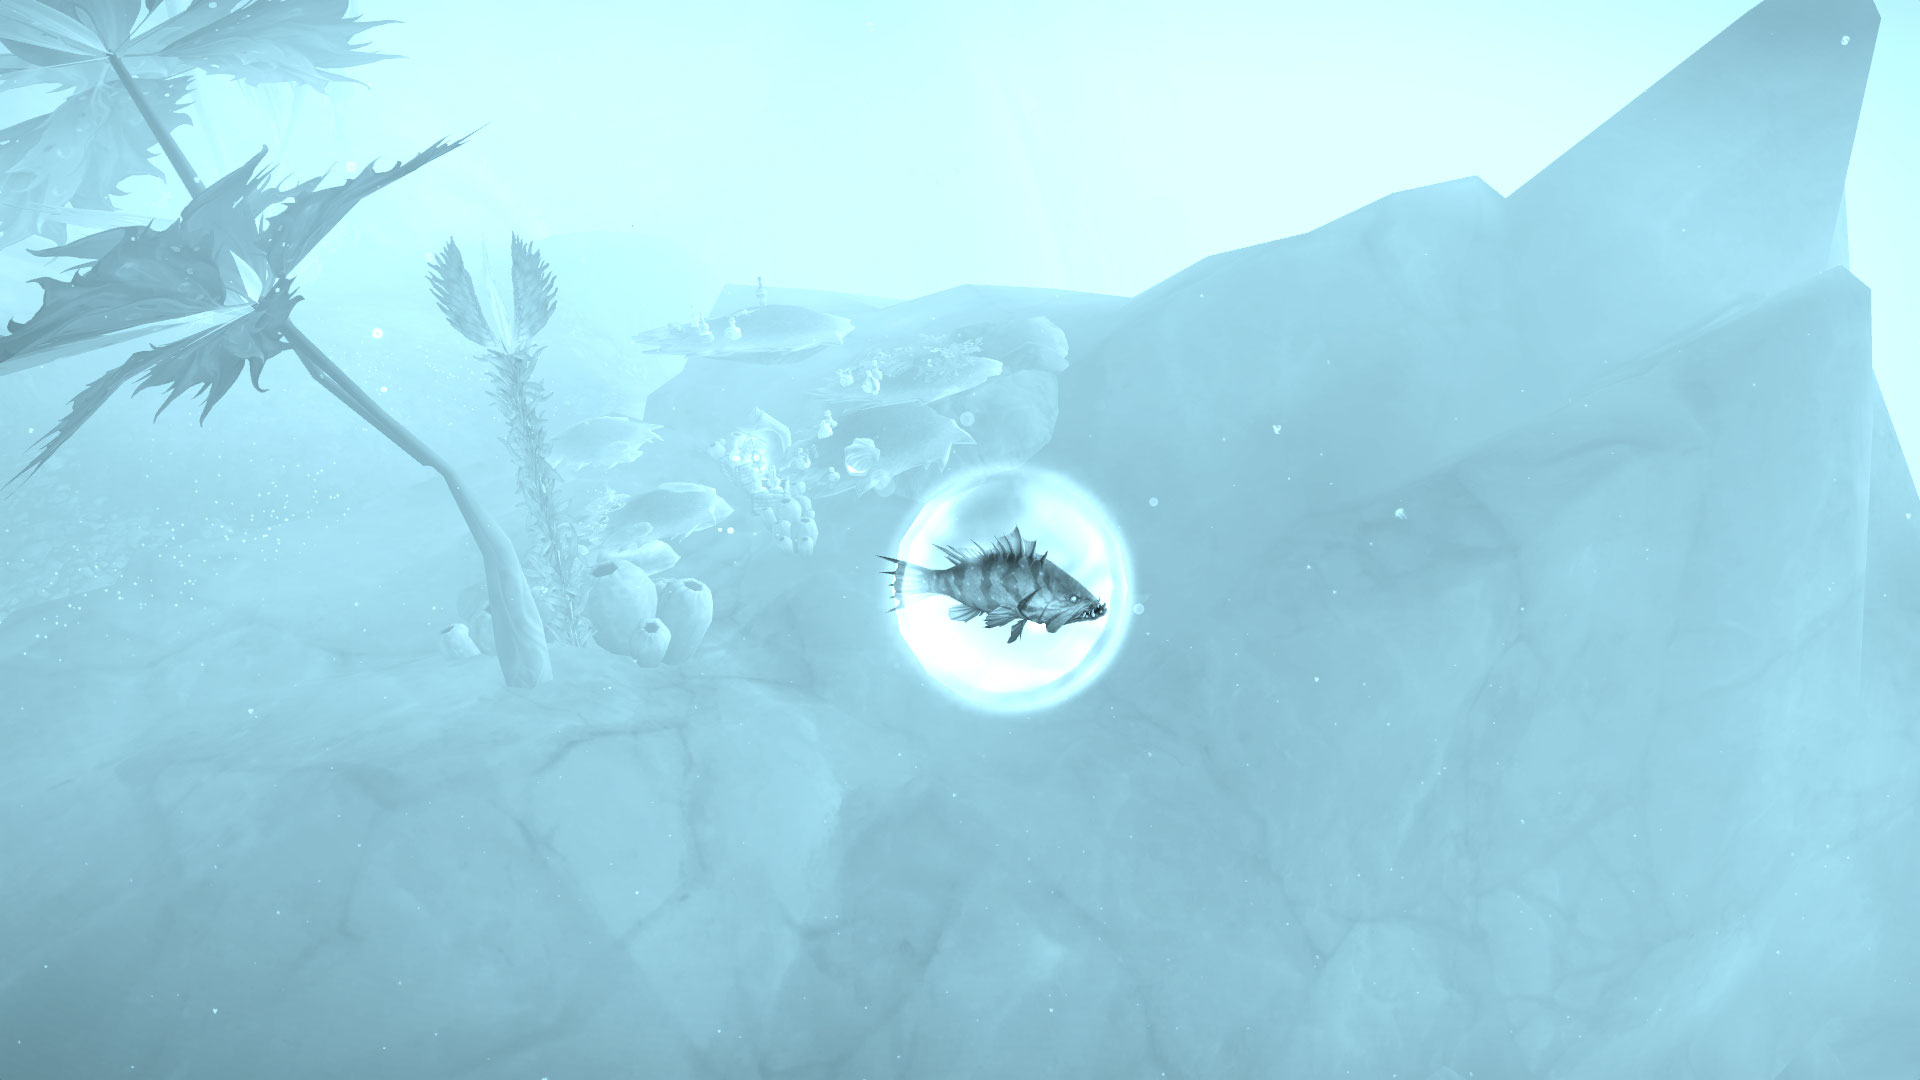
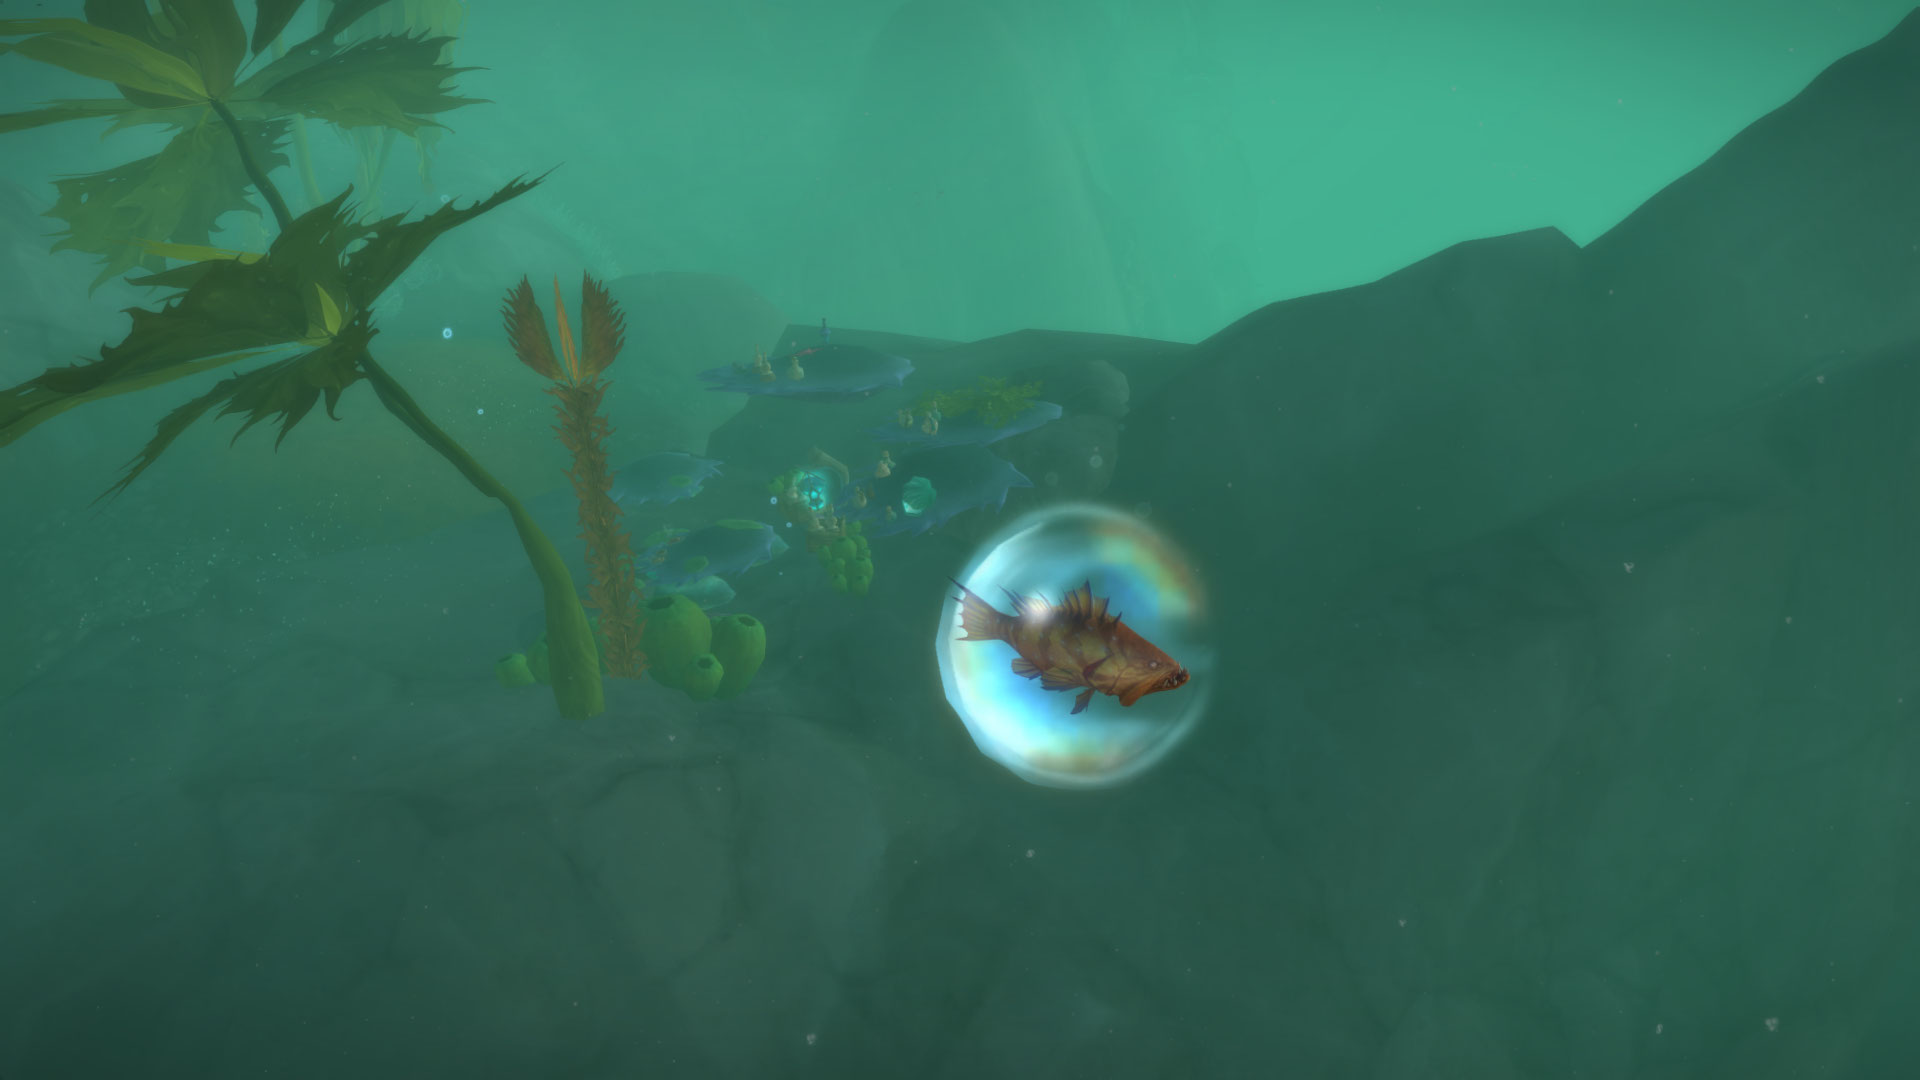
Obtain a Bubblefilled Flounder from the Auction House or by looting it from the Secret Fish in the Waking Shores:
- Make your way to the Hissing Grotto dive bar in the Waking Shores.
- Jump off a nearby cliff to die, then return to the dive bar.
- While in ghost form, look around the whole area since the Secret Fish can appear anywhere nearby.
- Interact with the Secret Fish to receive Bubblefilled Flounder.
- The Secret Fish despawns and respawns roughly every 45 seconds.
Tip: If you have the Aquatic Shades from Otto, you can interact with the Secret Fish while alive.
/way #2022 19.4 36.7 Hissing Grotto Dive Bar (Secret Fish)
Tip: You can run the command /console ffxDeath 0 to improve visibility.
Hek the Hungry Hornswog
Bring the Bubblefilled Flounder to Hek the Hungry Hornswog and feed it to him. Afterward, he will spit out a Duck Egg, so make sure to loot it.
/way #2022 68.6 68.9 Cave Entrance

/way #2022 66.2 70.3 Hek the Hungry Hornswog
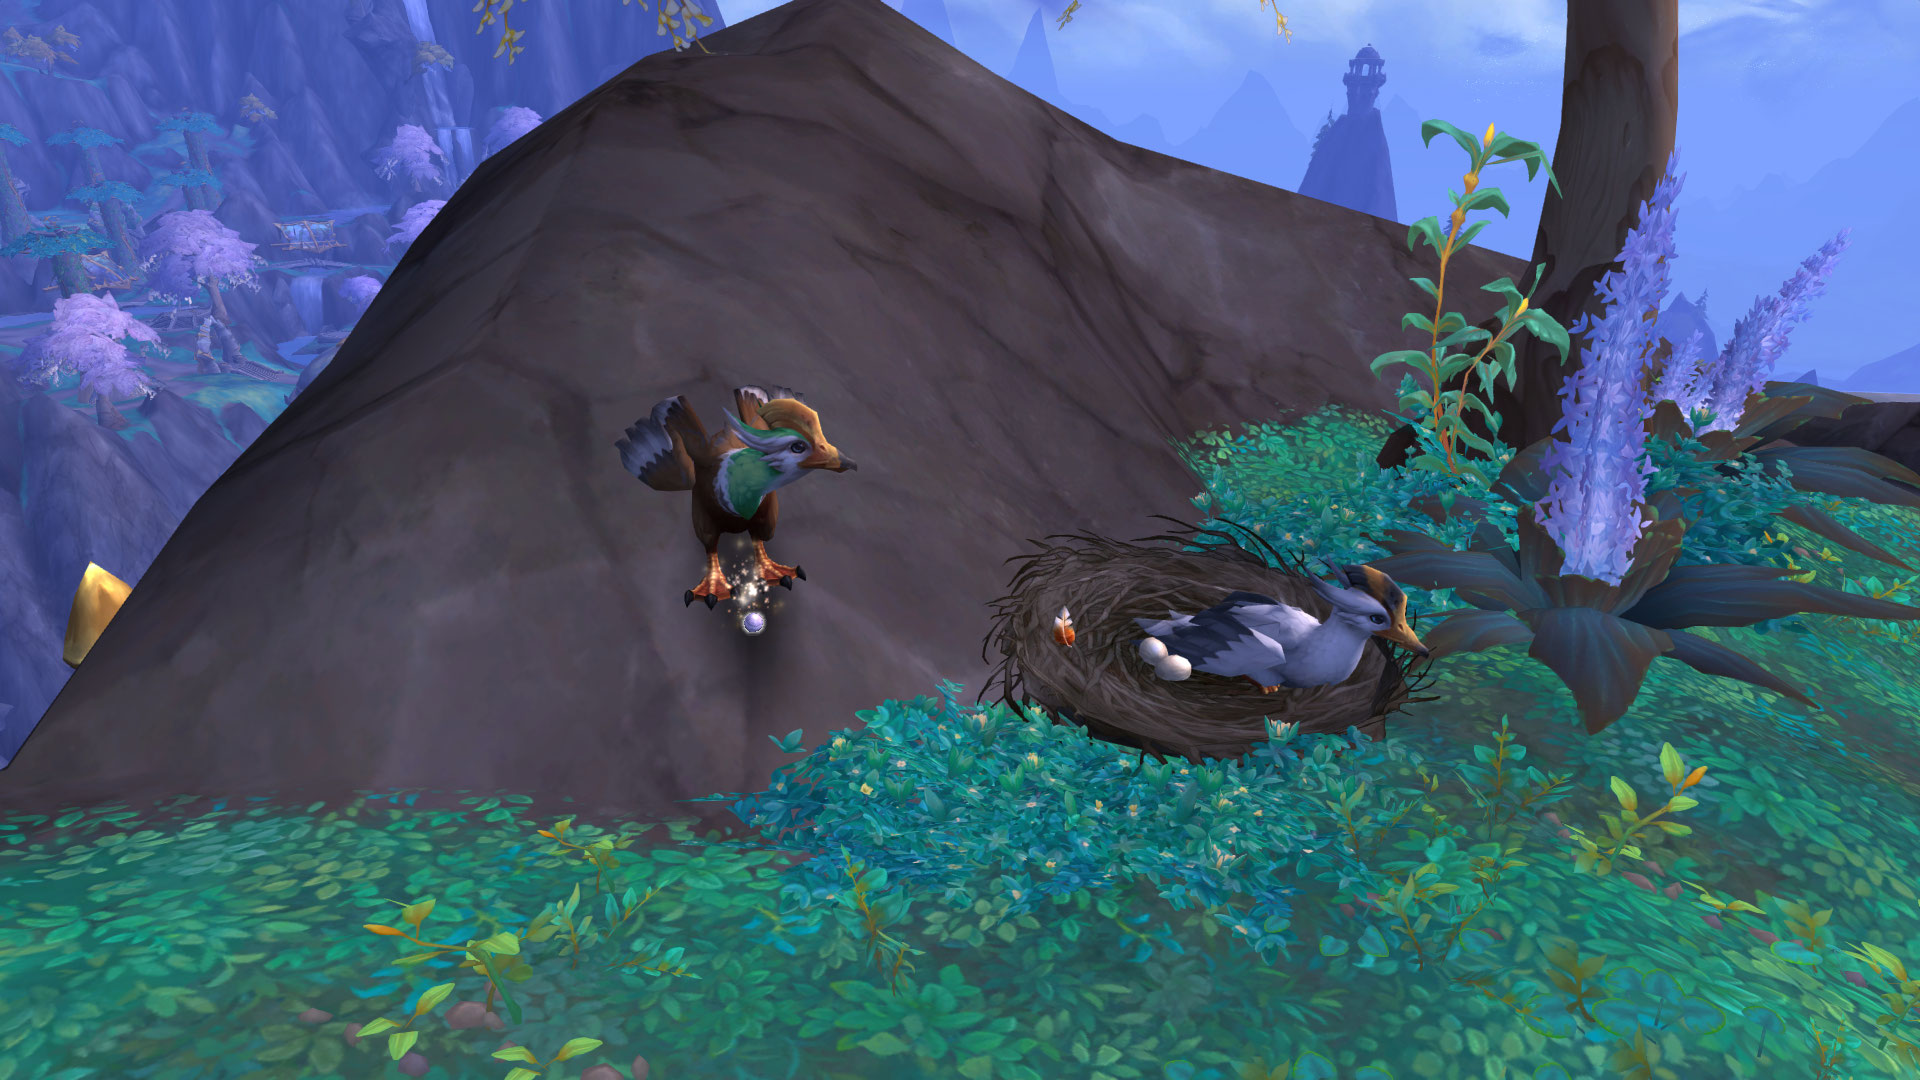
Duck Family
Head to the duck family in Valdrakken and interract with Papa's Feather to place the Duck Egg. Then click on the Shiny Gift of Avian Appreciation to loot the Tuskarr Dinner Bell.
/way #2112 40.0 78.0 Duck Family
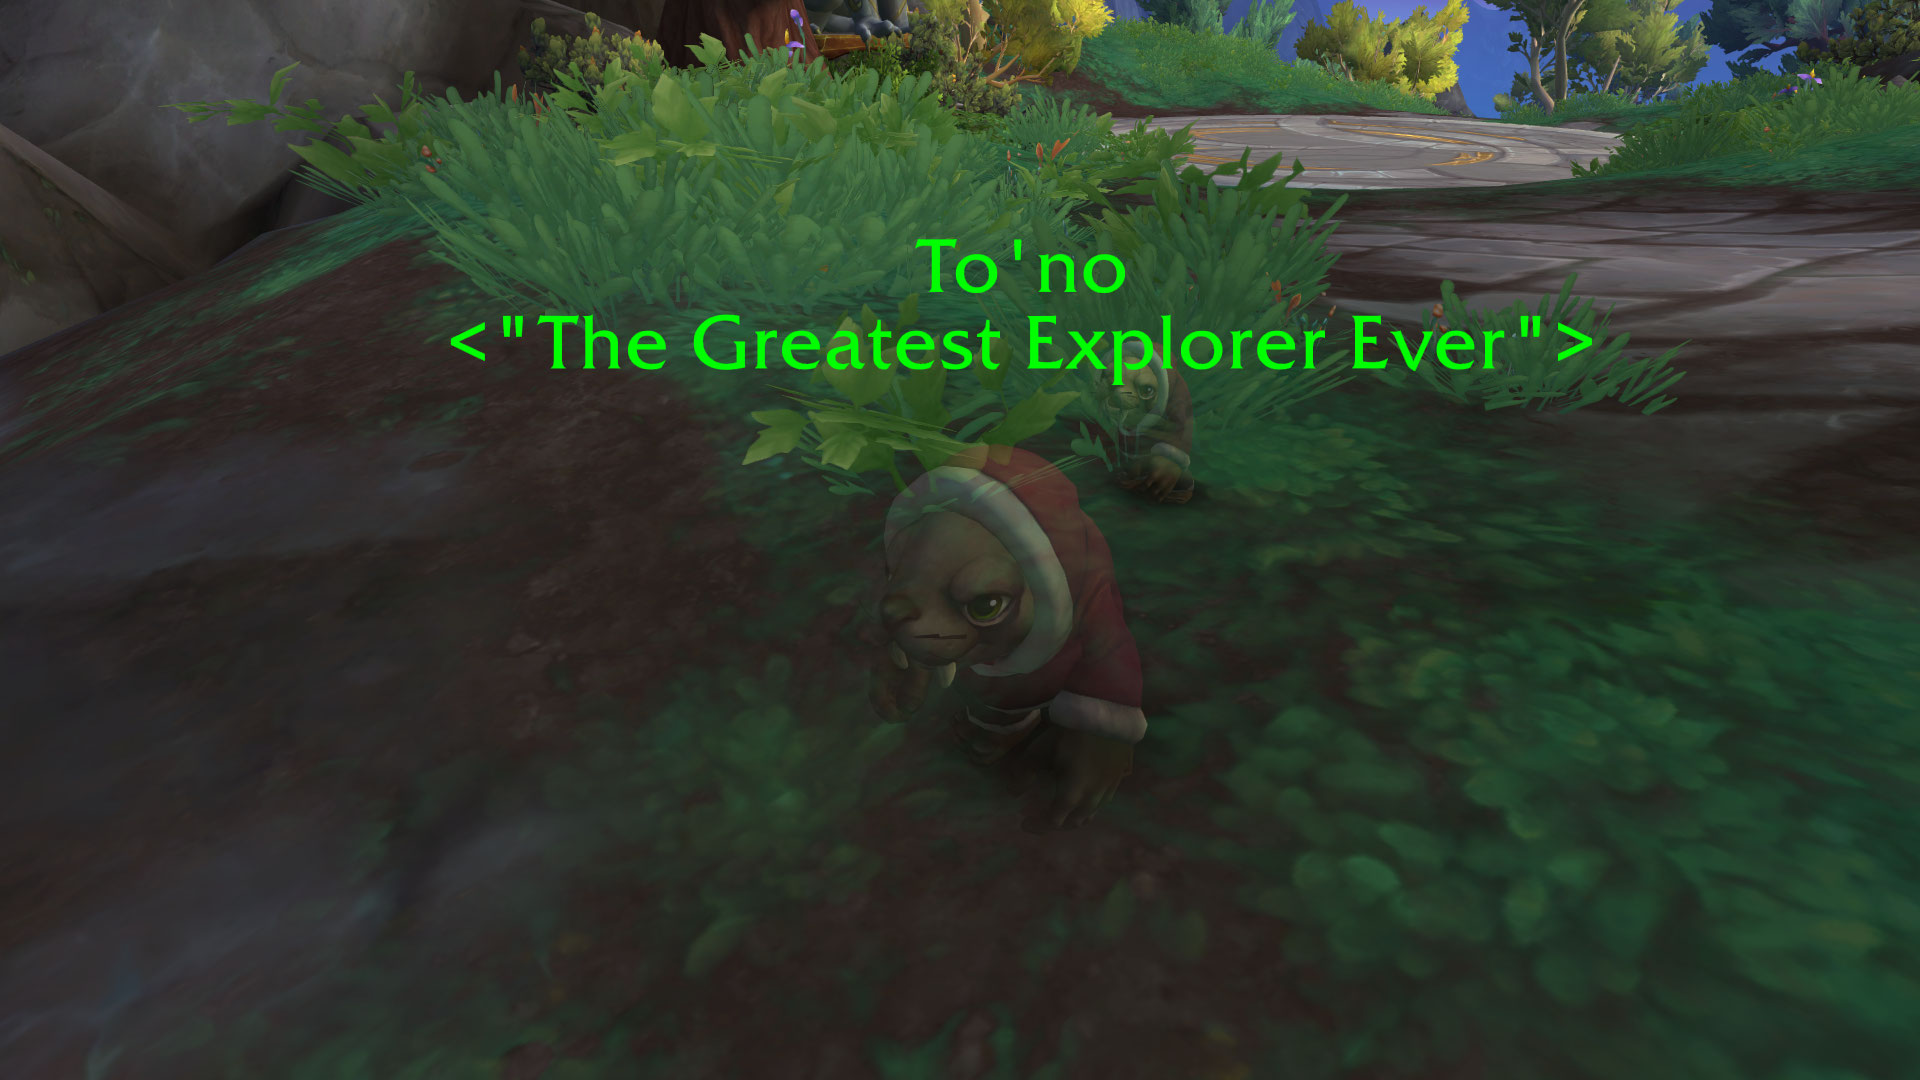
To'no
Travel to the Forbidden Reach and locate To'no, who can be found at multiple locations across the island. He has a long respawn timer (roughly 30 minutes), but stays up for 10 minutes once he spawns.
Note that he is stealthed, so make sure to check each spot carefully. Target macros will only work when you are very close to him.
/way #2151 29.8 47.4 To'no

/way #2151 35.4 40.8 To'no

/way #2151 37.5 23.1 To'no

/way #2151 41.4 38.2 To'no

/way #2151 54.4 46.9 To'no

/way #2151 62.6 61.4 To'no

/way #2151 63.8 50.6 To'no

/way #2151 72.4 61.2 To'no

/way #2151 74.0 37.2 To'no
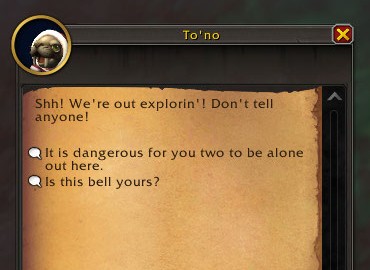
Speak with To'no to receive Oddsight Focus. Obtaining this item lights up the 10th orb in Ratts' Lair.

Puzzle 11: Radiant Singer
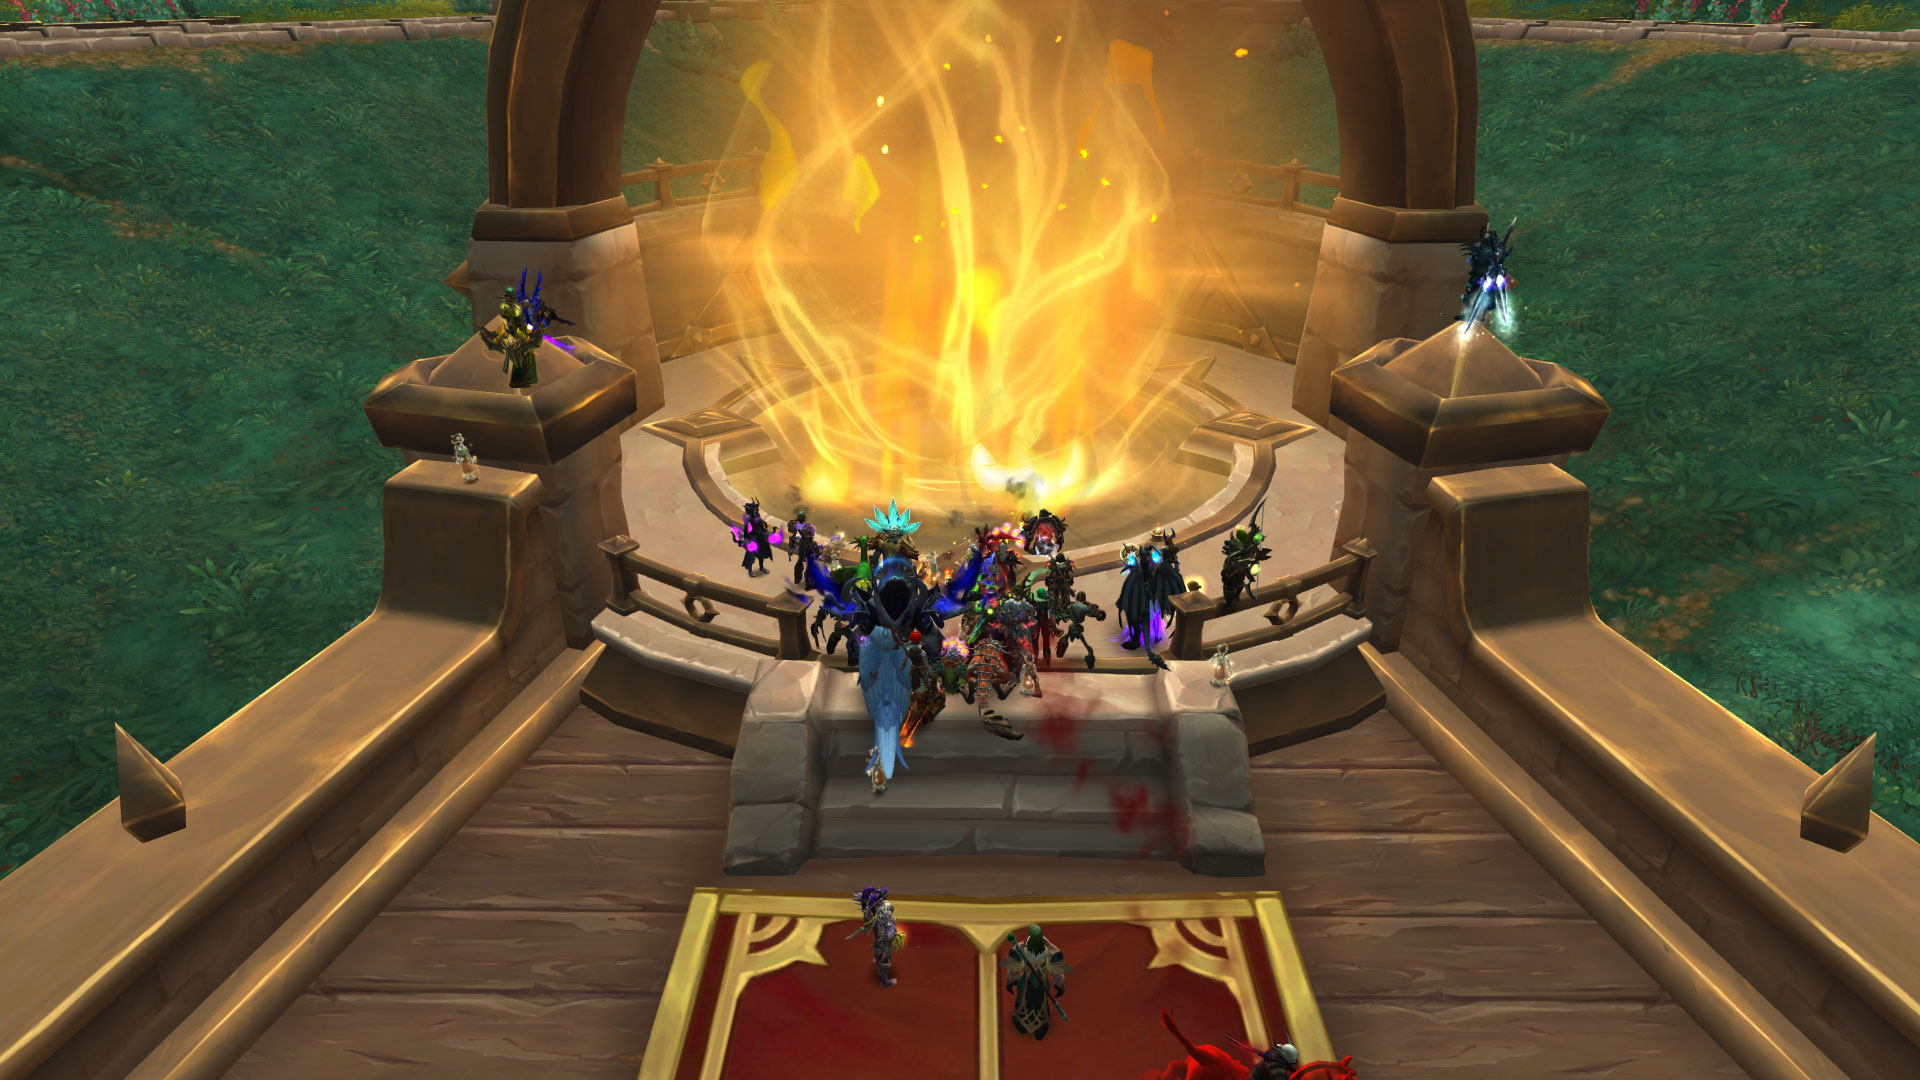
For this part of the secret, players must perform the Chorus of the Great Song at the Divine Flame of Beledar. This is a coordinated 40-player activity where each singer has to use a specific emote to build harmony. If you're not interested in the Radiant Singer Feat of Strength, then you can skip this part and proceed to Puzzle #12: Dusk Lily.
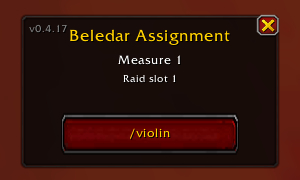
Instructions for everyone
- Form a 40-player raid group and have everyone install the addon Beledar Orchestra Helper
- Travel to Hallowfall and use the Oddsight Focus to get the Gift of Oddsight buff
- Players who don't have the toy can ask others to use the Oddsight Focus on them
Tip: If a 40-player group is already performing the song, simply join or form a new raid group and stay near the Divine Flame of Beledar. You'll automatically receive the Feat of Strength when the 40-player group successfully completes the song.
/way #2215 33.4 54.6 Divine Flame of Beledar (Hallowfall)
Instructions for the raid leader
- Make sure that everyone in the raid has installed the addon Beledar Orchestra Helper
- Open the addon frame with /conductor
- Select the first measure by clicking on "1" in the 5x5 grid (25 measures)
- Press the "Lock in" button to /bow and start the song
- Press the "Start" button to initiate a countdown
- Everyone in the group should then perform their assigned emotes using the addon frame while targeting the flame
- Once all 7 debuffs are present in the correct amount, press "Lock in (/bow)" to finish the measure
- If done correctly, a new Harmony bar will appear showing 7 out of 175

Important: After the first measure is completed, use the "Lock in" button only to end a measure (and not to start a new one).
- Select the next measure and start a new countdown
- Wait for your entire group to perform their emotes
- Press the "Lock in" button to finish the measure
- Repeat these three steps until all 25 measures are completed
Important: Due to the amount of data needed to complete all the 1000 emote instructions, some of the measures may be incomplete. For measures 9, 11, 12, 15, 16, 17, 18, 22, 23 and 24 some players will have "placeholder" as their emote, meaning they should not use any. Expect to receive 1 or 2 points of Discord for those measures.

Instructions for the singers
- Make sure you have the Gift of Oddsight buff, so you can target the Divine Flame of Beledar
- Wait for the raid leader to initiate a countdown, then perform your assigned emote using the addon frame while targeting the flame
General info about the song
- Each correct emote applies one of the required debuffs to the flame; once all 7 debuffs are present in the correct amounts, the raid leader uses /bow to finish the measure
- Each successful measure grants 7 Harmony, for a total of 175 Harmony across 25 measures
- An incorrect amount of debuffs on the flame generates Discord; reaching 3 Discord in a single measure or 15 total Discord will fail the song
- Repeat until all 25 measures are successfully completed
Successfully participating in the chorus of the Great Song awards the Radiant Singer Feat of Strength.

To learn more about this part of the secret, click the spoiler tag below!
Puzzle 12: Dusk Lily
This final step does not require completing Puzzle 10: Oddsight Focus or Puzzle 11: Radiant Singer.
The objective is to locate a hidden Web of Shadows, free the Dusk Lily and safely escort it to its destination.
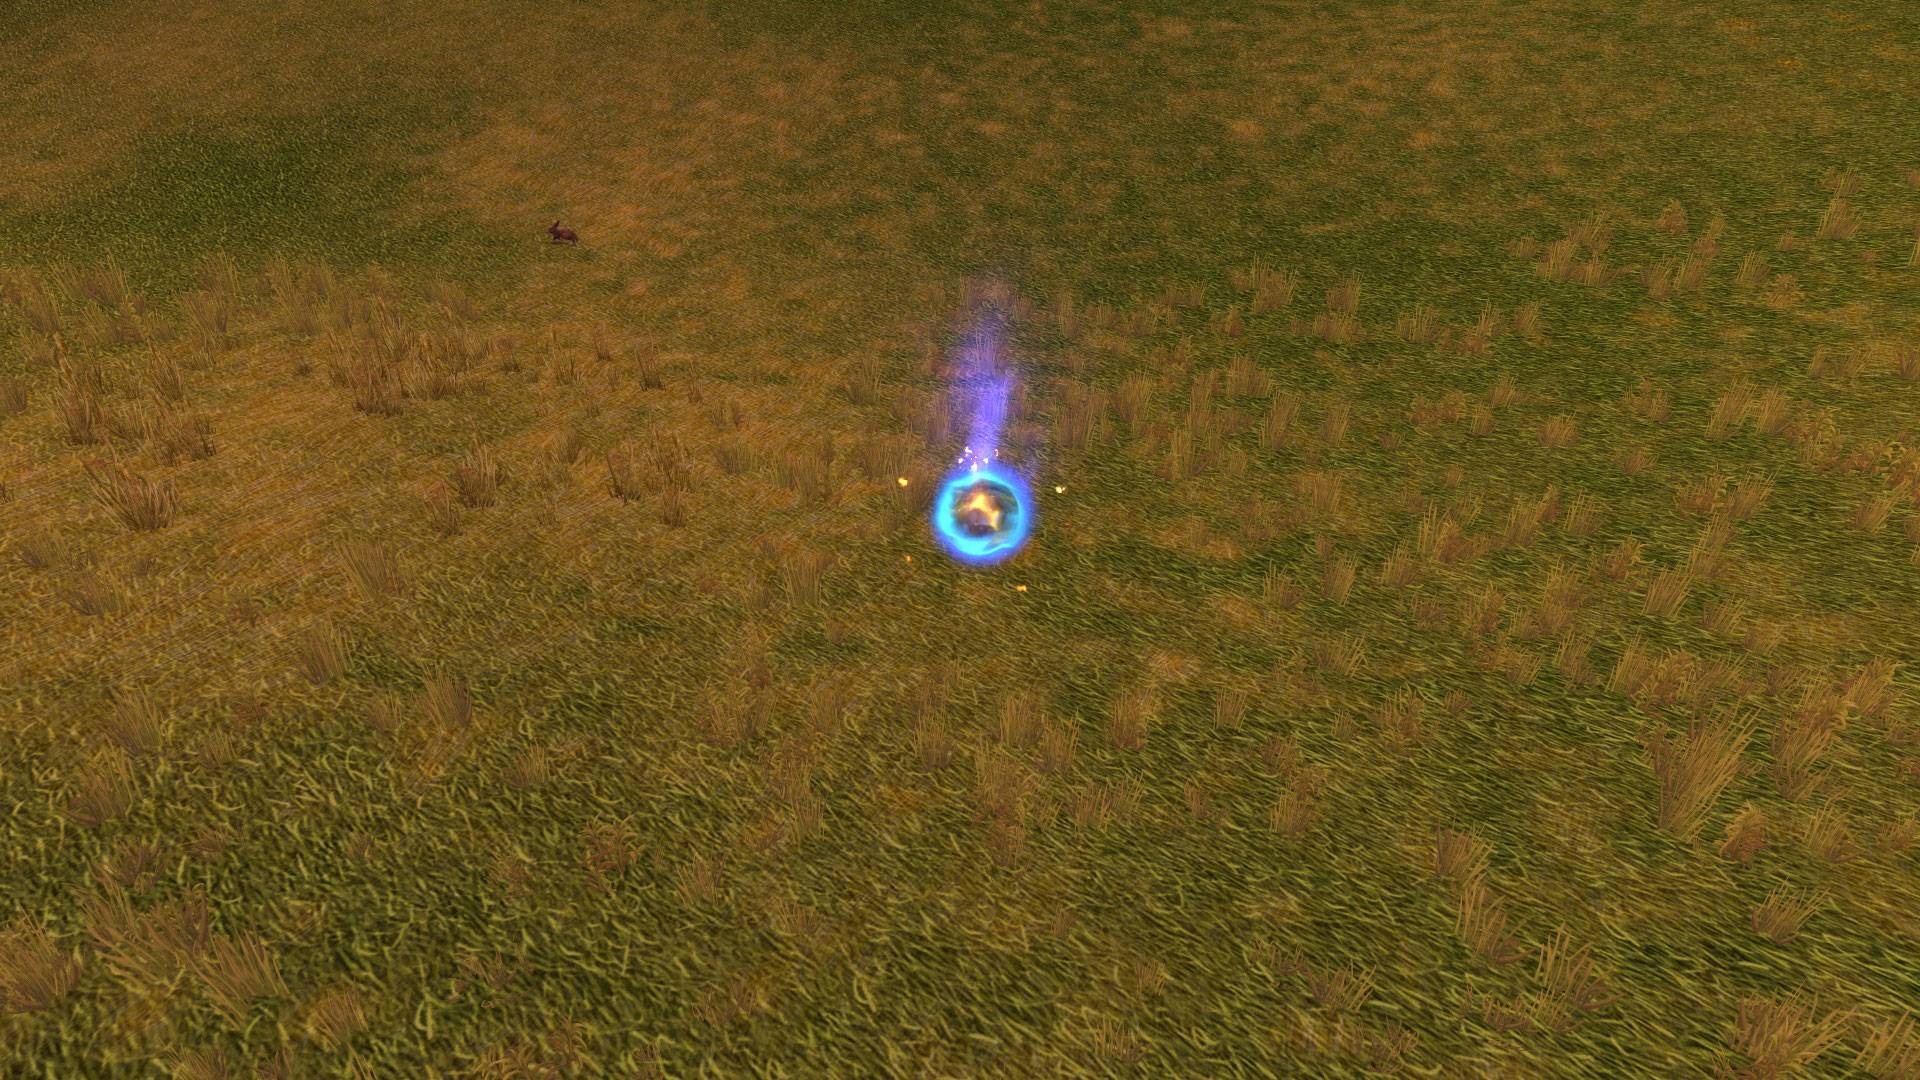
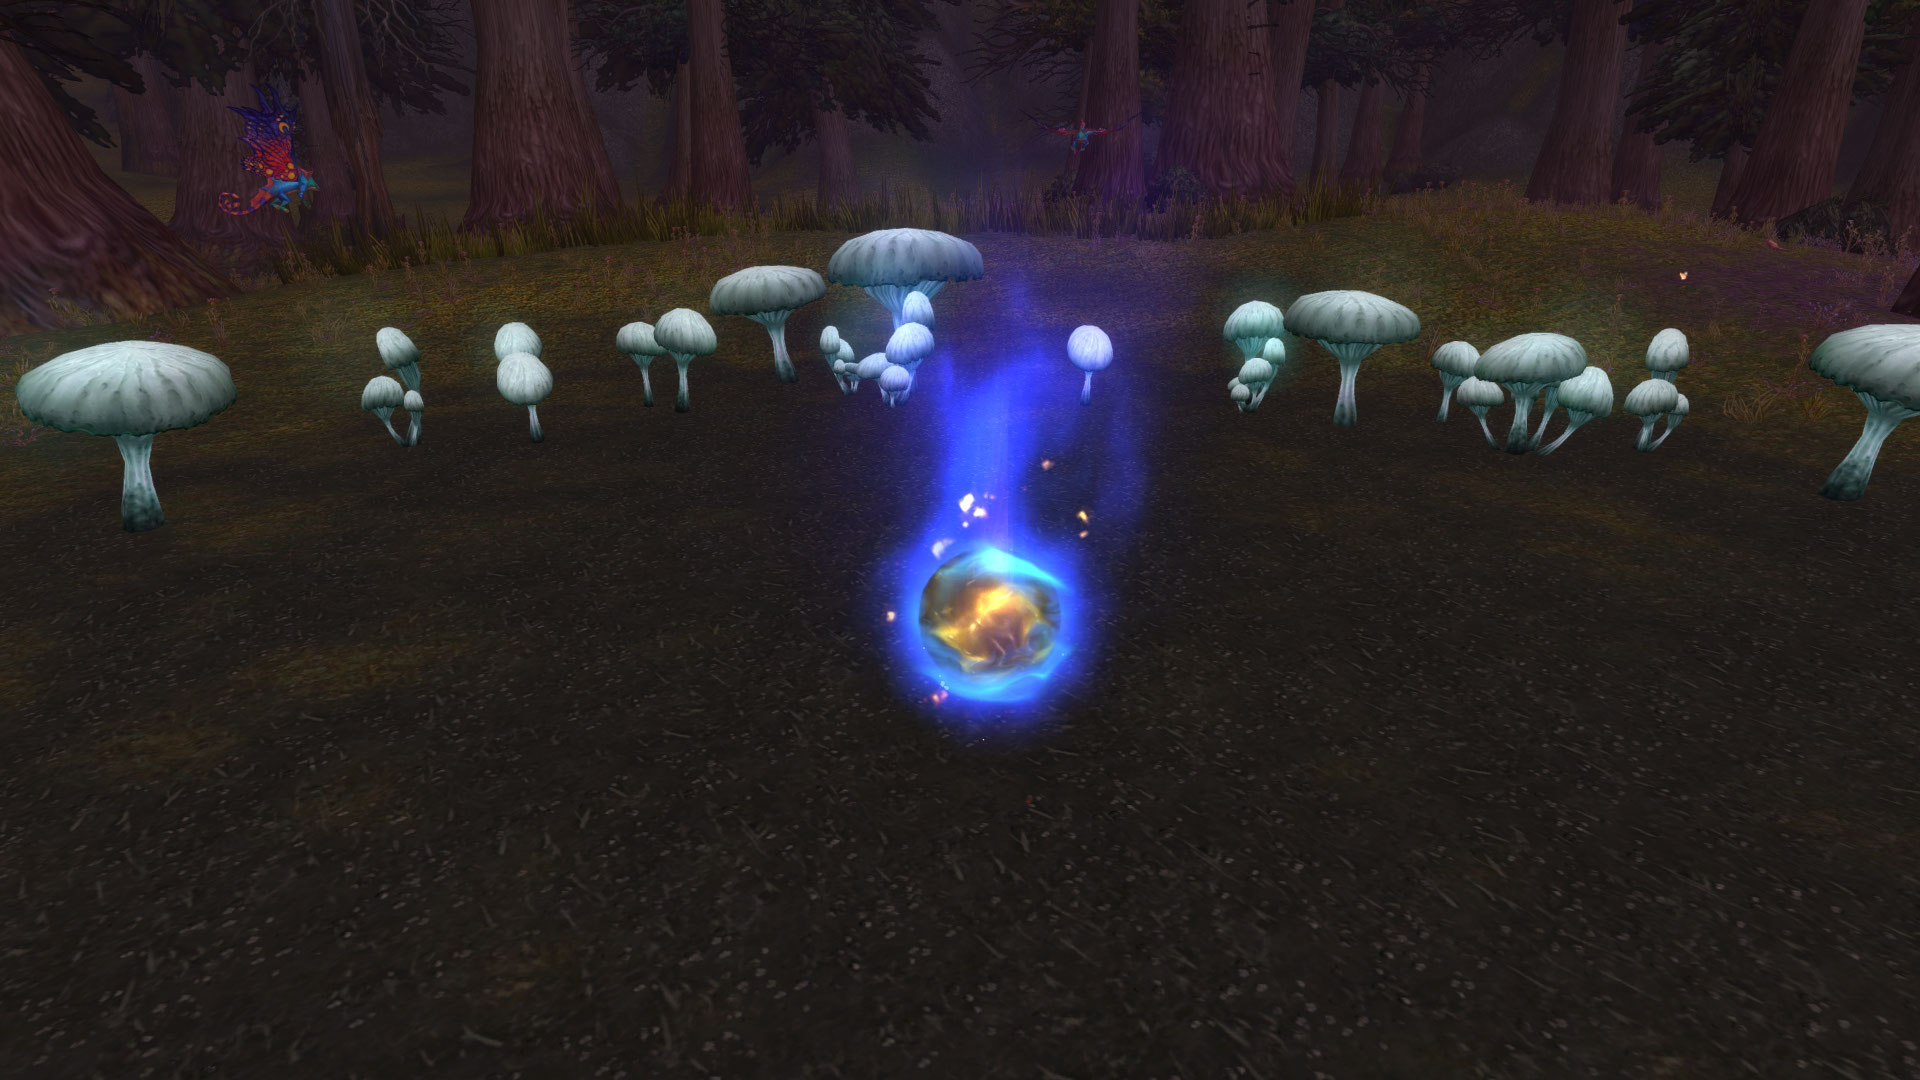
- Form a group and use the Torch of Pyrreth to search for a hidden Web of Shadows in Suramar
- Use the extra action button as soon as it appears to reveal the Web of Shadows
- The torch will react as you get closer; however, the hidden Web of Shadows moves quickly, so the extra action button may only appear for a split second when you are on top of it
- Interact with the Web of Shadows to free the Dusk Lily
- Escort the player holding the Dusk Lily to Golk the Rumble in Azsuna
- The player with the buff:
- Can use Starry-Eyed Goggles
- Must not jump
- Must not attack creatures
- Must avoid getting hit by creatures
- Must avoid falling into water
- Death Knights and Priests can use Path of Frost and Levitate to help the Dusk Lily carrier avoid falling in water
- Players in the raid group have to defeat Writhing Corruptions that constantly spawn and attack the Dusk Lily carrier
- Nearby players are affected by Darkness; using the Starry-Eyed Goggles can help with visibility
/way #680 83.6 69.6 Web of Shadows (patrols around the island)

/way #630 57.6 42.8 Golk the Rumble
Upon reaching Golk the Rumble, the player carrying the object must speak with him to offer the Dusk Lily. Everyone in the group then receives a Spare Key and a Weathered Lockbox containing the Ensemble: Fashion of the Fanatic Felcyclist.
Hidden Footlocker
While having both the Gift of Oddsight and Starry-Eyed Goggles buffs, a Hidden Footlocker becomes visible near the final pillar.
Players can use the Spare Key to open the chest and receive Ratts' Journal, Page 317.
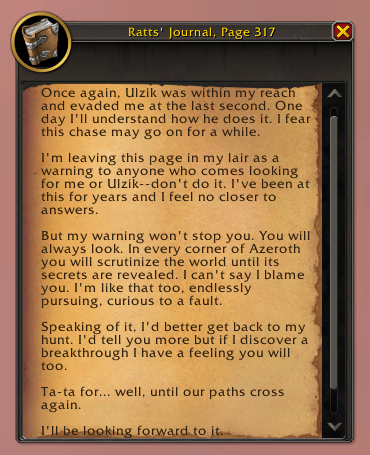
Poem Hints
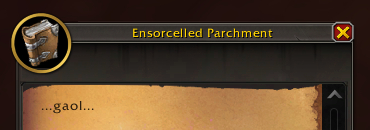
The hints from Uuna, Incognitro, Anakron and several Ensorcelled Parchments scattered across the Broken Isles form the following poem, with explanations from the puzzle's designer:
Tulip's sister, pure and humble (the Dusk Lily)
Seeks to rouse a stormy Rumble (Golk)
Free her from the prison umbral (a writhing cage of shadows)
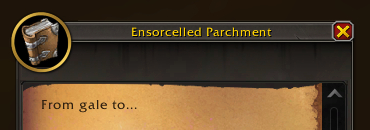
From gale (Azuregale Bay) to gaol (Golk's jail) without a stumble (walk carefully to protect the precious lily)
Uuna
Uuna received additional lines in Patch 11.2.7.
Uuna begins singing.
Uuna says: Tulip's sister, pure and humble! Seeks to... something...
Uuna mumbles.
Incognitro
After unlocking Incognitro, inputting the code 2104059 into the Override Sequence triggers the following emote:
The felcycle's engine sputters with a demonic whisper that you can barely comprehend. "Free her from the prison umbral."
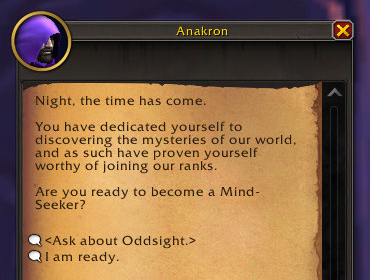
Anakron
Asking Anakron about oddsight results in the cryptic response "...Without a stumble."

Ensorcelled Parchments
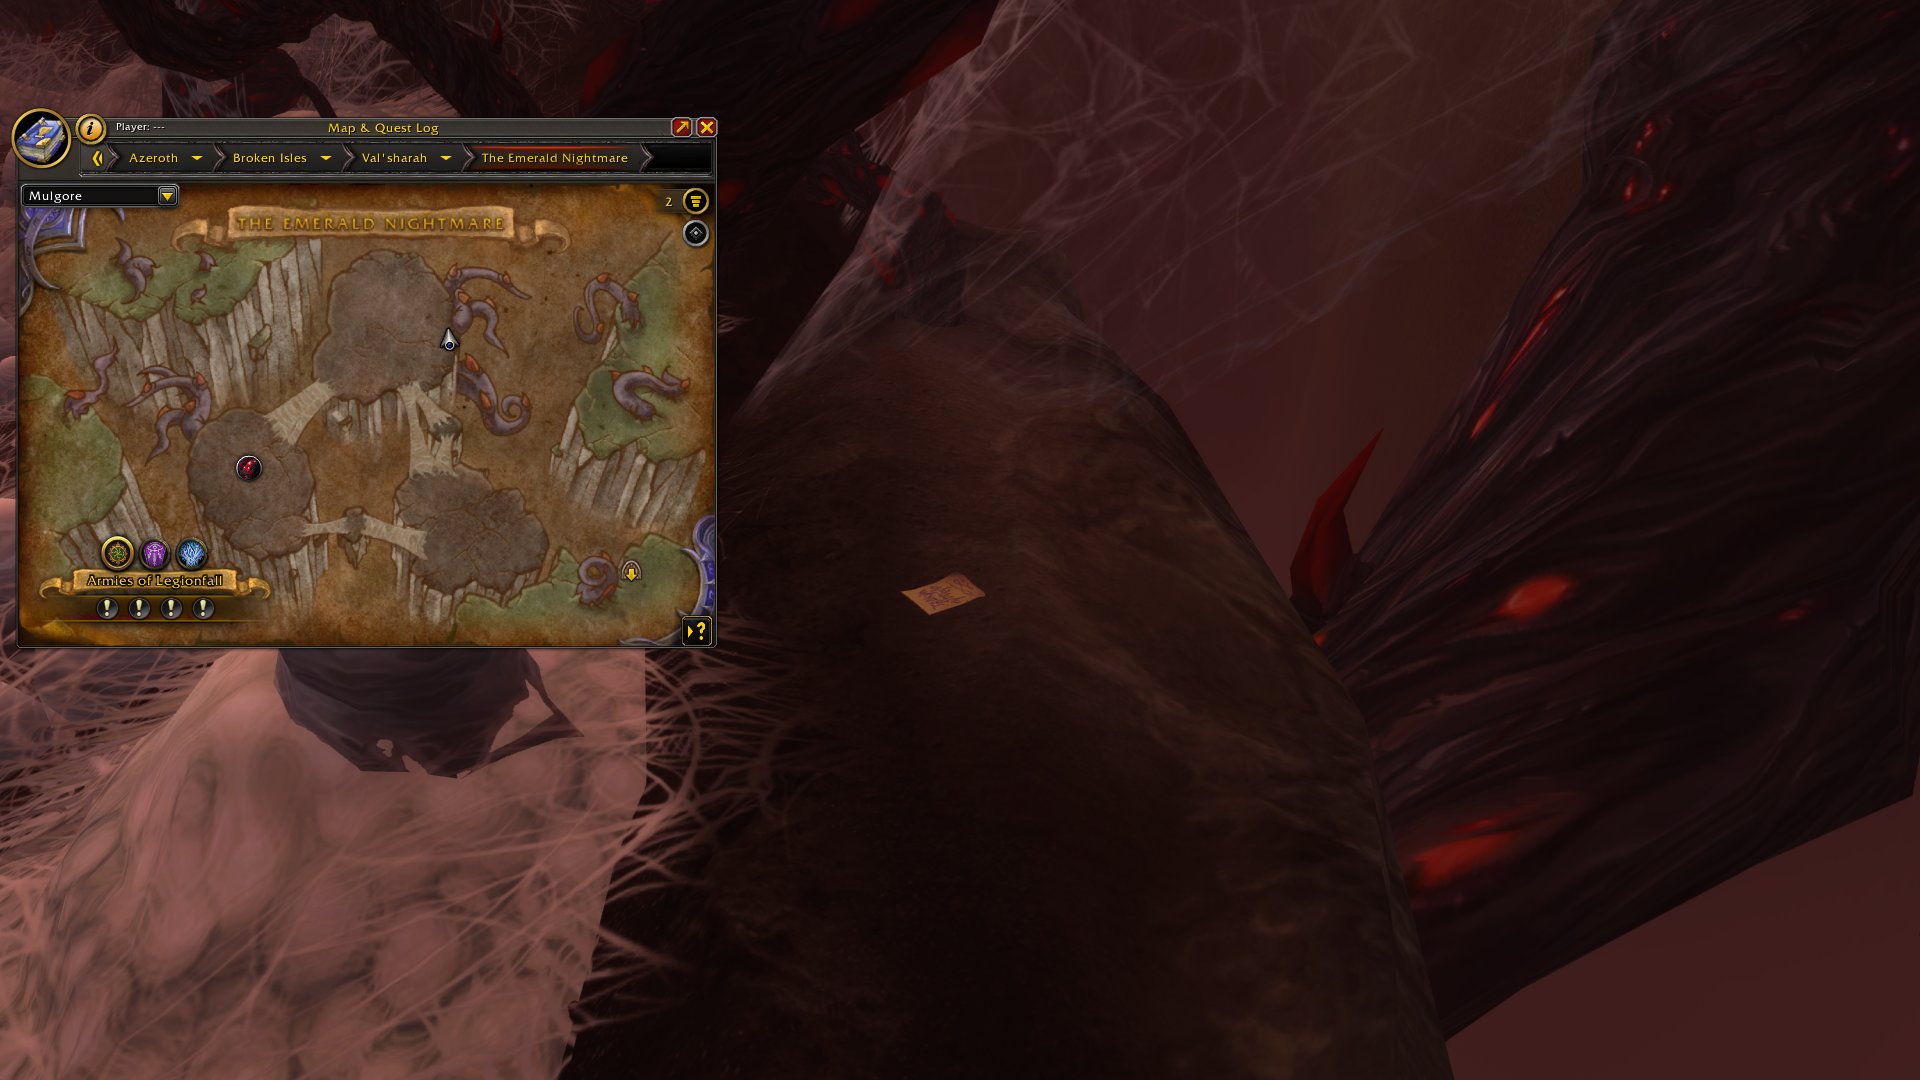
While having the Starry-Eyed Goggles equipped, an Ensorcelled Parchment can be found in an underwater cave located north of Shield's Rest in Stormheim, which was part of the Kosumoth secret. Swim below the Toothless Great White to find the cave's entrance.
/way #619 67.3 14.8 Orb 6 underwater cave entrance

/way #619 67.1 15.8 Ensorcelled Parchment


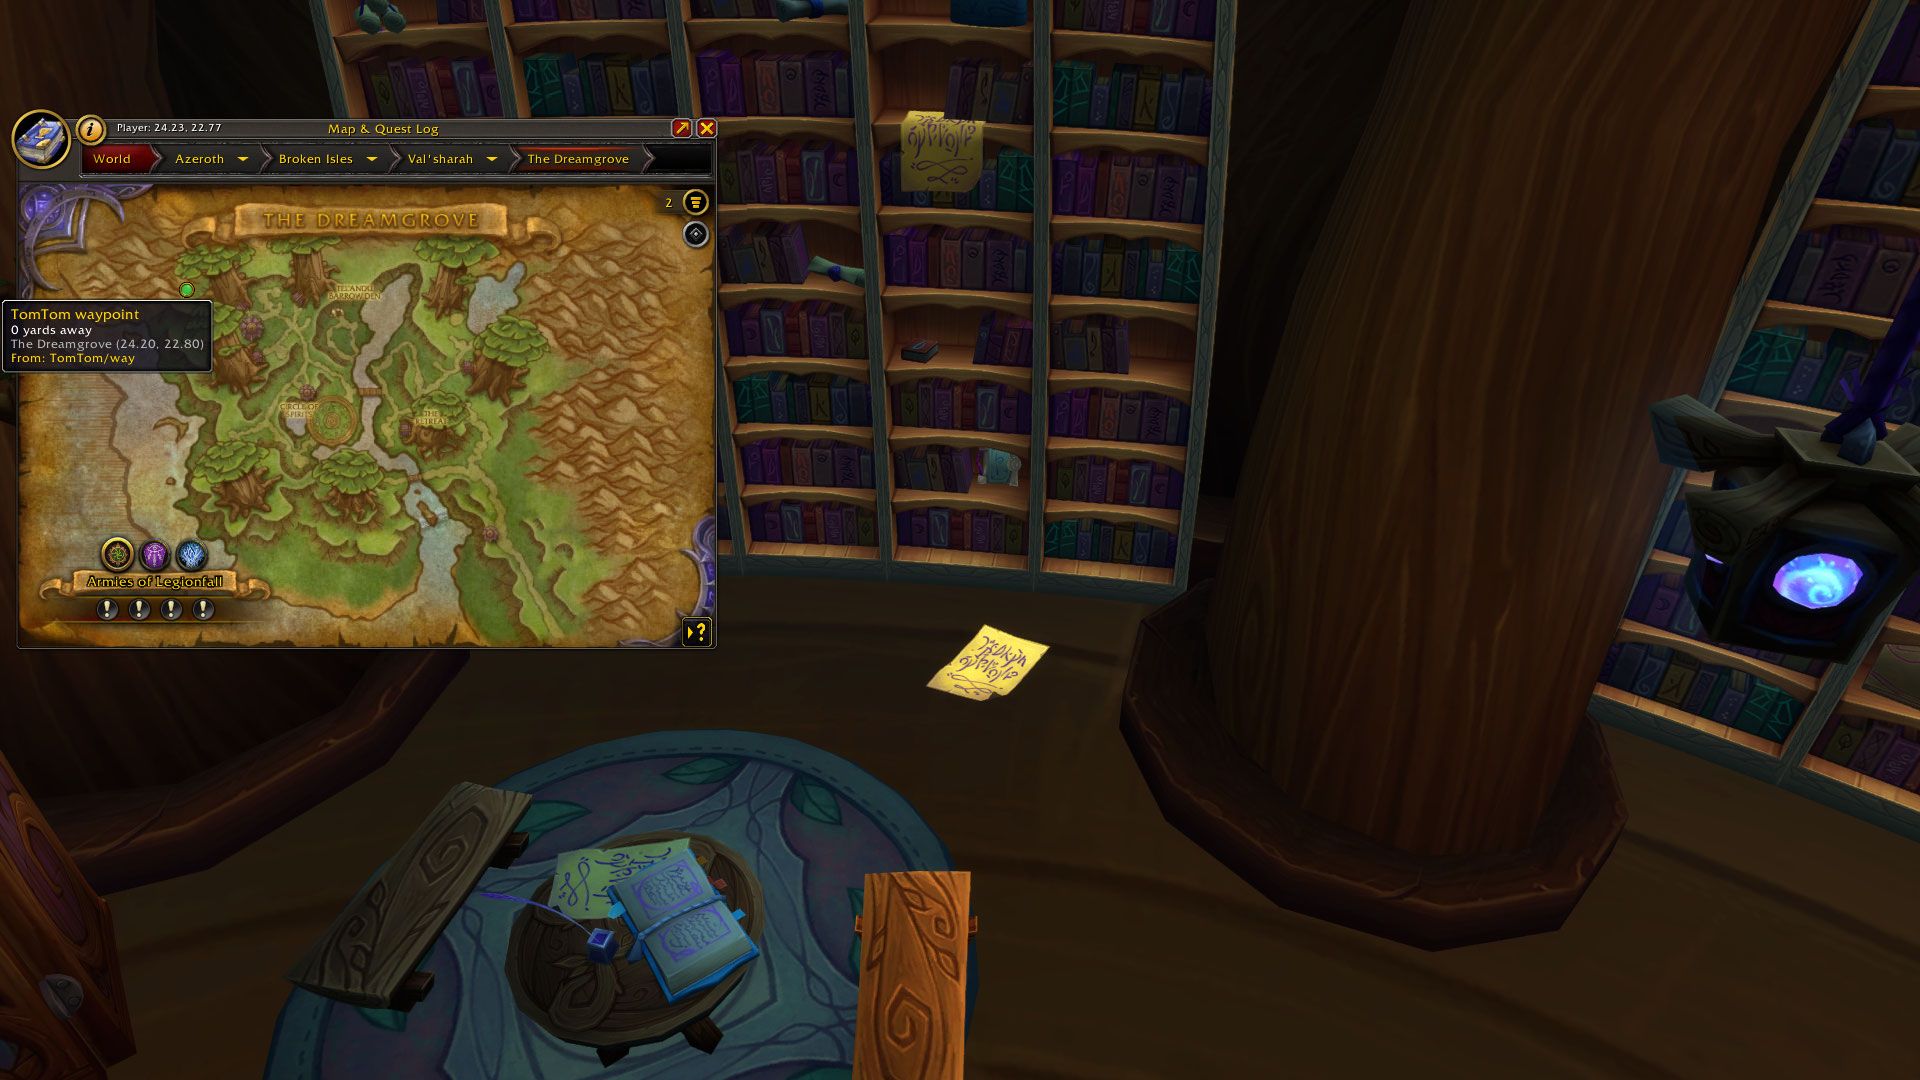
A second Ensorcelled Parchment was discovered inside a building in Dreamgrove, the Druid Class Hall. The note can be read without the Gift of Oddsight and Starry-Eyed Goggles buffs.
A third Ensorcelled Parchment was found inside the Emerald Nightmare raid. The note can be read without the Gift of Oddsight and Starry-Eyed Goggles buffs.
Worn Parchment
A Worn Parchment can be found on the ground after obtaining the Radiant Singer Feat of Strength.