
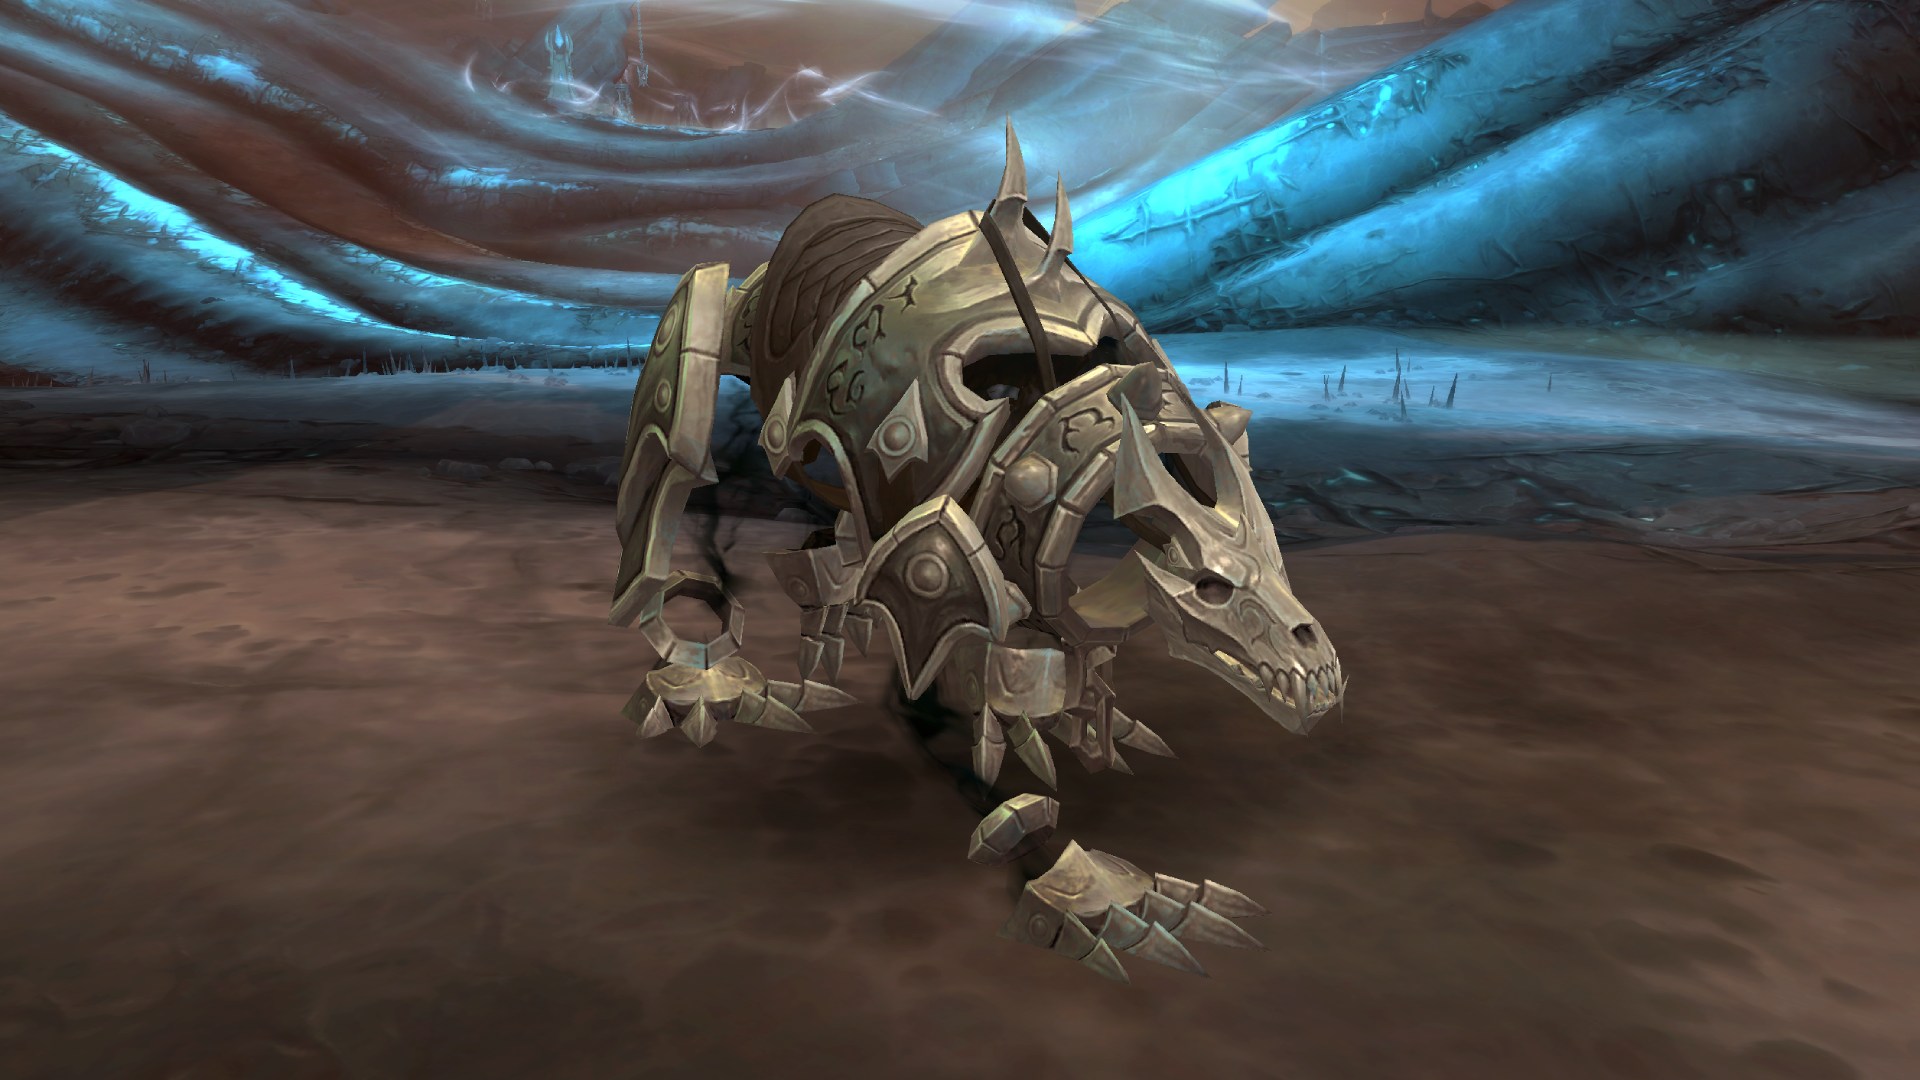
Bound Shadehound Secret Mount Guide
Bound Shadehound is one of the secret mounts added in the Shadowlands expansion, obtained after completing a complex puzzle within The Maw. This mount is one of the hidden collectibles players can obtain as part of the Mind-Seeker achievement and its accompanying title.
Prerequisites
Before starting this secret, you have to:
- Complete The Maw introduction questline
- Complete the quest Rule 5: Be Audacious to gain access to Perdition Hold
- Complete the quest Rule 6: Concealment is Everything to gain access to The Beastwarrens
- Reach Appreciative reputation with Ve'nari
- Obtain 4550 Stygia
Please note that Rule 5: Be Audacious and Rule 6: Concealment is Everything are restricted by a daily lockout.
Progress Script
The progress on Crumbling Stele and Intact Rune Codex is account wide. You can track that with the following script:
/run local n={"Crumbling Stele","Forging","Souls","Binding","Intact Rune Codex"} local t={63611,63641,63642,63643,63668} for i,s in ipairs(n)do print(s,C_QuestLog.IsQuestFlaggedCompleted(t[i])and"\124T136814:0\124t"or"\124T136813:0\124t") end
Ve'nari
Speak with Ve'nari to purchase the Animated Levitating Chain and Stygia Dowser. Use the Animated Levitating Chain to learn how to use grapple hooks. The Stygia Dowser is required to unlock the Rune Puzzle and will later be used to siphon Stygia Dust and Stygia Sliver.
/way #1543 46.9 41.7 Ve'nari

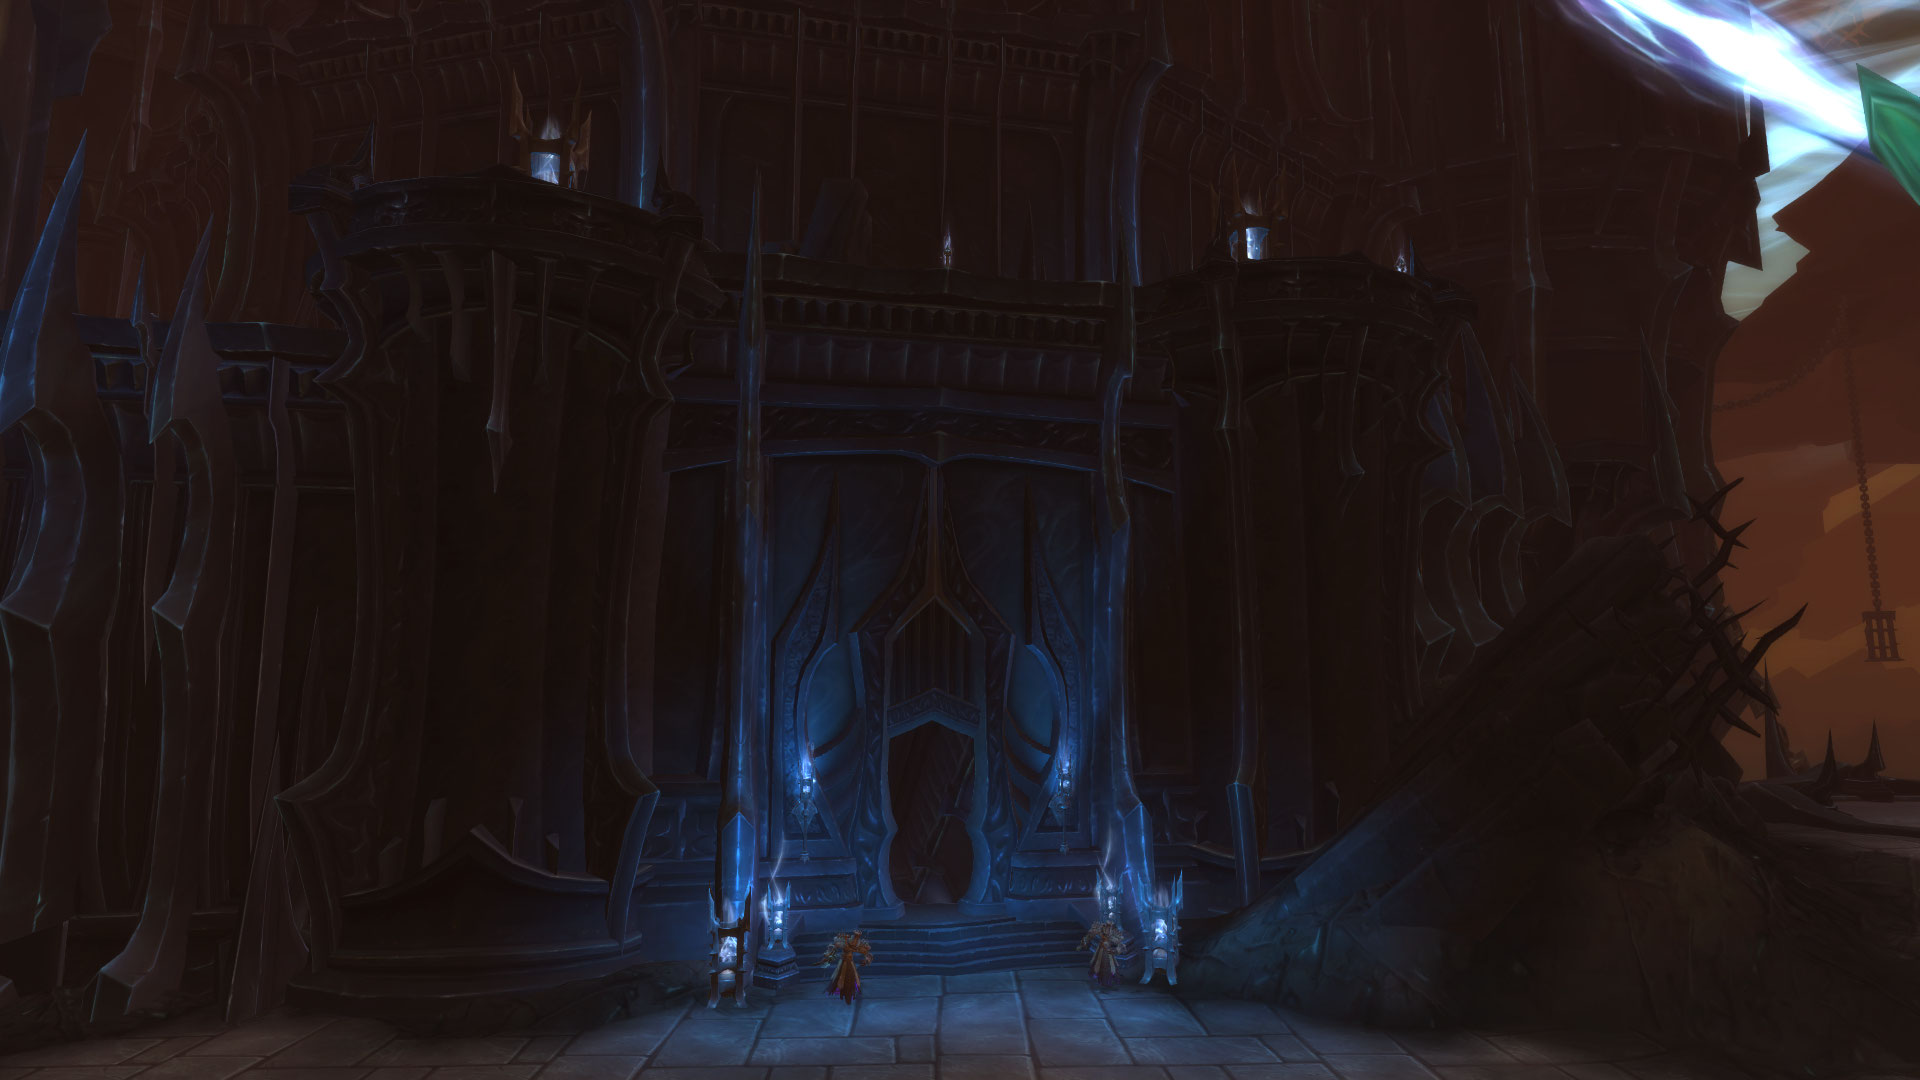
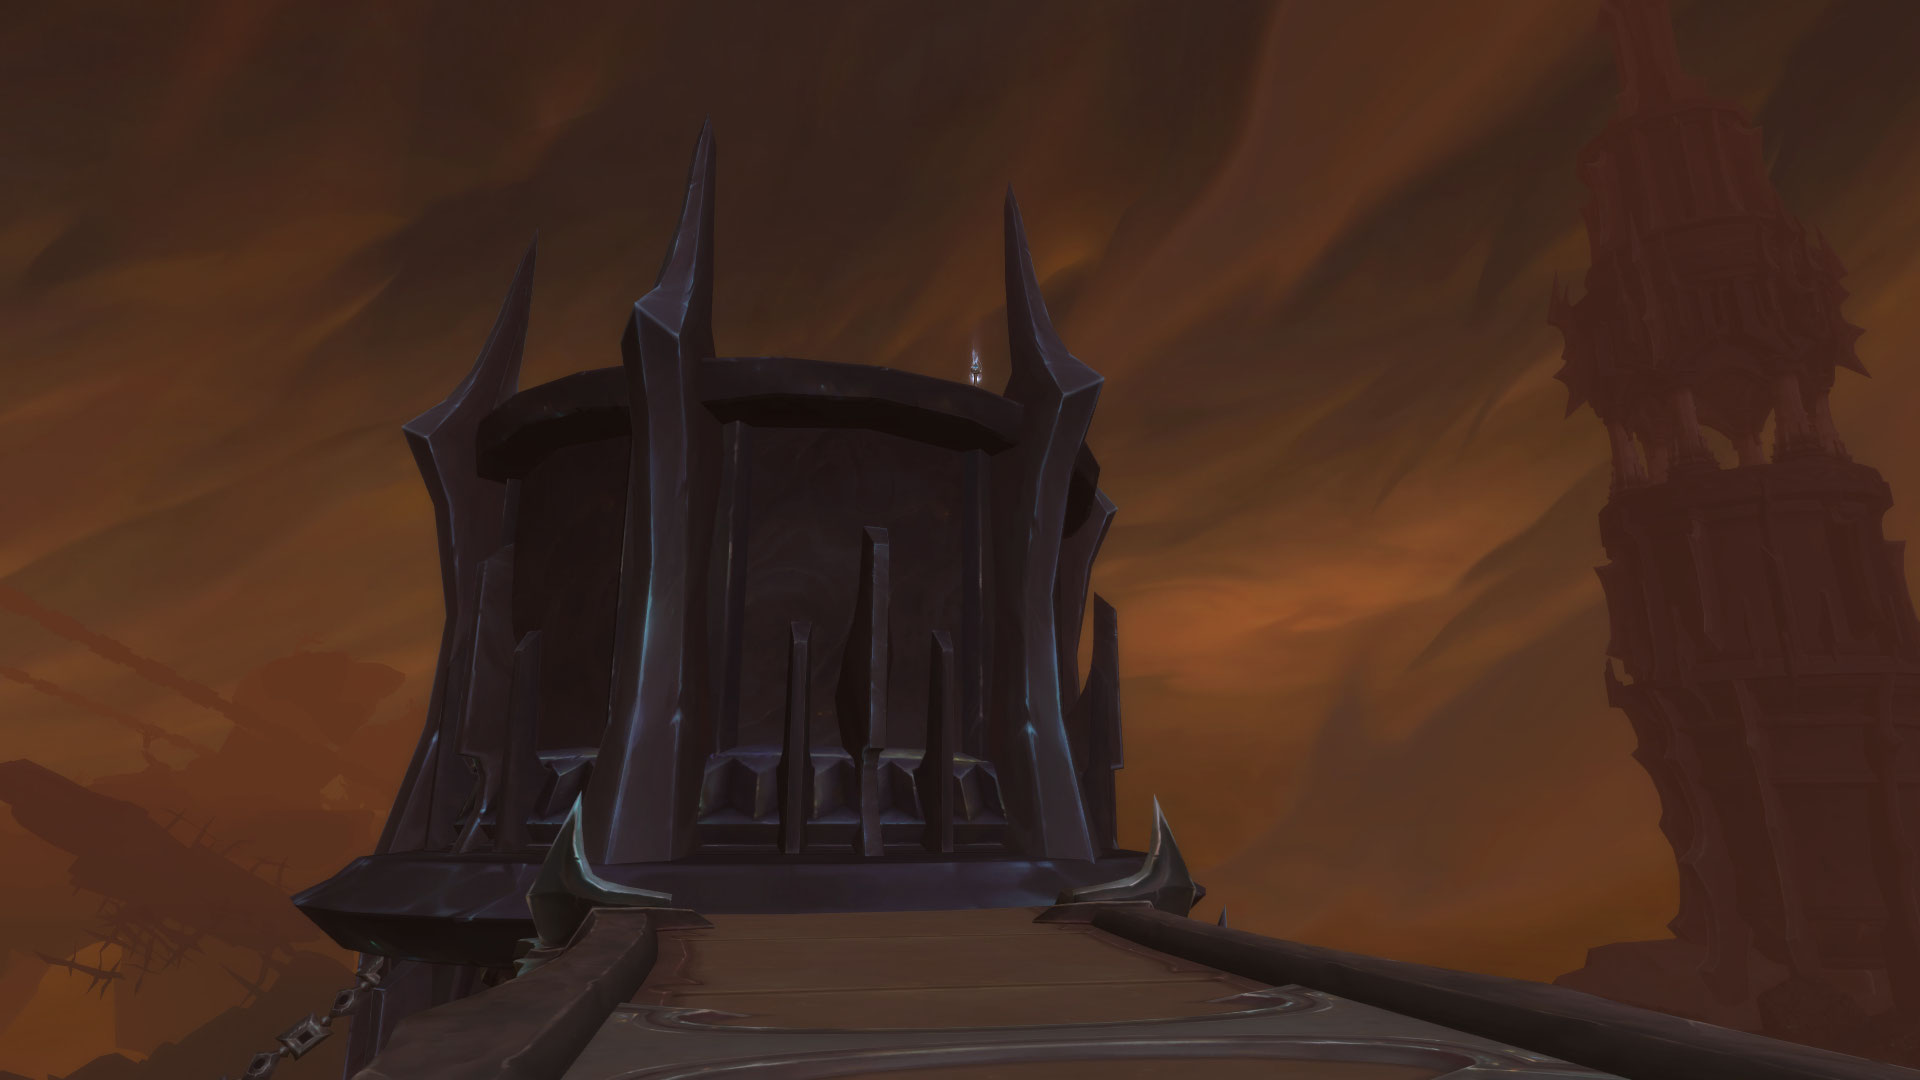
Altar of Domination
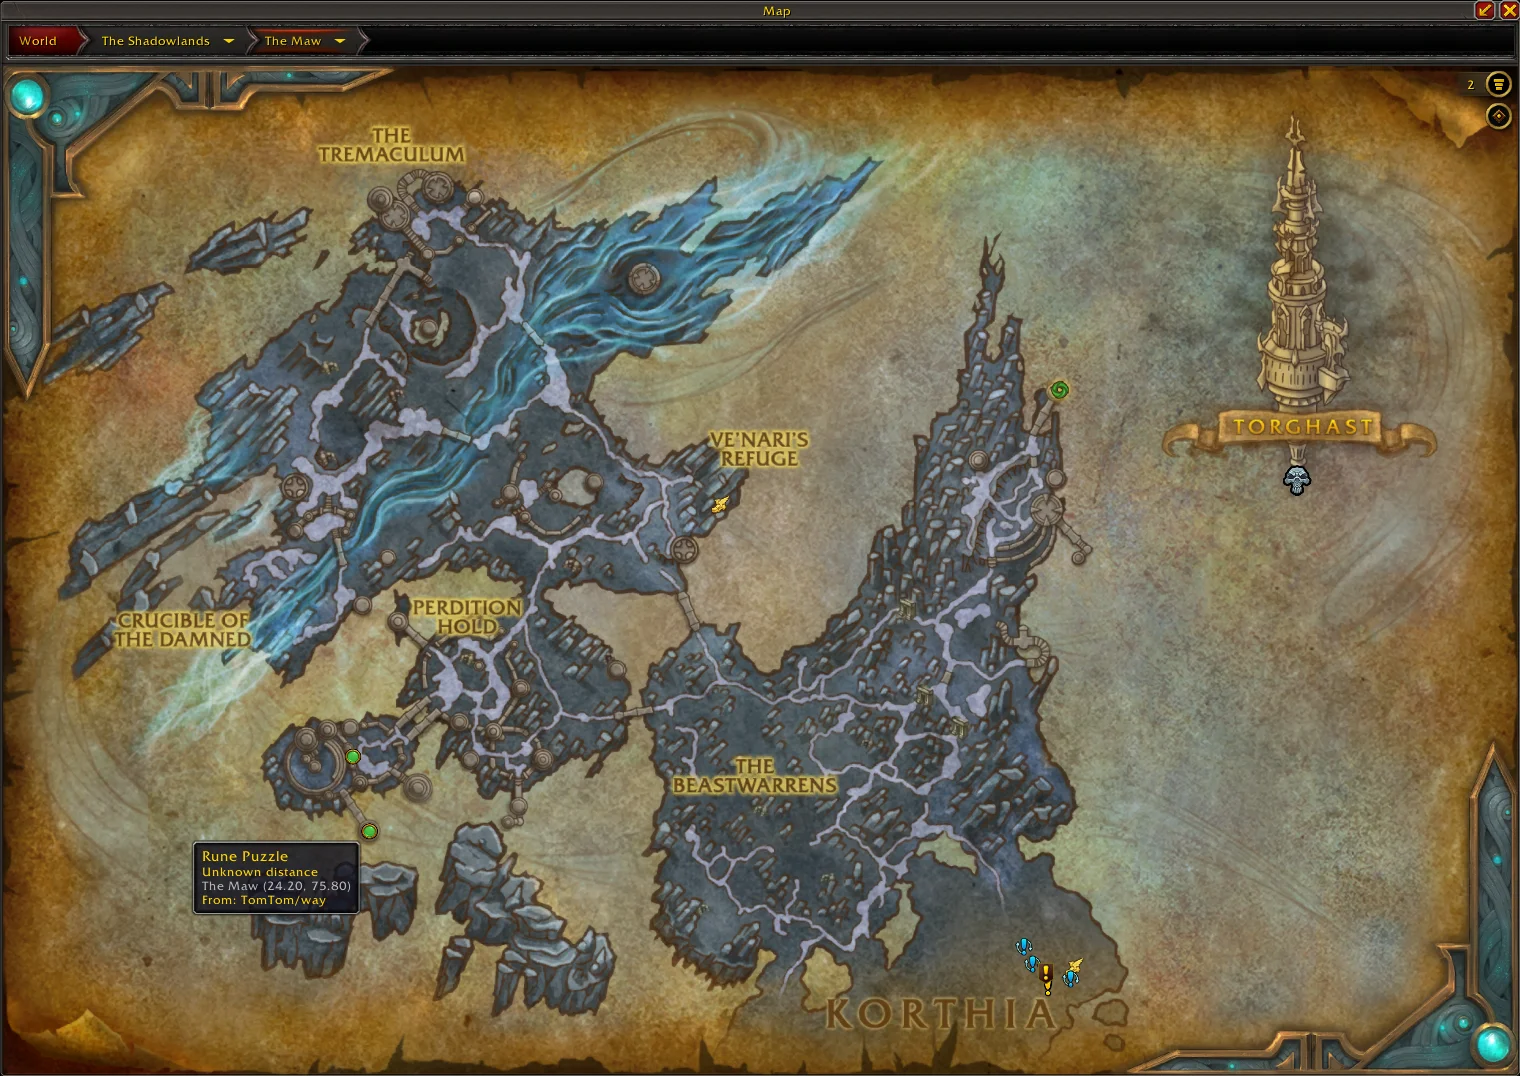
Head to the Rune Puzzle at the Altar of Domination, a subzone of Perdition Hold in the Maw.
Use the grapple point to reach the top of the Altar of Domination. From there, head southeast until you reach the steps, then run up and use the next grapple point to access the platform where the Rune Puzzle awaits.
Please note that the Rune Puzzle containing the Crumbling Stele cannot be accessed during the Necrolord Covenant Assault.
/way #1543 23.1 68.4 Grapple Point

/way #1543 24.2 75.8 Rune Puzzle
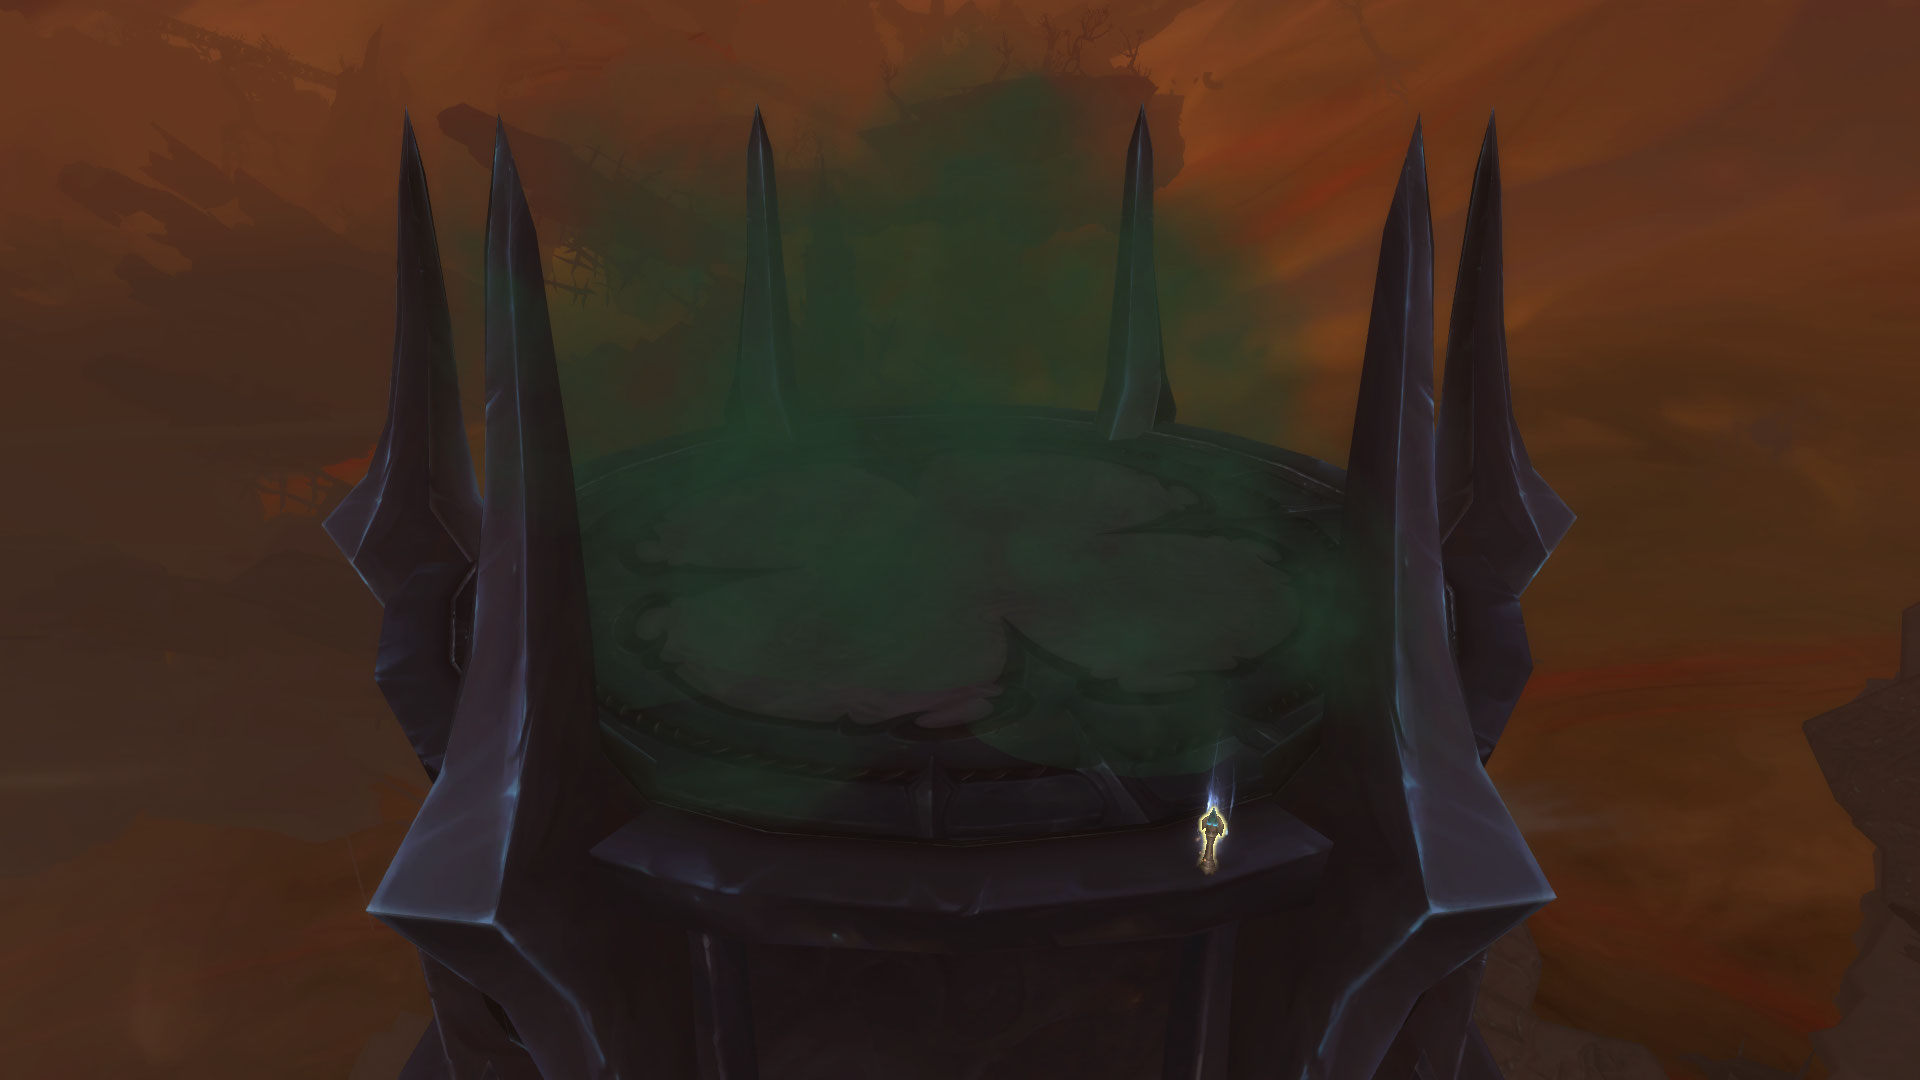
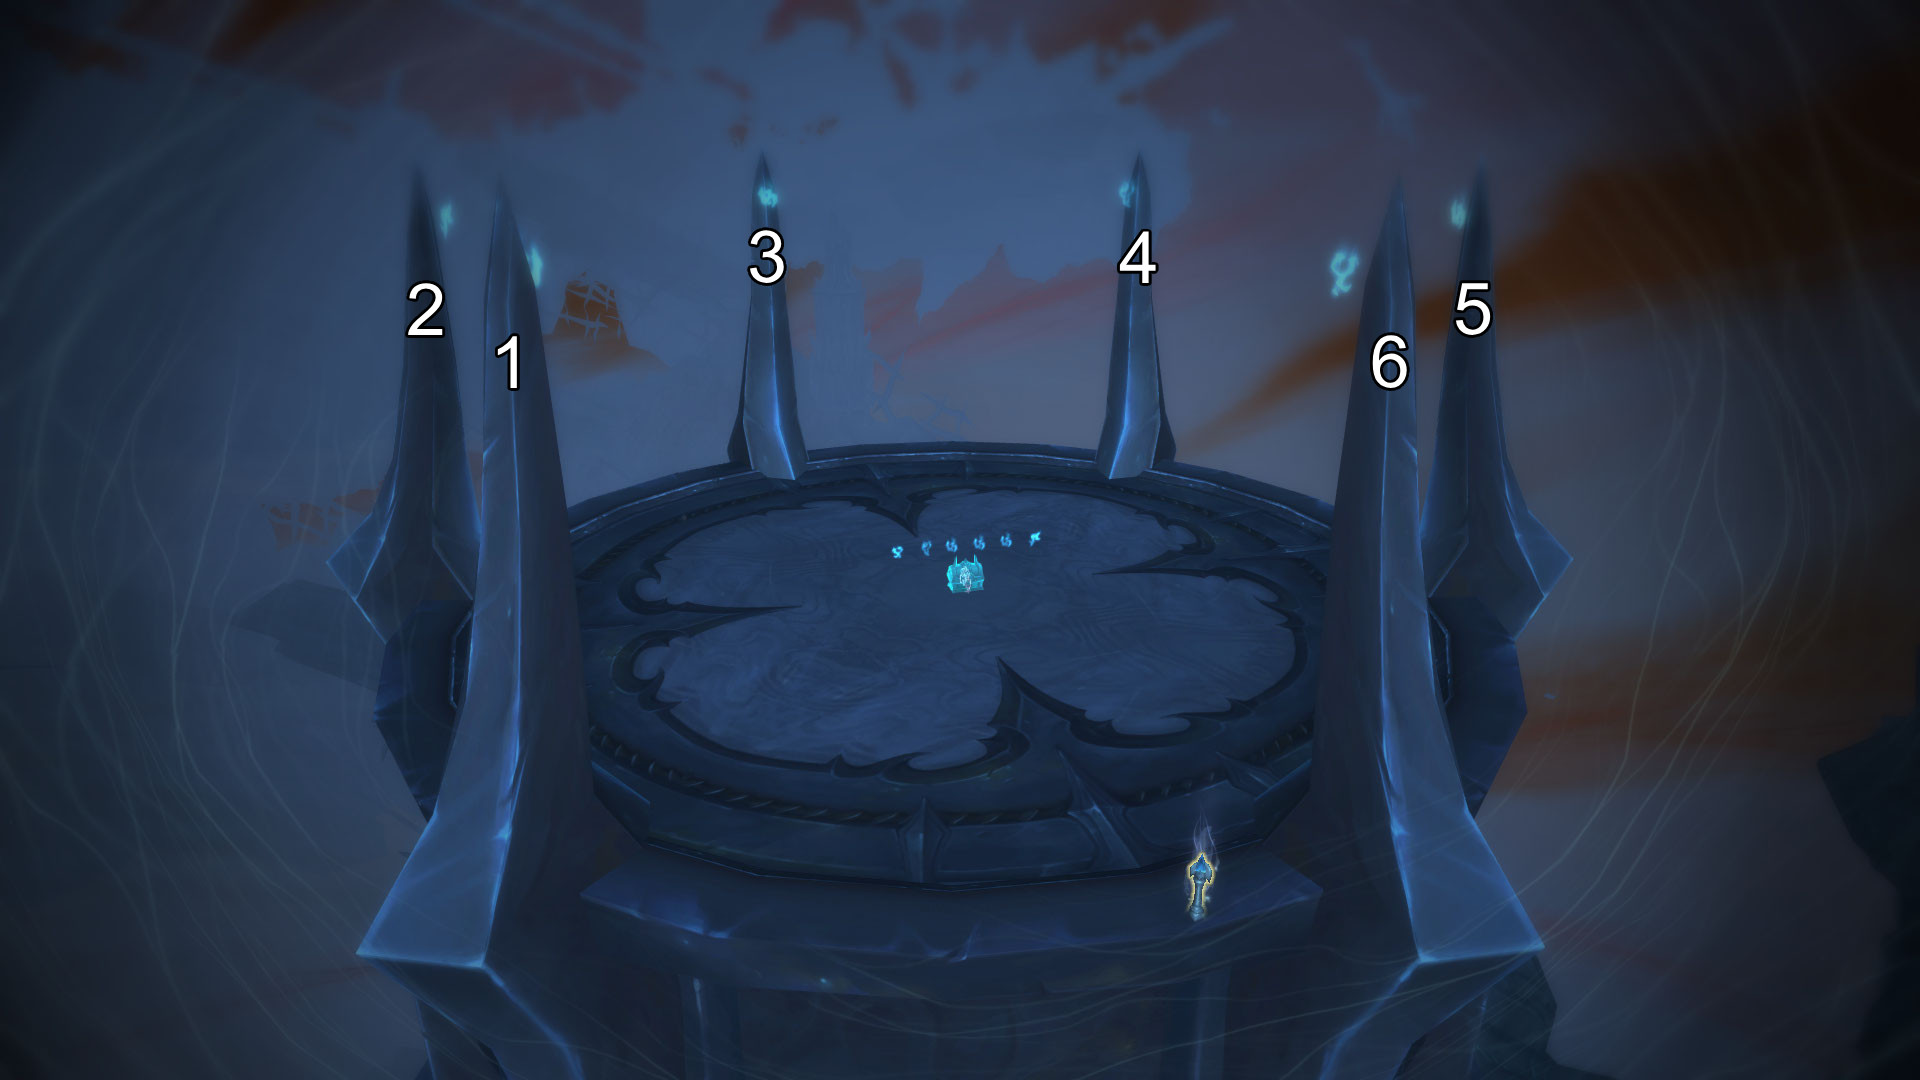
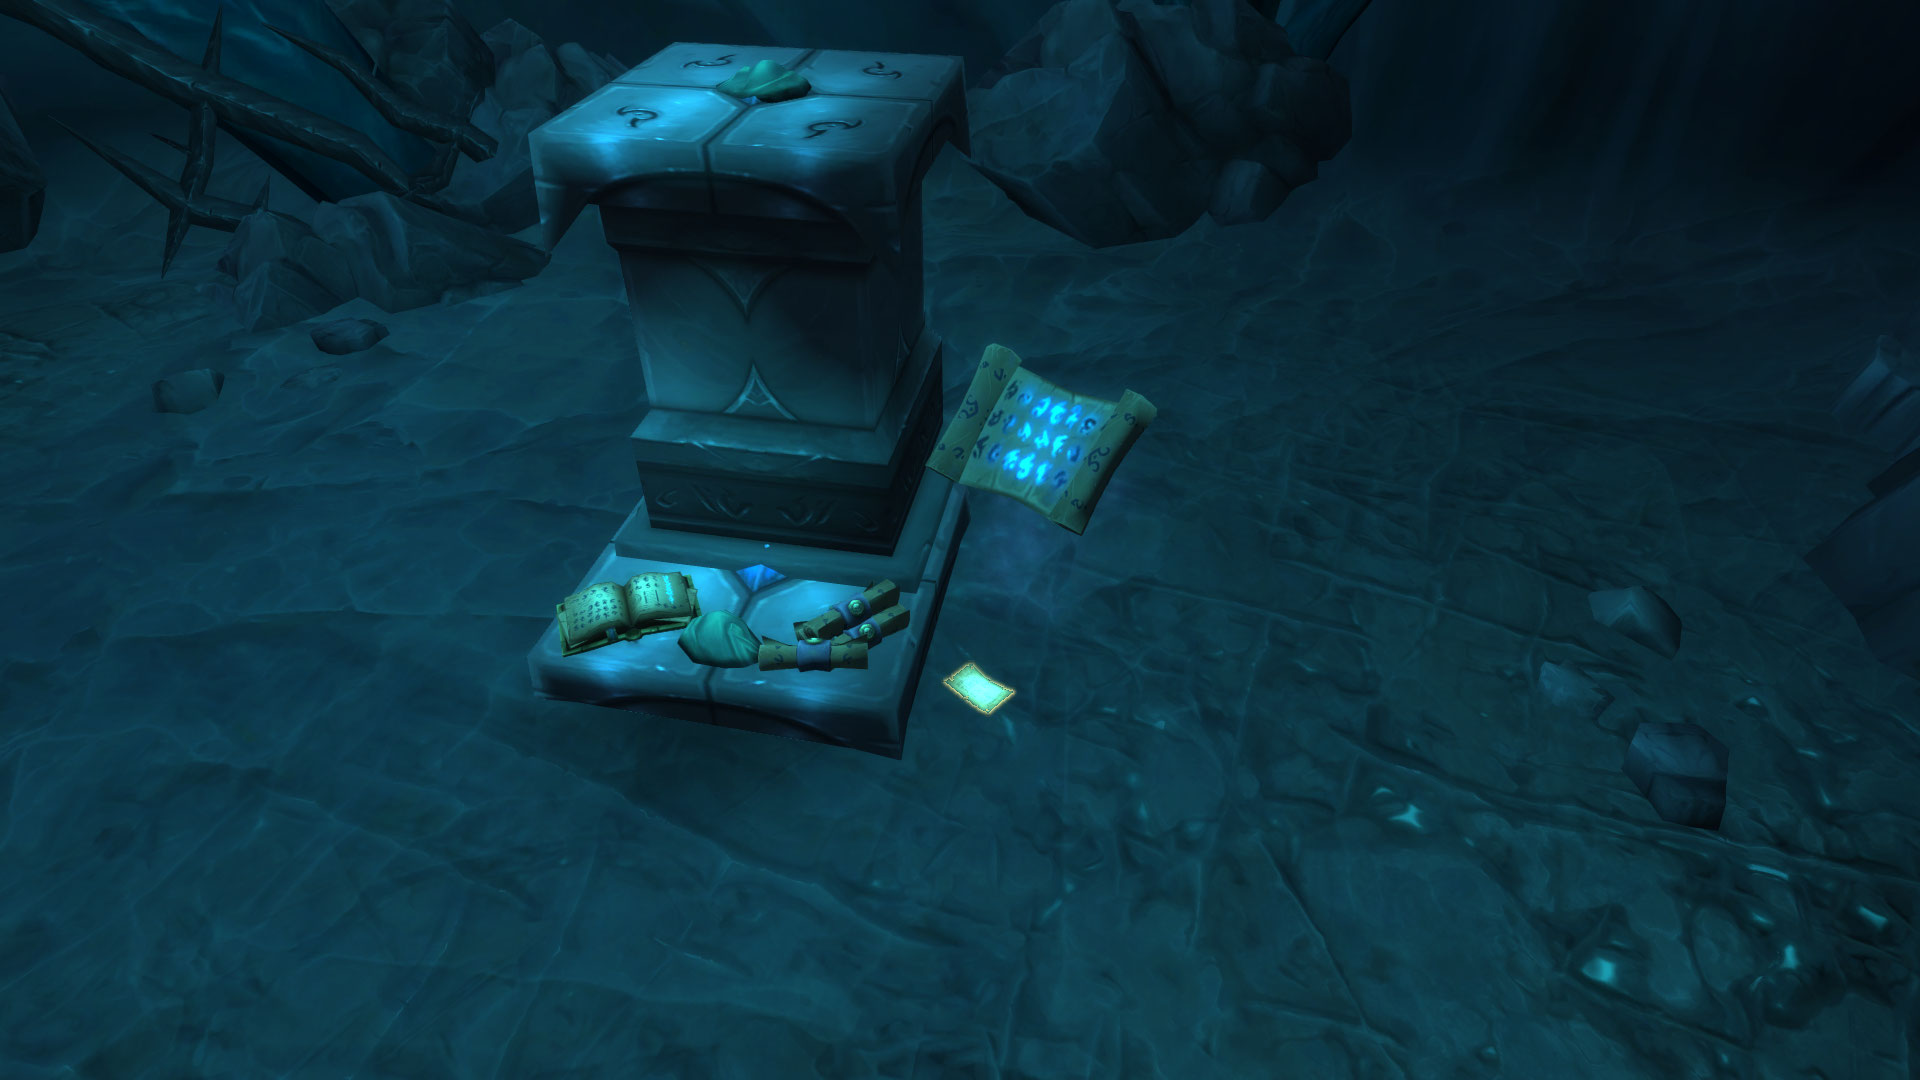
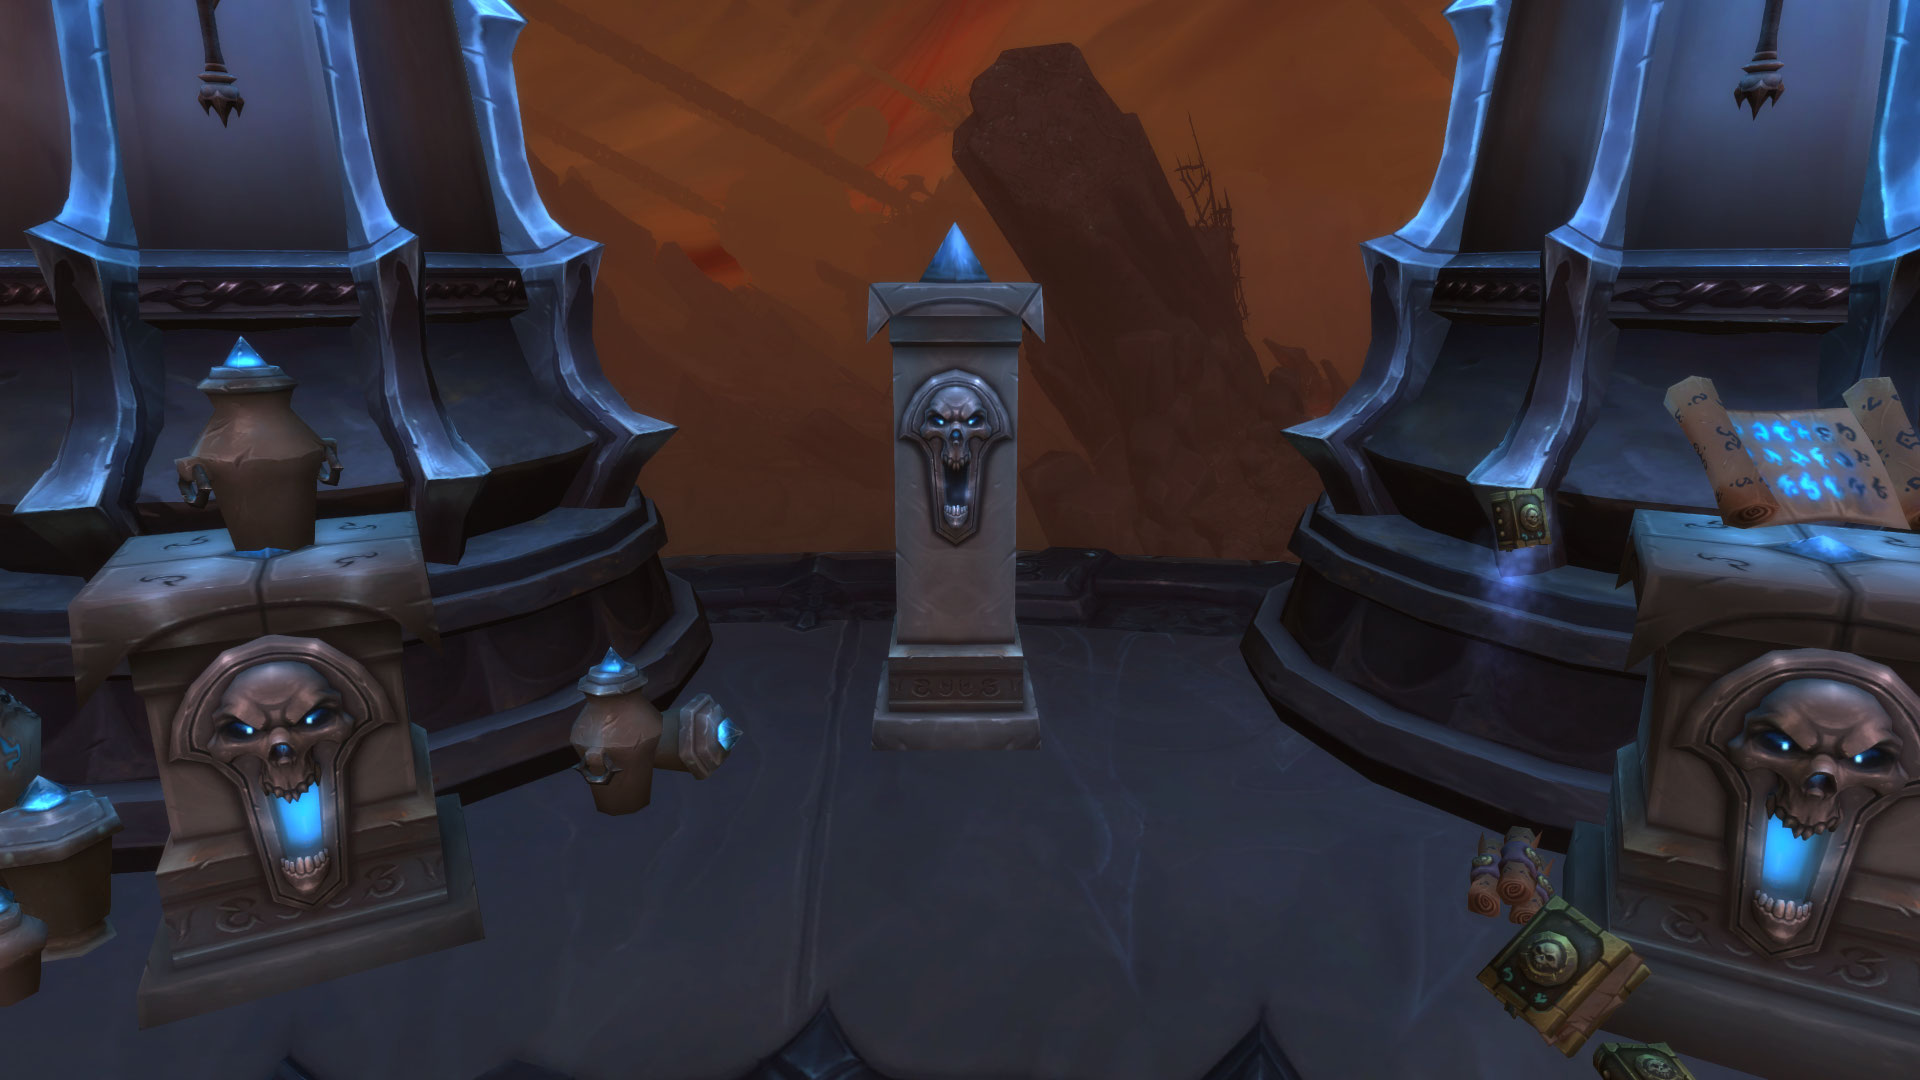
Rune Puzzle
Use the Stygia Delirium extra action button to begin the rune puzzle. Match the runes above the chest with the runes on the pillars, starting with the pillar to your left and continuing clockwise around the platform. Click the runes above the chest to swap their positions until they match the correct order. You can make up to four swaps to solve the puzzle.
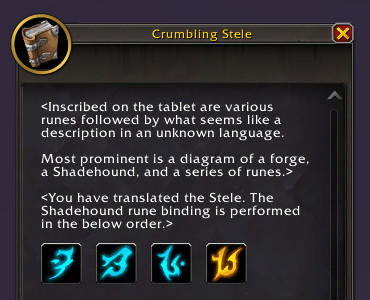
After successfully solving the puzzle, loot the Crumbling Stele from the Runed Chest.
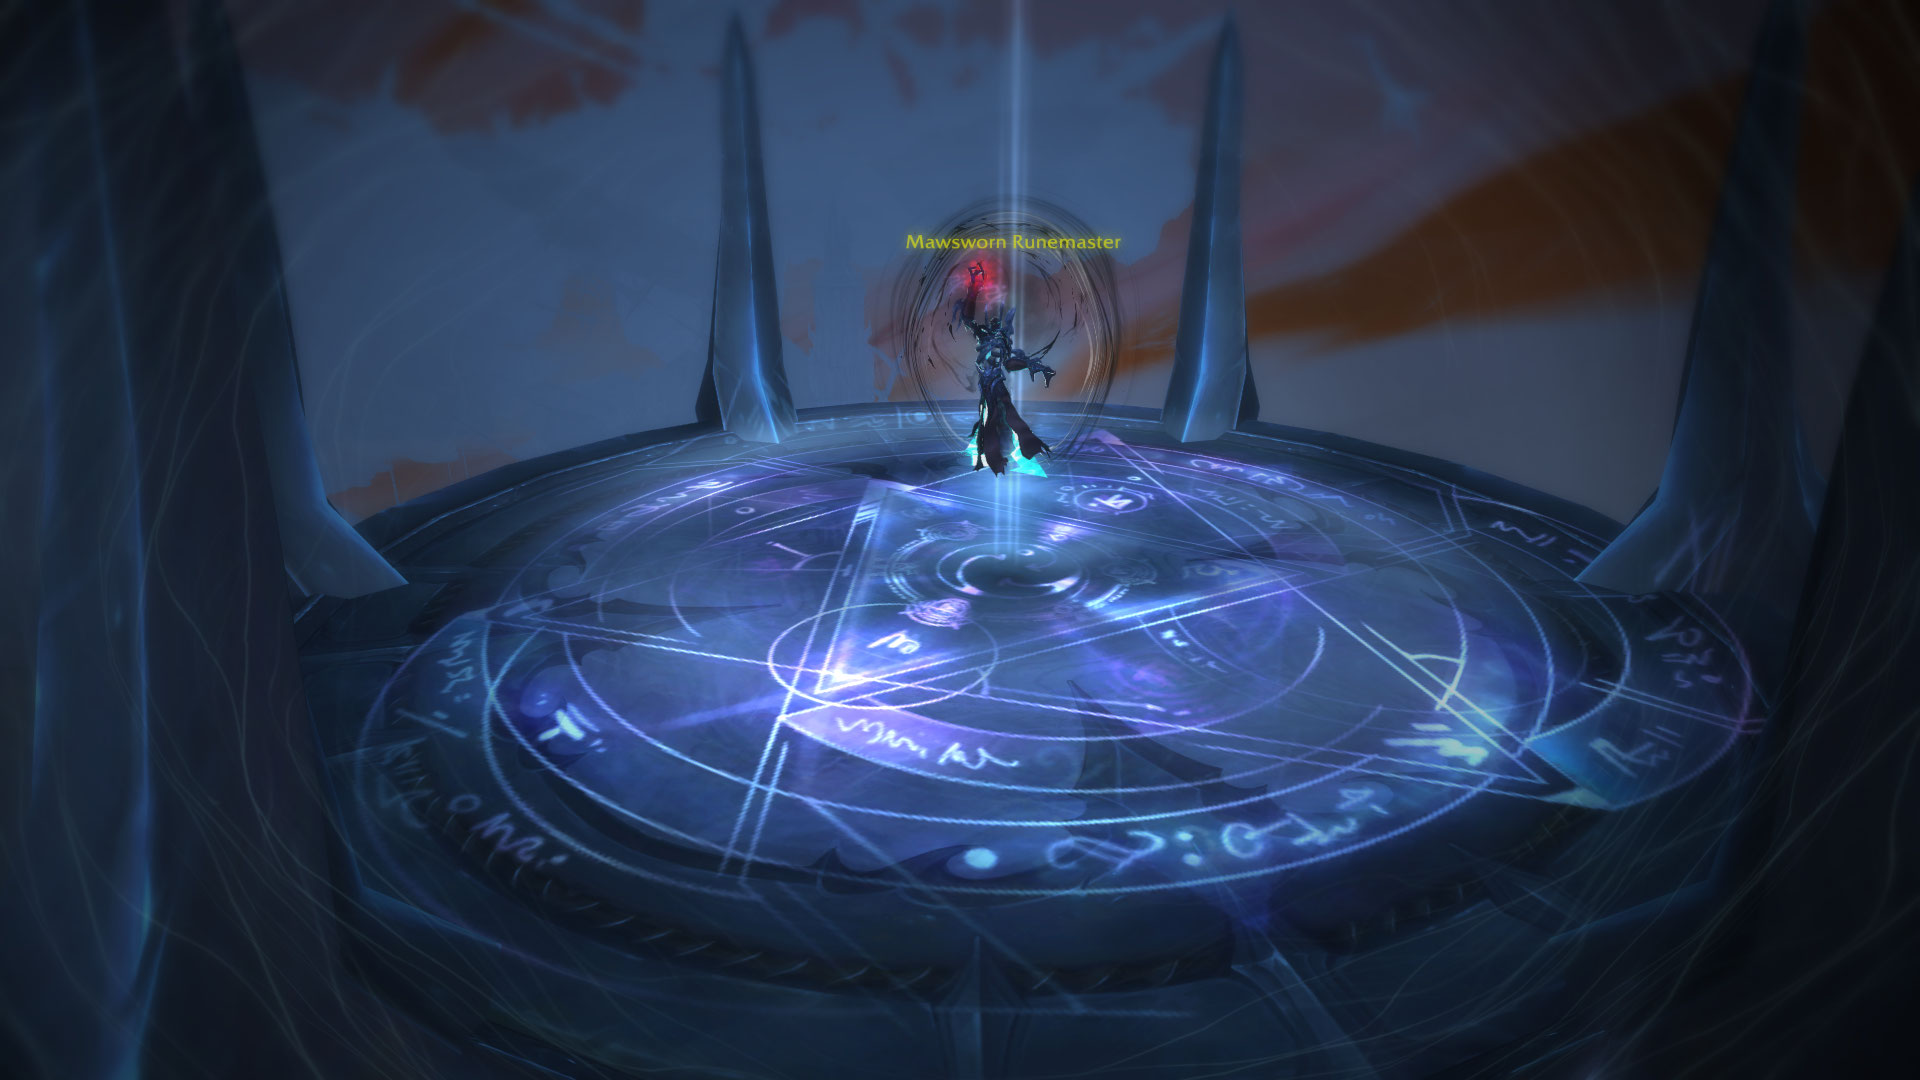
If the puzzle is failed, a Mawsworn Runemaster spawns and knocks you off the platform. You will also receive the Stygia Dampening debuff, preventing you from attempting the puzzle again for 2 hours.
Mawsworn Runemaster says: Mortal! You do not belong here!
Intact Rune Codex
Make your way back to Ve'nari and purchase the Partial Rune Codex for 2000 Stygia. You will then need to obtain three codex pages:
- Rune Codex Page: Forging - Located at the back of Death's Howl cave in the Beastwarrens.
- Rune Codex Page: Souls - Located on the ground on a platform in Perdition Hold.
- Rune Codex Page: Binding - Located on the platform above the Tremaculum, accessed via a rune teleporter.
/way #1543 48.8 84.6 Cave Entrance
/way #1543 51.6 84.0 Rune Codex Page: Forging
/way #1543 27.2 72.3 Rune Codex Page: Souls
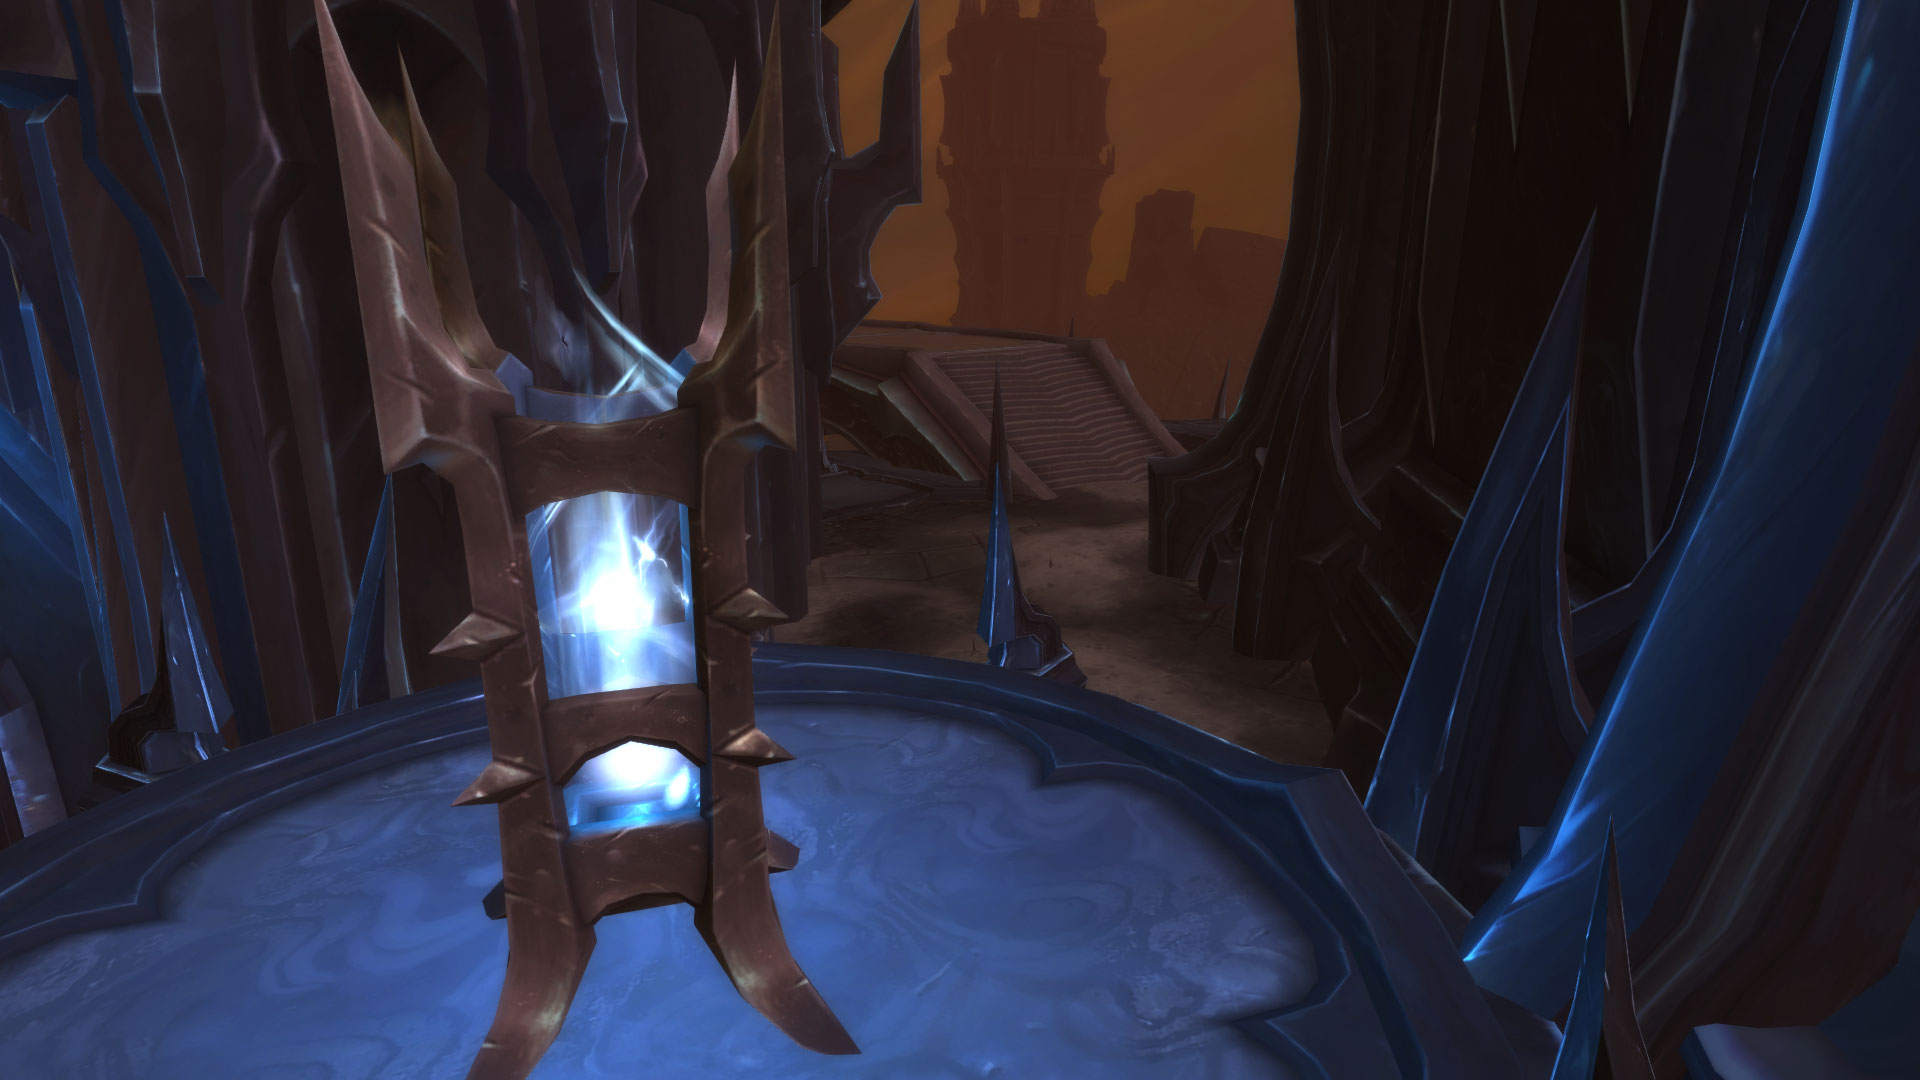
/way #1543 27.6 17.4 Rune Teleporter
/way #1543 24.6 12.6 Rune Codex Page: Binding
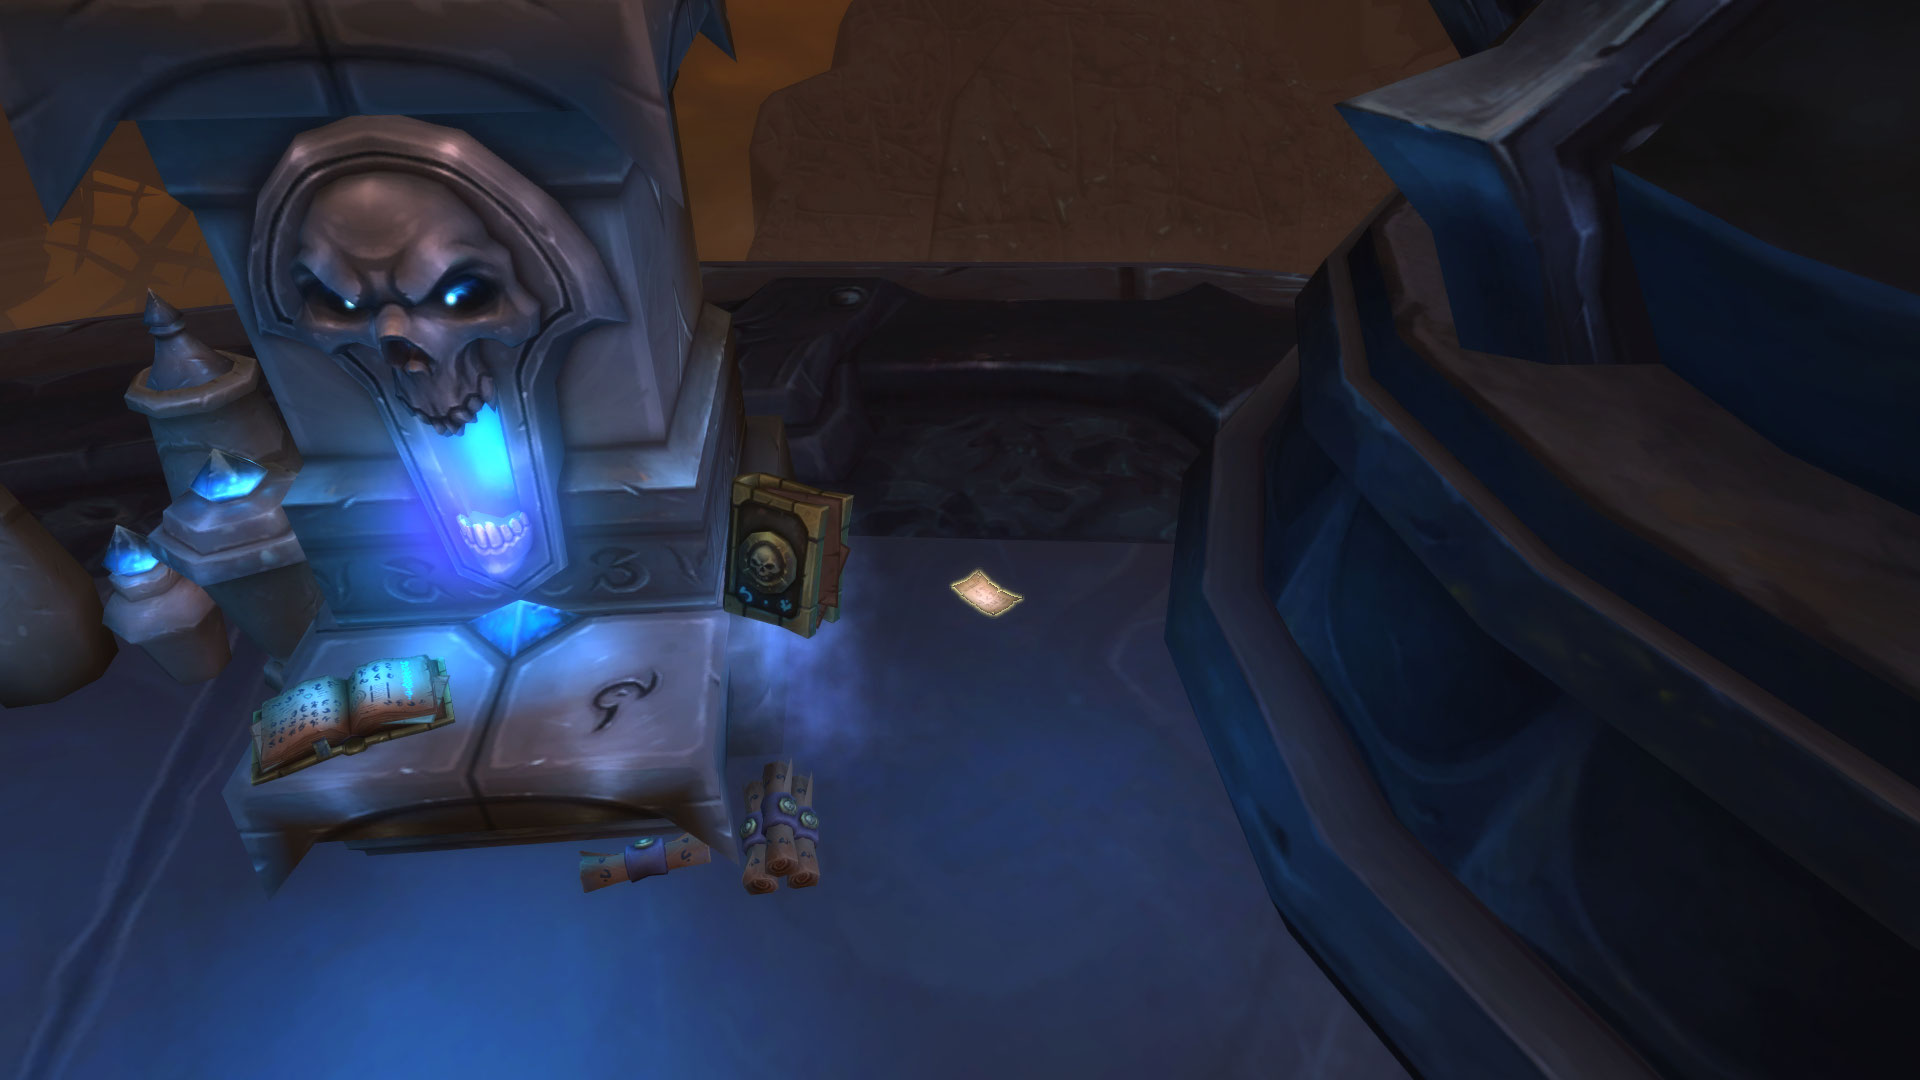
Click the pages to add them to the Partial Rune Codex and you will receive the Intact Rune Codex, which is required for the next steps.
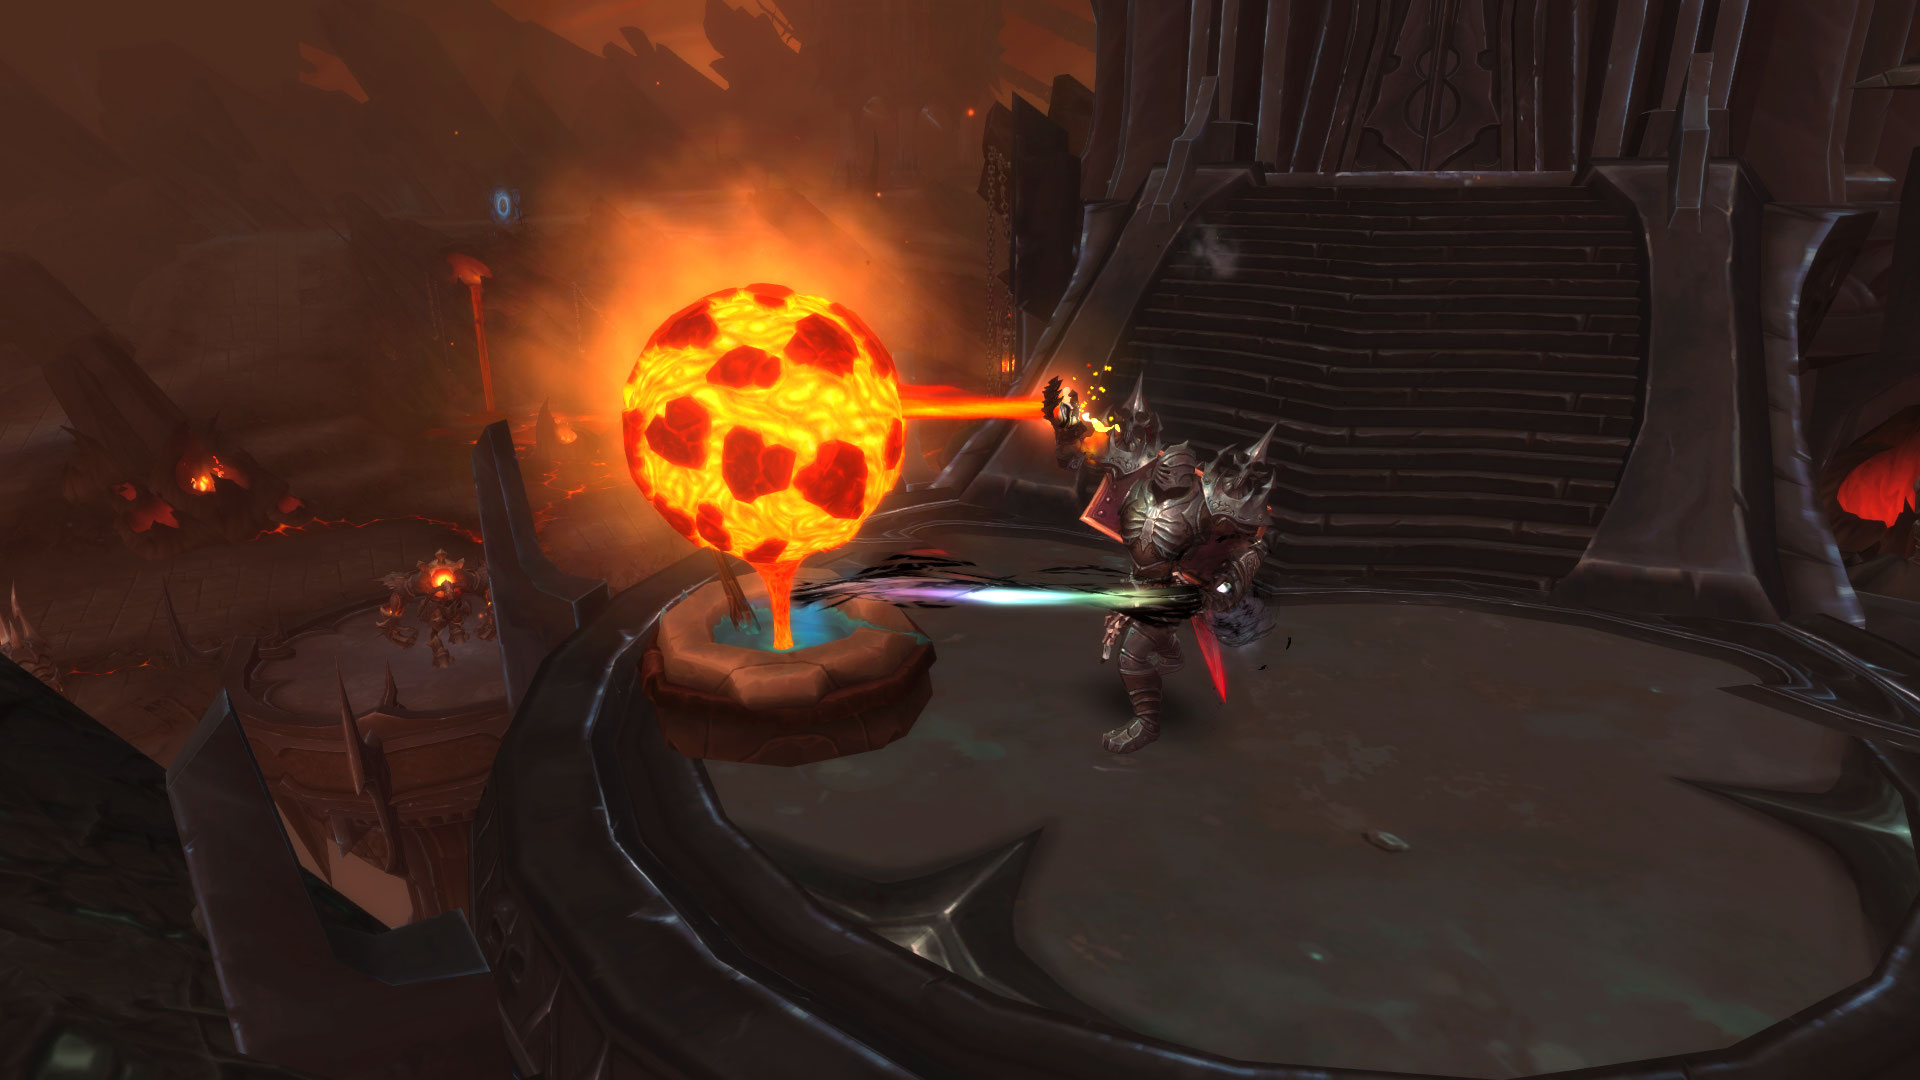
Soulforger's Tools
Make your way to Soulforger Rhovus and defeat him to obtain the Soulforger's Tools. Make sure you have obtained the Intact Rune Codex prior to defeating him, since the rare has a daily lockout.
Important: Please note that Soulforger Rhovus does not spawn during the Kyrian Covenant Assault.
/way #1543 35.8 42.6 Soulforger Rhovus
Willing Wolf Soul
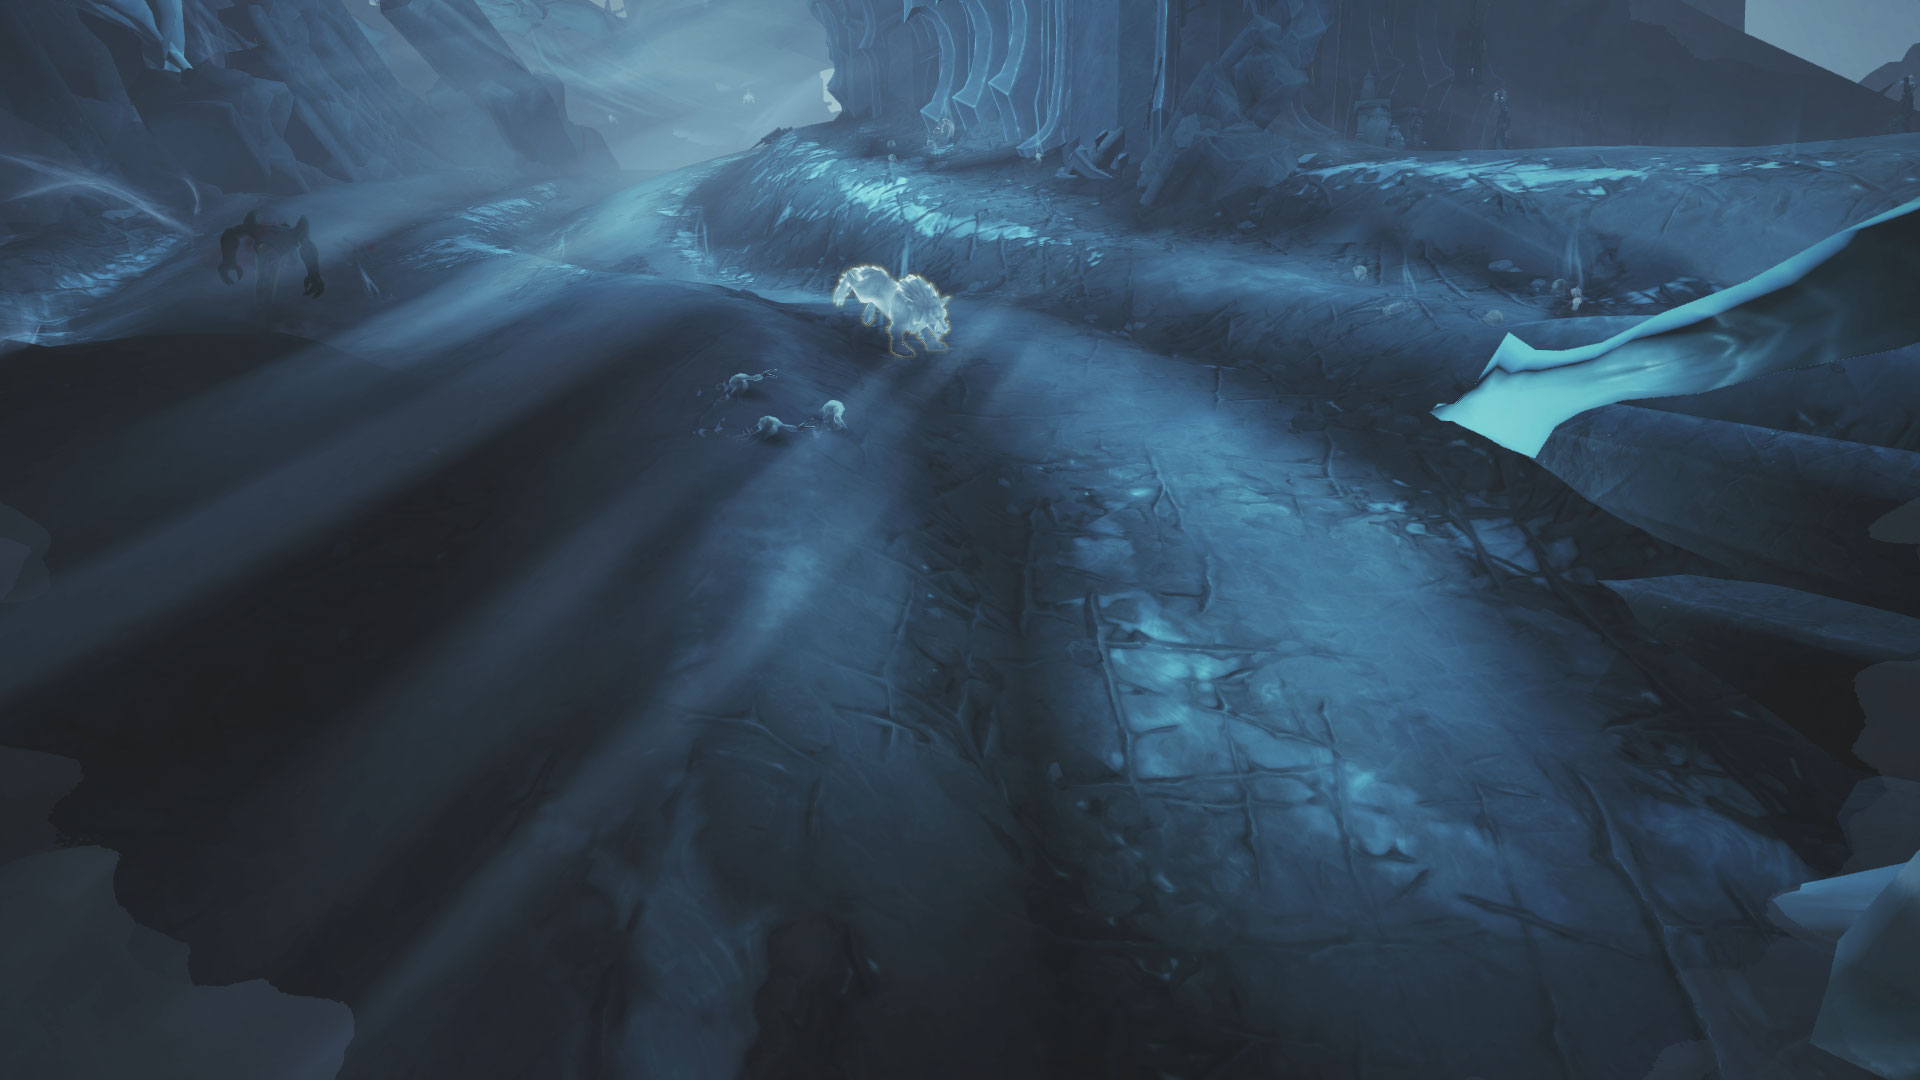
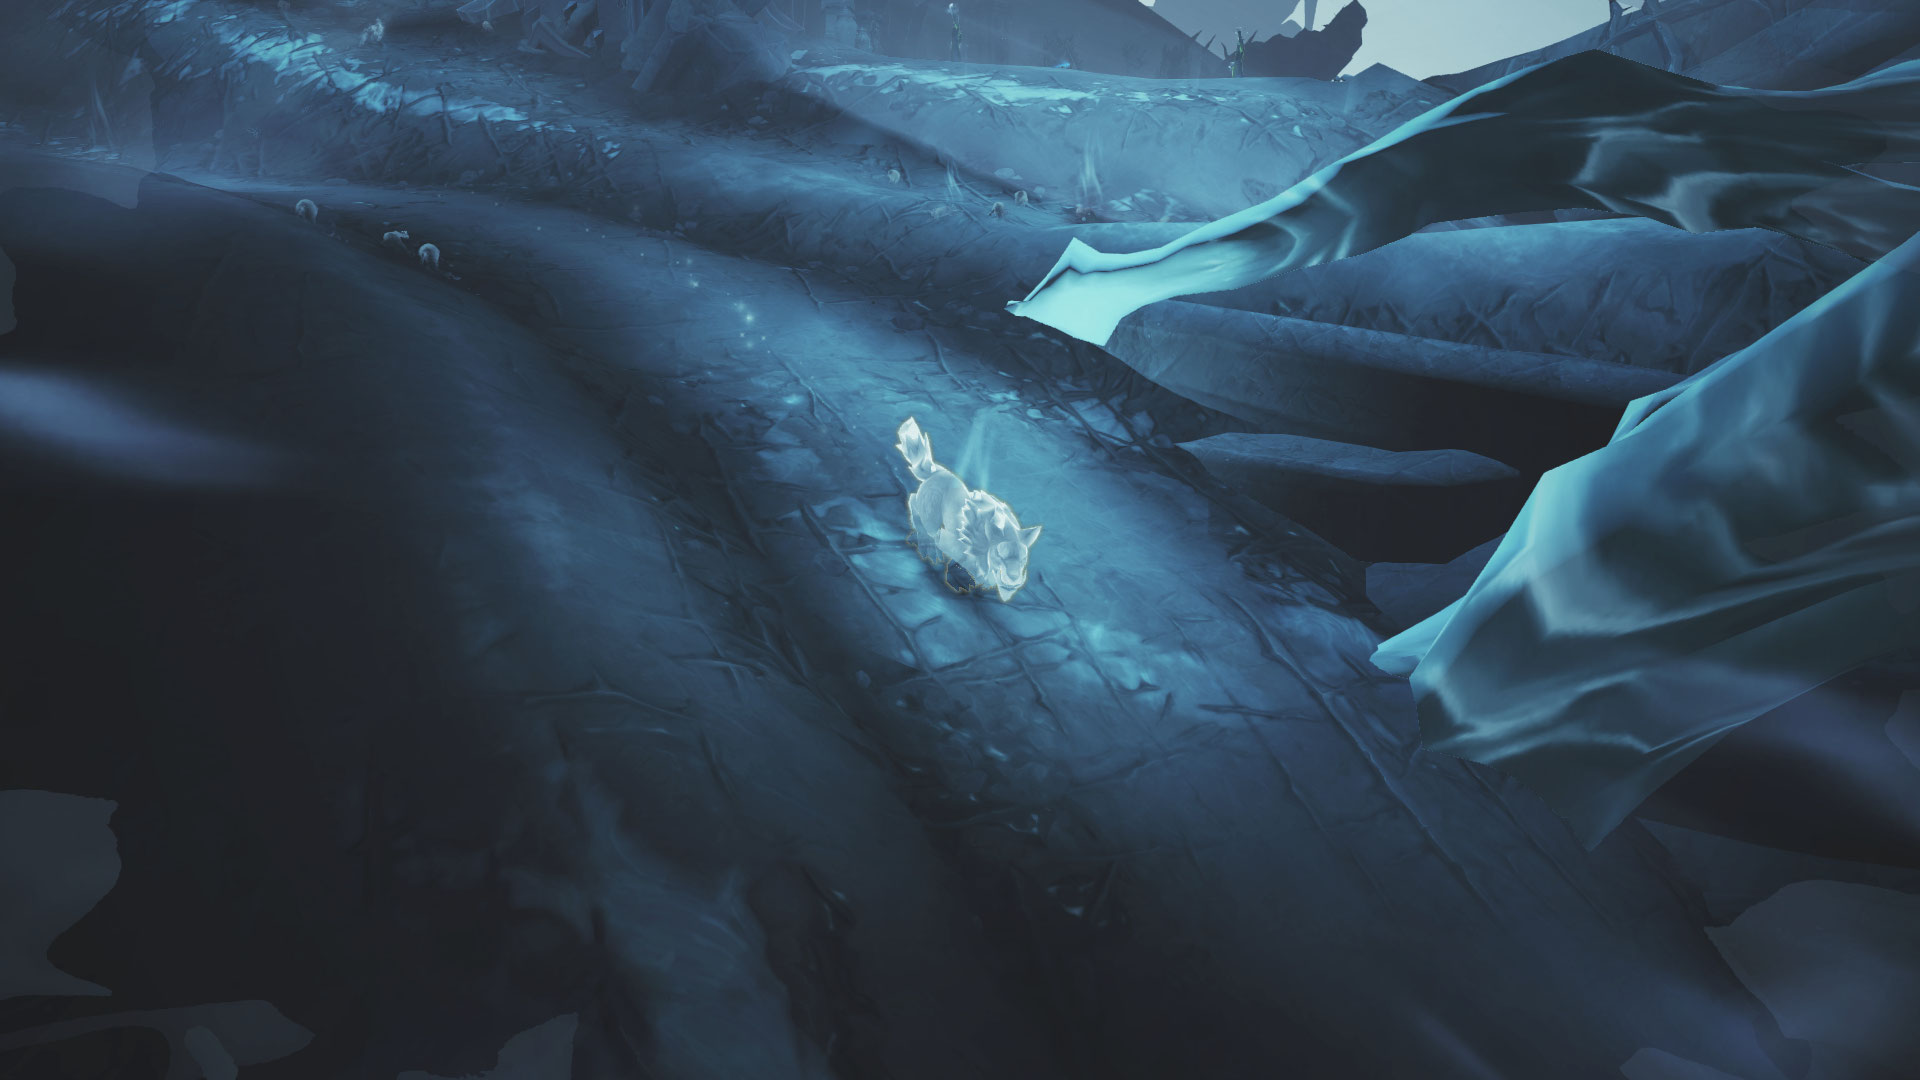
Find and interact with the Stray Soul, a ghost wolf that patrols along the River of Souls. The ghost wolf travels a fixed path from the south-west to the north-east, where it disappears before respawning and starting its route again.
Follow the river from the north-east toward the south-west and you should eventually encounter it. Interacting with the wolf grants the Willing Wolf Soul.
/way #1543 18.0 53.8 Stray Soul Spawn

/way #1543 54.2 13.2 Stray Soul Despawn
Stygia Nexus
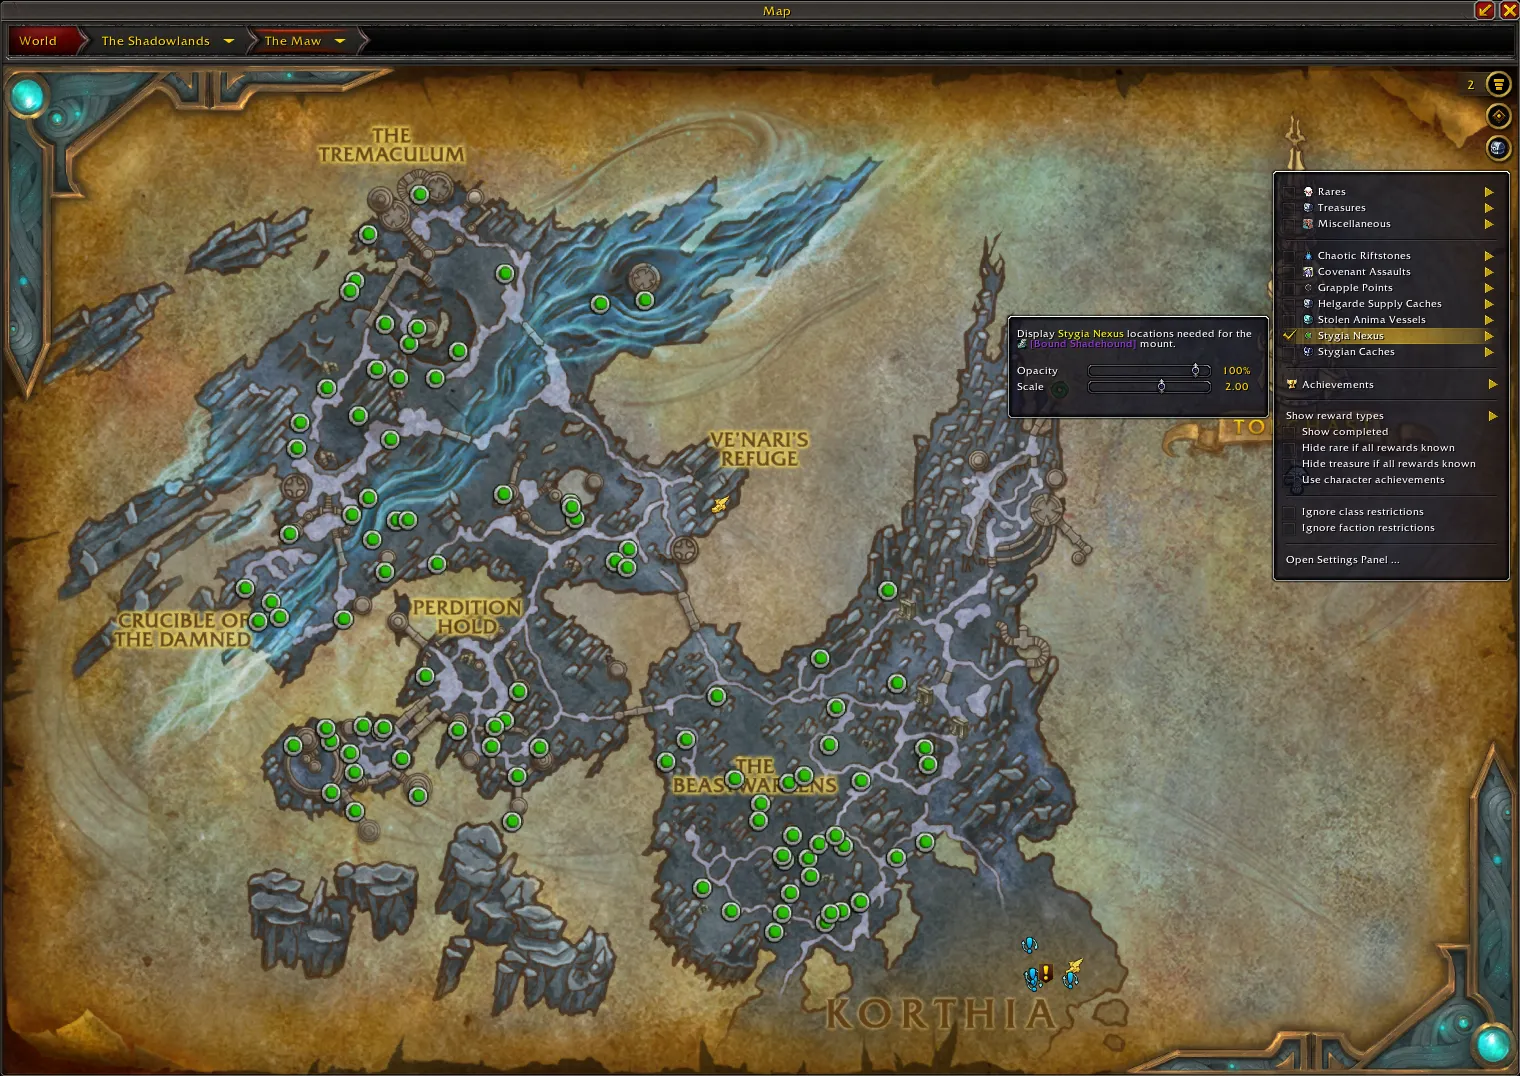
For the next step, use the Stygia Dowser to collect 200 Stygia Dust and 200 Stygia Sliver from Stygia Nexus scattered across The Maw.
The best location to farm these materials is The Beastwarrens. You can use HandyNotes and HandyNotes: Shadowlands to show all Stygia Nexus locations on the map.
Soulsteel Anvil
Return to the Altar of Domination, near the area where you completed the Rune Puzzle, and use the grapple point to reach the top.
/way #1543 23.1 68.4 Grapple Point 1

/way #1543 22.2 71.1 Grapple Point 2

/way #1543 22.2 70.8 Grapple Point 3

/way #1543 20.5 67.8 Grapple Point 4

/way #1543 20.0 66.8 Soulsteel Anvil
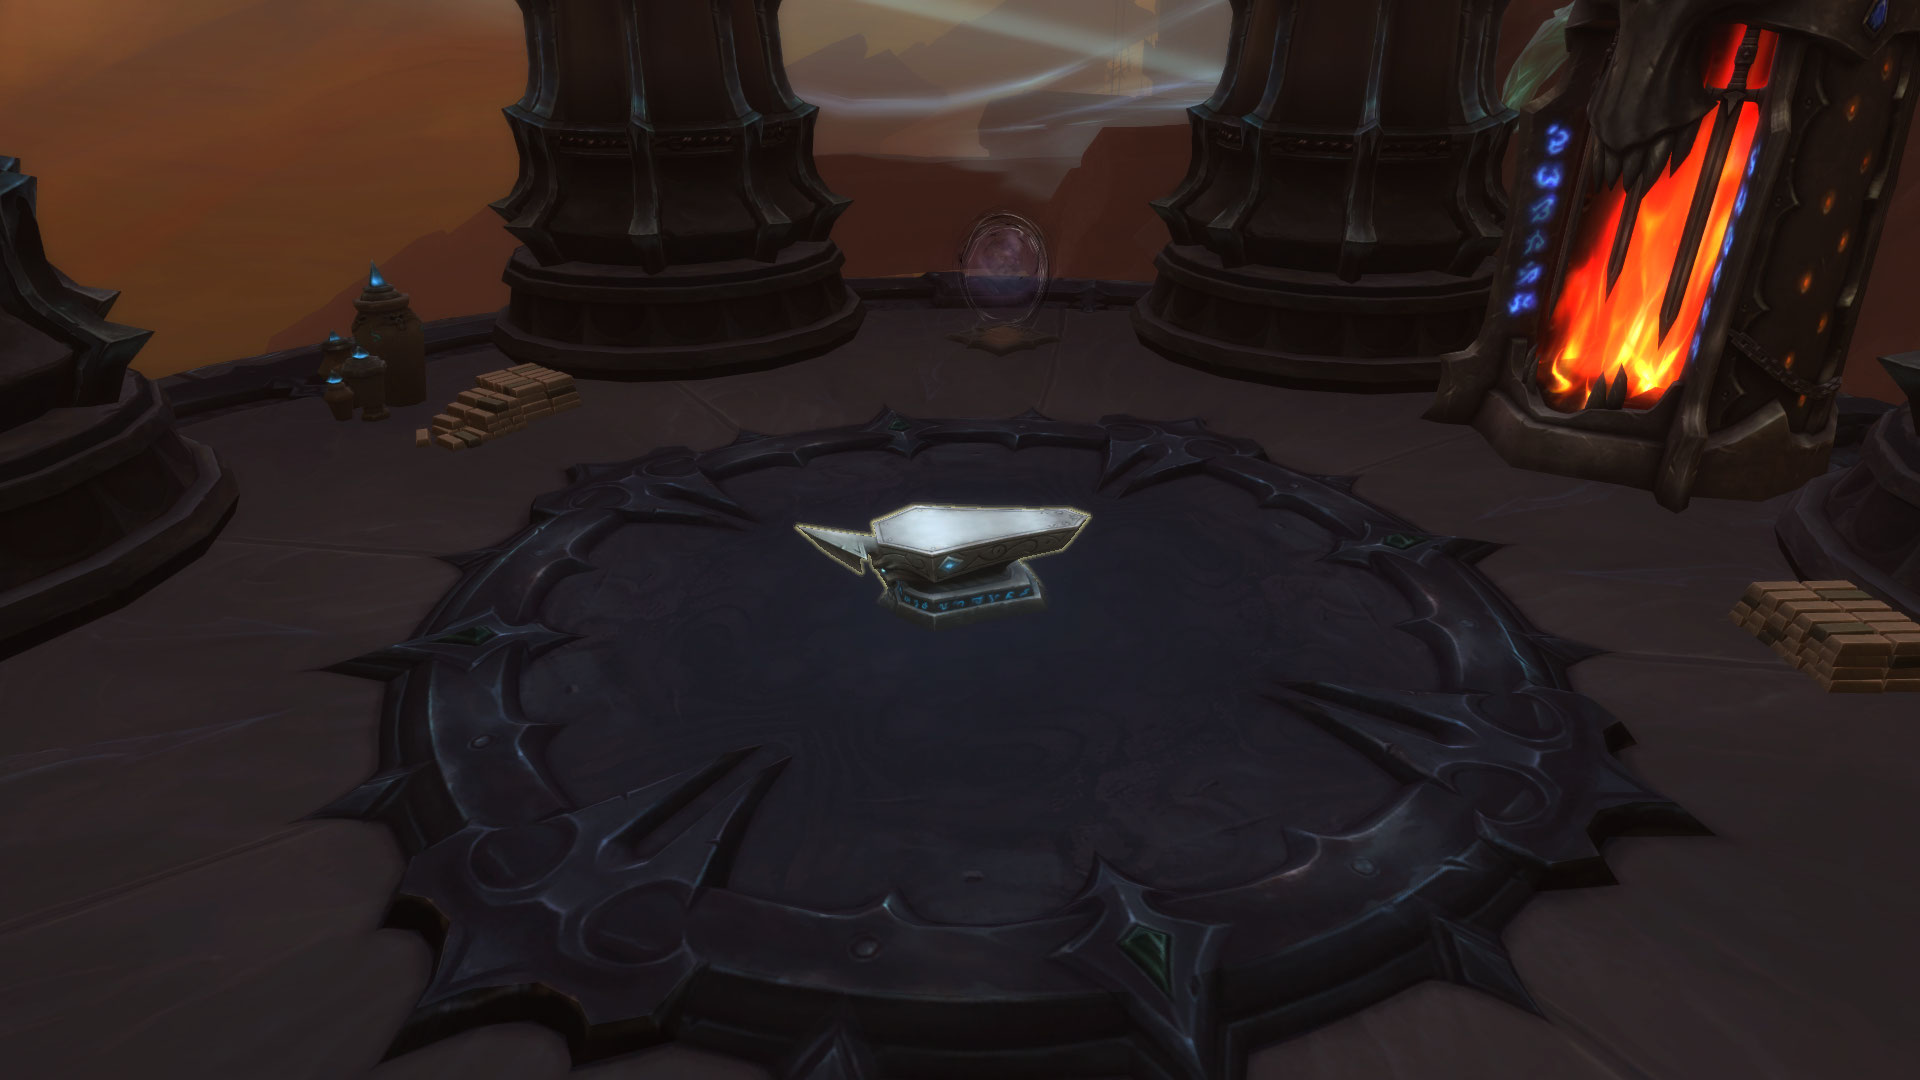
Use the Soulsteel Anvil to craft the following items:
- Stygia Bar x20 - Requires 200 Stygia Dust and 200 Stygia Sliver
- Armored Husk - Requires 20 Stygia Bar and Soulforger's Tools
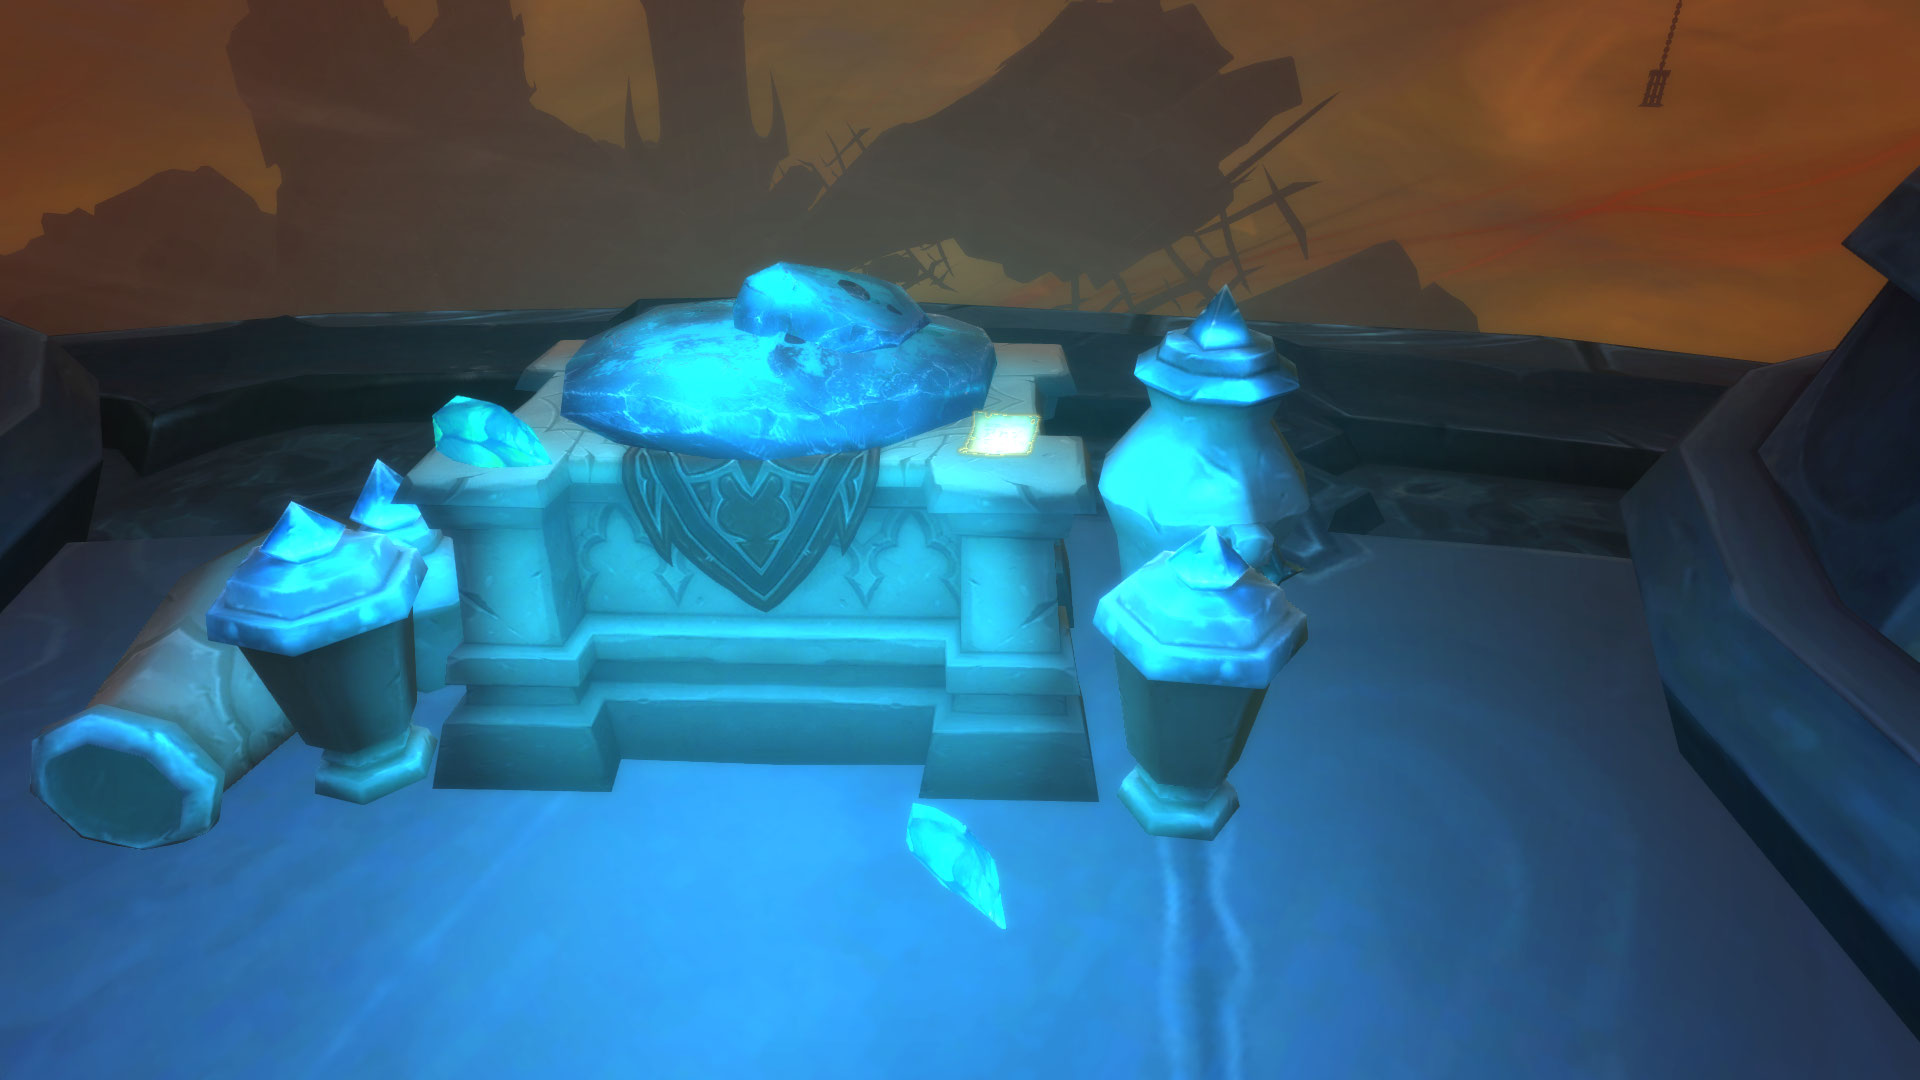
Feral Shadehound
Head to the Binding Altar in Cocyrus, located outside Ve'nari's Refuge. Interact with the altar to combine the Armored Husk and Willing Wolf Soul into the Feral Shadehound.
/way #1543 45.2 48.3 Binding Altar
Bound Shadehound
For the final step, summon the Feral Shadehound by using the item in your bags and perform the rune binding ritual by inputting the runes in the order shown on the Crumbling Stele. If the puzzle is failed, you can retry after a minute.
Once the Feral Shadehound is successfully bound, complete the quest to receive the Bound Shadehound!